


LATEST RECIPES


LET'S GET COOKING!
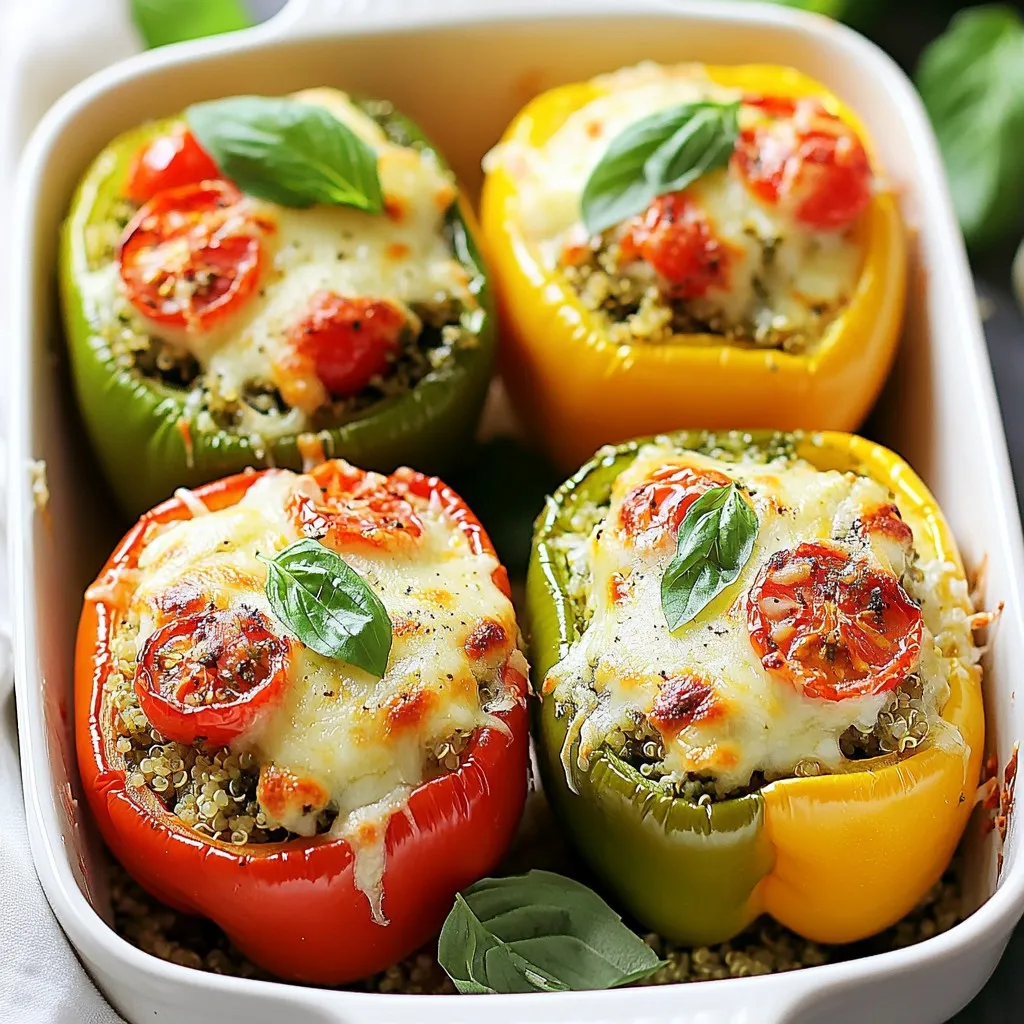
Pesto Chicken Stuffed Peppers Flavorful and Wholesome Meal
Are you ready for a dish that’s both tasty and healthy? Pesto Chicken Stuffed Peppers are your answer! These colorful peppers are packed with shredded...
Read Full Recipe →