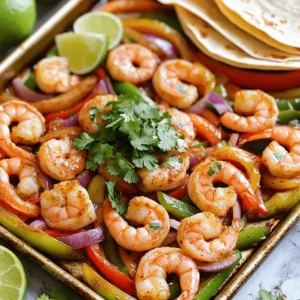
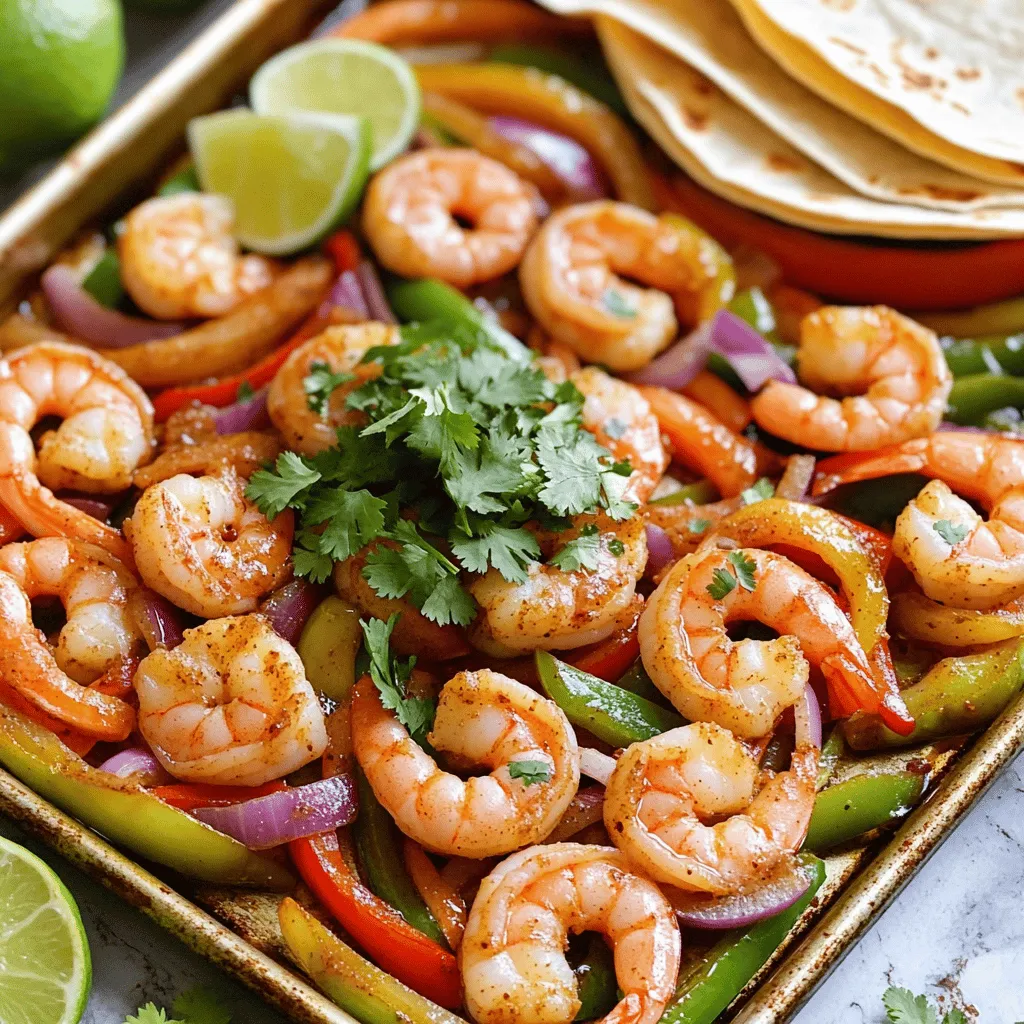
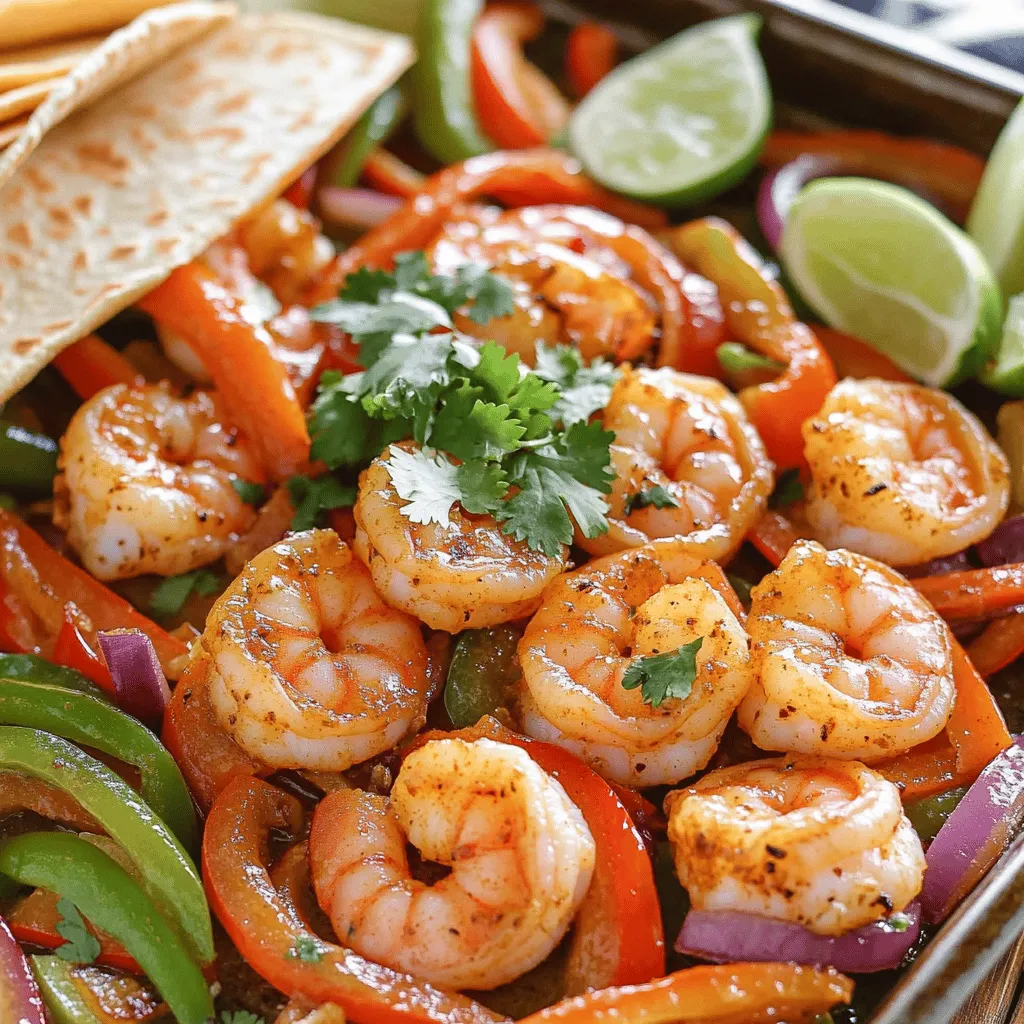
Looking for a tasty, easy dinner? You’ve found it! My Garlic Butter Shrimp Fajitas Sheet Pan Delight combines juicy shrimp, vibrant veggies, and rich garlic butter all in one dish. This recipe is quick, fun, and perfect for busy nights. You’ll love how simple it is to whip up, and I’ll guide you through every step. Get ready to impress your friends and family with this delicious meal!
Ingredients
Complete ingredient list for Garlic Butter Shrimp Fajitas
– 1 lb large shrimp, peeled and deveined
– 2 tablespoons unsalted butter, melted
– 4 cloves garlic, finely minced
– 1 teaspoon smoked paprika
– 1 teaspoon ground cumin
– 1 teaspoon chili powder
– 1/2 teaspoon salt
– 1/4 teaspoon freshly ground black pepper
– 1 red bell pepper, sliced into thin strips
– 1 green bell pepper, sliced into thin strips
– 1 medium red onion, sliced into half-moons
– Juice of 1 fresh lime
– Fresh cilantro, finely chopped (for garnish)
– Corn or flour tortillas (for serving)
Key seasonings and flavor elements
The key to great flavor lies in the seasoning mix. The garlic adds a rich taste. Smoked paprika brings warmth and depth. Ground cumin gives a nice earthy note. Chili powder adds a touch of heat. Salt and pepper enhance all these flavors. Together, they coat the shrimp and veggies, making each bite burst with zest.
Optional toppings and additions
You can customize your fajitas with tasty toppings. Try adding sliced avocado or fresh jalapeños for more heat. Sour cream or Greek yogurt adds creaminess. A sprinkle of queso fresco can enhance flavor. Fresh lime wedges will bring extra brightness. Feel free to mix and match these to suit your taste!
Step-by-Step Instructions
Prepping the shrimp and garlic butter mixture
Start by preheating your oven to 425°F (220°C). This step is key for crisping up the veggies and shrimp. Next, grab a medium bowl. In this bowl, mix 2 tablespoons of melted butter with 4 minced garlic cloves, 1 teaspoon of smoked paprika, 1 teaspoon of ground cumin, 1 teaspoon of chili powder, 1/2 teaspoon of salt, and 1/4 teaspoon of black pepper. Whisk these ingredients together until they blend well and smell amazing. Now, add 1 pound of peeled and deveined shrimp to the bowl. Toss the shrimp gently in the garlic butter mix. Each shrimp should be coated well to soak up all that tasty flavor.
Preparing the vegetables
In another bowl, combine 1 sliced red bell pepper, 1 sliced green bell pepper, and 1 sliced red onion. These colorful veggies add crunch and sweetness. Drizzle a bit of olive oil and the juice of 1 fresh lime over them. Season with salt and pepper to your taste. Toss the veggies until they are coated in oil and lime juice. This step makes them tasty and bright.
Baking the fajitas
Now, take a large baking sheet and line it with parchment paper for easy cleanup. Spread the seasoned veggies on one half of the sheet. This creates a colorful base. On the other half, place the shrimp in a single layer. Make sure not to overcrowd them. This helps everything cook evenly. Put the baking sheet in your preheated oven. Bake for 12 to 15 minutes. You’ll know it’s done when the shrimp turn pink and the veggies get tender and a bit caramelized. Once they’re ready, take the sheet out and drizzle fresh lime juice over everything. Toss gently to mix it all up. Serve the fajitas with warm tortillas and top with fresh cilantro for extra flavor.
Tips & Tricks
How to achieve perfectly cooked shrimp
To get shrimp just right, start with fresh shrimp. The shrimp should be pink and firm. When cooking, they only need about 12-15 minutes in the oven. If overcooked, they turn tough. Watch for color changes. When they turn opaque, they are done. This means they are safe to eat and still juicy. To keep them tender, do not overcrowd them on the pan. This helps them cook evenly.
Best practices for sheet pan meals
Sheet pan meals are easy and fun. Use parchment paper to line the pan. This makes cleanup quick. Cut your veggies into similar sizes for even cooking. Keep them on one half of the pan. Place your shrimp on the other half. This way, they cook at the same time without mixing. Always preheat your oven before baking. The right temperature helps with caramelization. This brings out the best flavors.
Serving suggestions for an enhanced dining experience
For a great meal, serve the fajitas family-style. Use a large platter to show off the colorful veggies and shrimp. Warm your tortillas in a cloth to keep them soft. Offer lime wedges on the side for extra zest. Fresh cilantro adds a nice touch. Let everyone build their own fajitas. This makes the meal interactive and fun. Enjoy the fresh flavors and textures together!
Variations
Alternative vegetables for customization
You can mix and match vegetables for your fajitas. Try adding zucchini, mushrooms, or corn. These veggies cook well and add great flavor. Carrots or asparagus also work nicely. Feel free to use what you love! Just cut them into thin strips for even cooking.
Different types of tortillas to use
Tortillas make a big difference. You can use corn or flour tortillas based on your taste. Corn tortillas are gluten-free and have a nice crunch. Flour tortillas are soft and chewy. You can even try whole wheat for a healthier option. For a fun twist, use lettuce wraps for a low-carb choice.
Adjustments for dietary preferences (e.g., gluten-free, low-carb)
This recipe is easy to adapt. For gluten-free, stick with corn tortillas. If you want low-carb, use lettuce wraps instead. You can also skip the tortillas altogether. Serve the shrimp and veggies over a bed of rice or quinoa for a filling meal. Adjust the seasoning to fit your diet, too!
Storage Info
How to store leftovers
After enjoying your Garlic Butter Shrimp Fajitas, store any leftovers in an airtight container. Keep them in the fridge. They stay fresh for up to three days. Make sure to let the fajitas cool before sealing them. This helps keep the flavors intact.
Reheating instructions for optimal flavor
When you are ready to enjoy leftovers, reheating is key. I recommend using a skillet. Heat it over medium heat and add a splash of olive oil. Place the fajitas in the skillet and warm them for about five minutes. Stir gently to heat evenly. This method keeps the shrimp tender and the veggies crisp. You can also use the microwave. Heat in short bursts, stirring in between, until warm.
Freezing options and tips
If you want to save the fajitas for later, freezing is a great option. Let the dish cool completely. Then, portion the fajitas into freezer-safe bags. Squeeze out excess air and seal tightly. You can freeze them for up to three months. When ready to eat, thaw them in the fridge overnight before reheating. This keeps the flavors fresh and delicious.
FAQs
Can I use frozen shrimp for this recipe?
Yes, you can use frozen shrimp. Just thaw them first. Place them in cold water for about 15-20 minutes. Pat them dry before using. This step helps the shrimp cook well and absorb flavors.
What can I substitute for garlic in this recipe?
If you need a garlic substitute, try using garlic powder. Use about 1/4 teaspoon for every clove. You can also try shallots or onion powder for a different taste.
How long does it take to bake shrimp fajitas?
Baking shrimp fajitas takes about 12-15 minutes. Look for the shrimp to turn pink and opaque. The veggies should also become tender and slightly caramelized. This timing ensures a perfect meal.
Can I prepare the ingredients ahead of time?
Yes, you can prep ahead. Chop the veggies and mix the shrimp with spices. Store them in the fridge for up to 24 hours. This saves time and makes cooking easier on busy days.
This blog post covered the complete recipe for garlic butter shrimp fajitas. We explored the ingredient list, optional toppings, and how to prepare the shrimp and vegetables. I shared tips for perfectly cooked shrimp and best practices for sheet pan meals. You can easily adjust this dish to meet your tastes and dietary needs.
In the end, garlic butter shrimp fajitas are quick, fun, and delicious. Enjoy making this dish with friends and family!