FREE DINNER EBOOK!
Get your copy!
Cookie Policy
GDPR Policy
Disclaimer
Terms Of Use
Visit my other site:
Fun Cookie Recipes
Home
Dinner
Desserts
Drinks
Appetizers
Contact
About
Privacy Policy
Home
Dinner
Desserts
Drinks
Appetizers
Contact
About
Privacy Policy
Cookie Policy
GDPR Policy
Disclaimer
Terms Of Use
Visit my other site:
Fun Cookie Recipes
HOME / CATEGORIES /
Latest
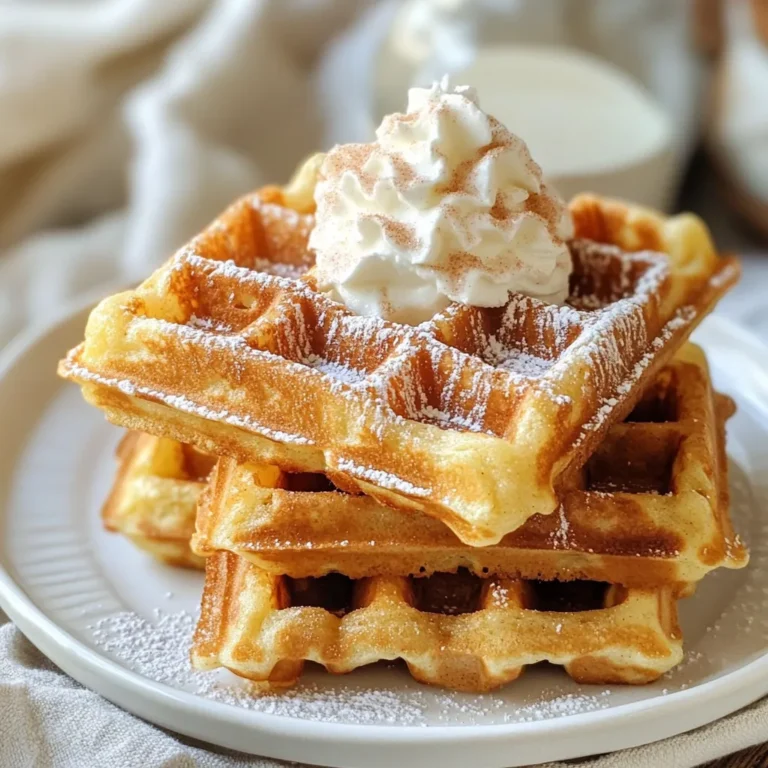
Cinnamon Sugar Churro Waffles Irresistible Recipe
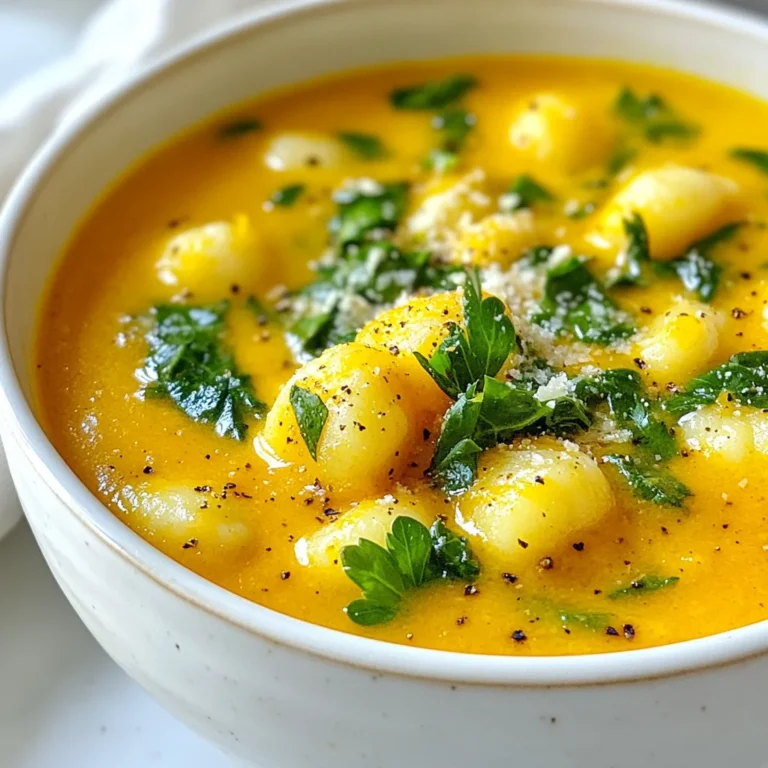
Butternut Squash Gnocchi Soup Rich and Comforting Dish
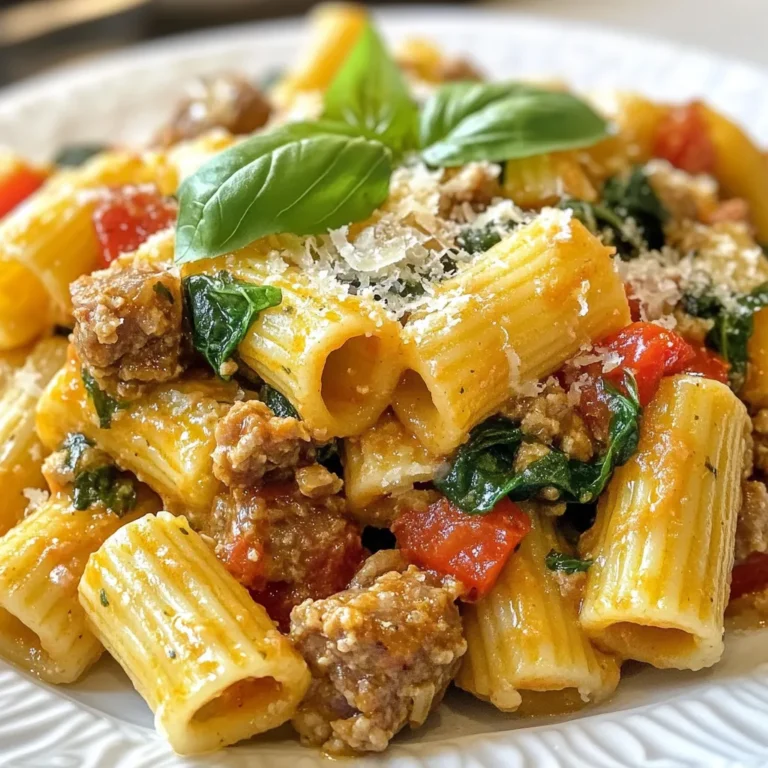
Sausage Rigatoni Flavorful Comfort Food Dish
White Chicken Chili Low Carb Flavorful Comfort Meal
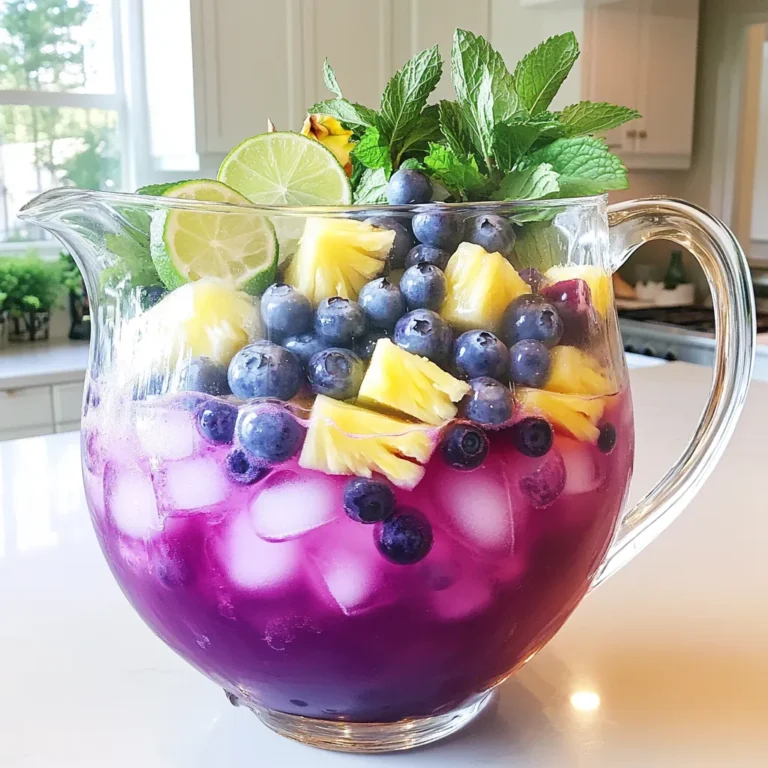
Purple Paradise Punch Refreshing Fruit Drink Recipe
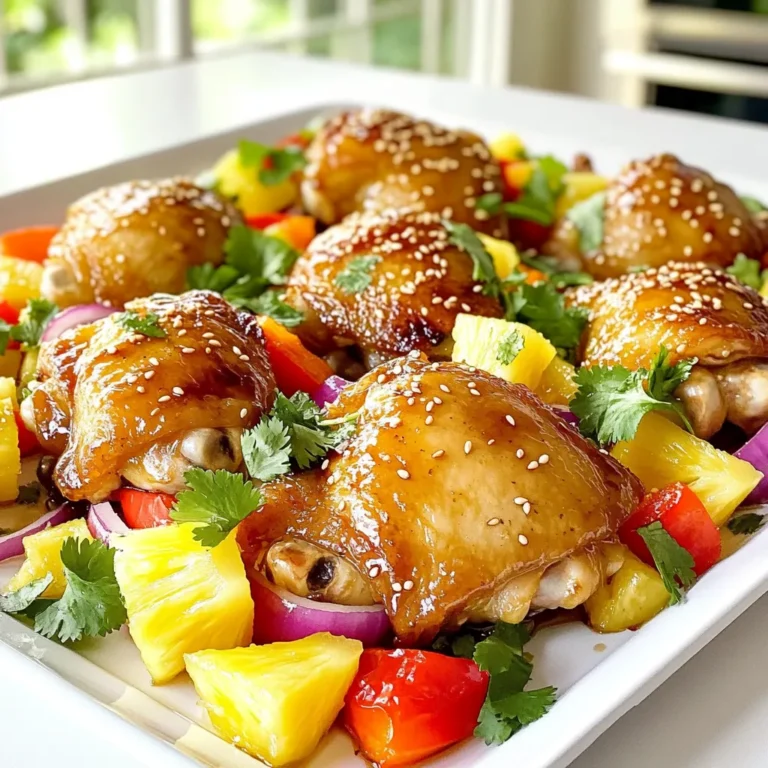
Hawaiian Chicken Sheet Pan Easy and Delicious Meal
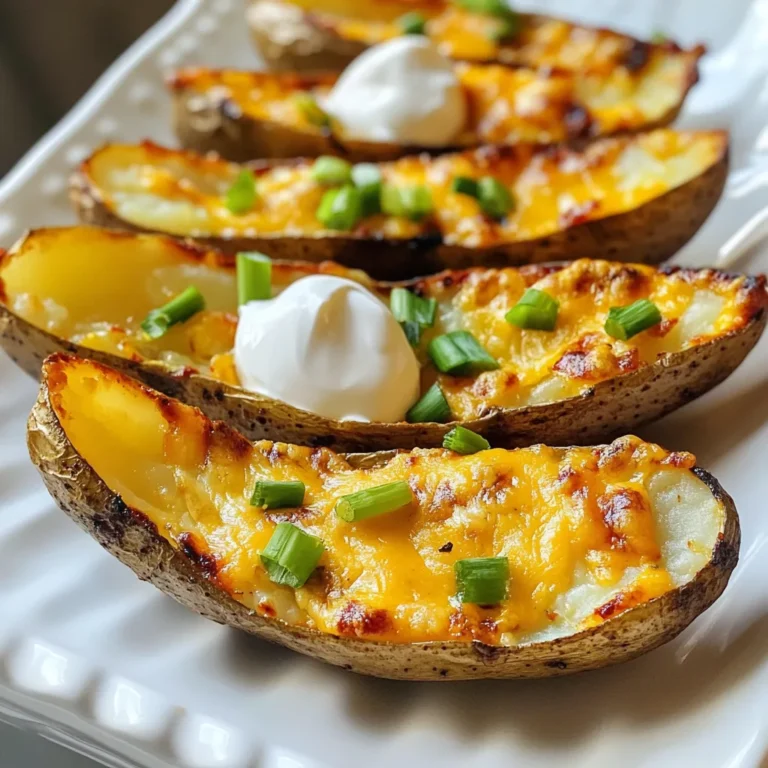
Air Fryer Ranch Potato Skins Crispy and Flavorful Snack
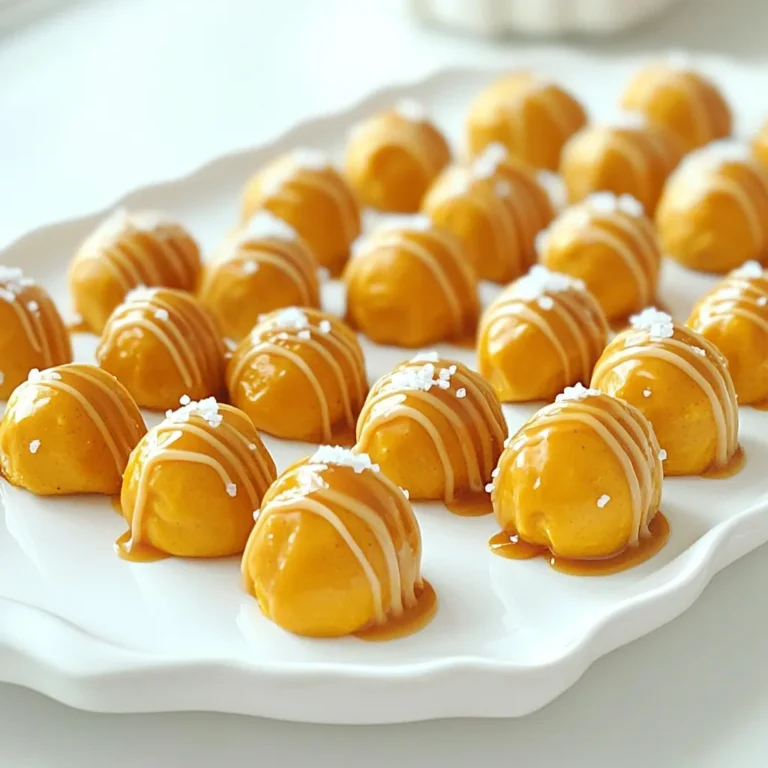
No Bake Caramel Pretzel Pumpkin Bites Delightful Treat
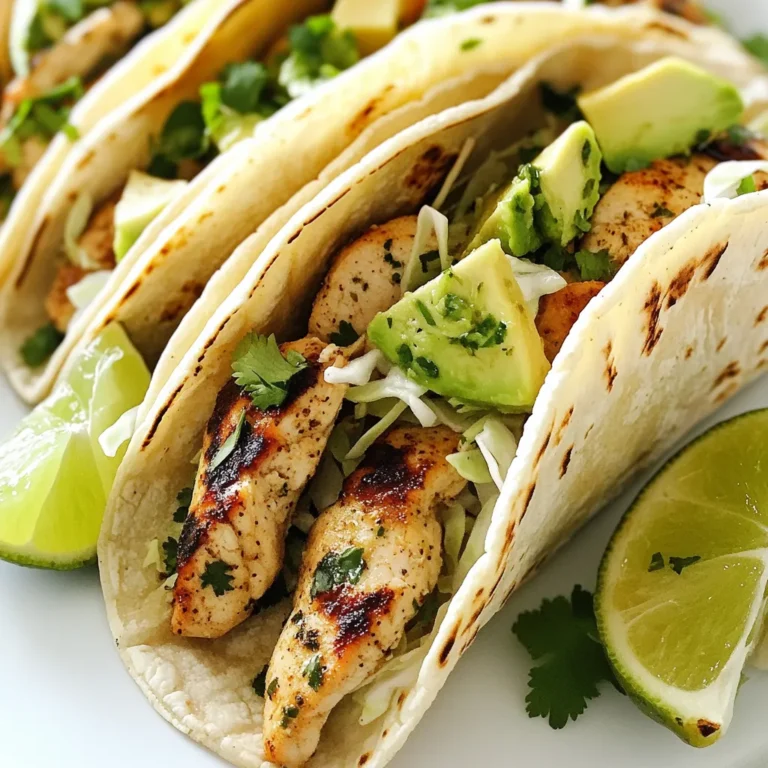
Cilantro Lime Chicken Tacos Fresh and Flavorful Feast
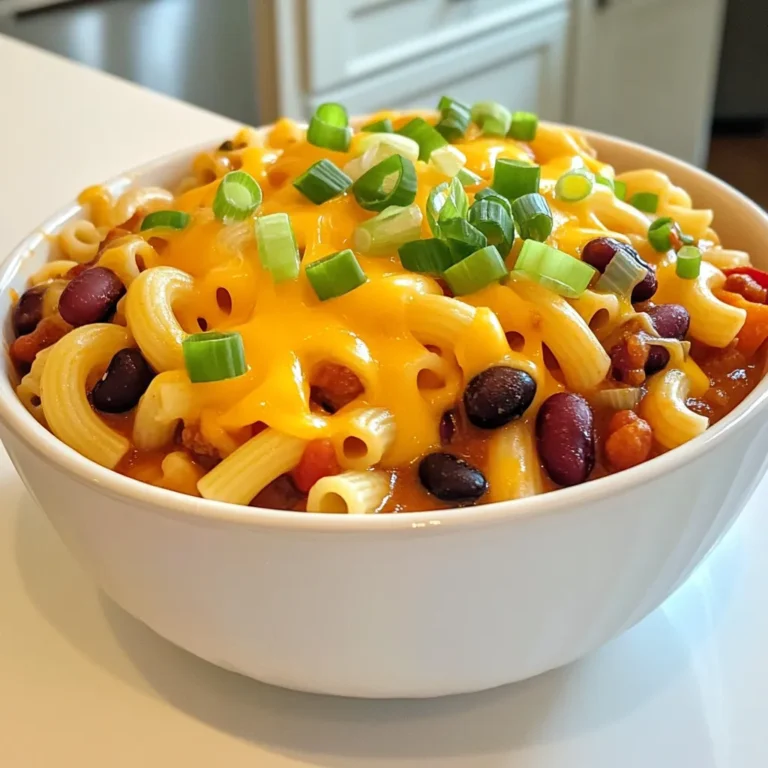
Slow Cooker Chili Mac & Cheese Savory Comfort Meal
1
2
…
18
NEXT