FREE DINNER EBOOK!
Get your copy!
Cookie Policy
GDPR Policy
Disclaimer
Terms Of Use
Visit my other site:
Fun Cookie Recipes
Home
Dinner
Desserts
Drinks
Appetizers
Contact
About
Privacy Policy
Home
Dinner
Desserts
Drinks
Appetizers
Contact
About
Privacy Policy
Cookie Policy
GDPR Policy
Disclaimer
Terms Of Use
Visit my other site:
Fun Cookie Recipes
HOME / CATEGORIES /
Latest
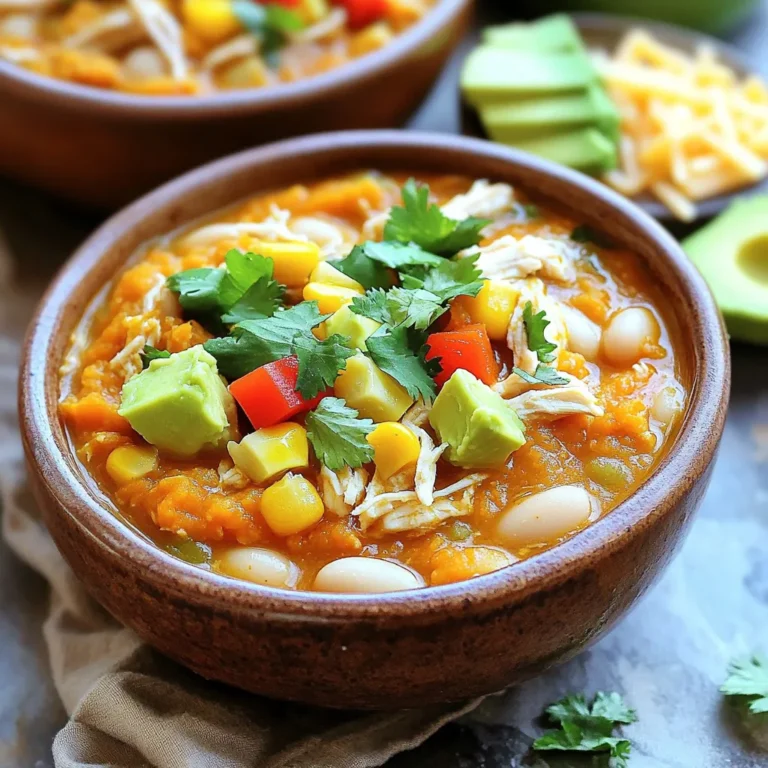
Slow Cooker Pumpkin White Chicken Chili Nourishing Meal
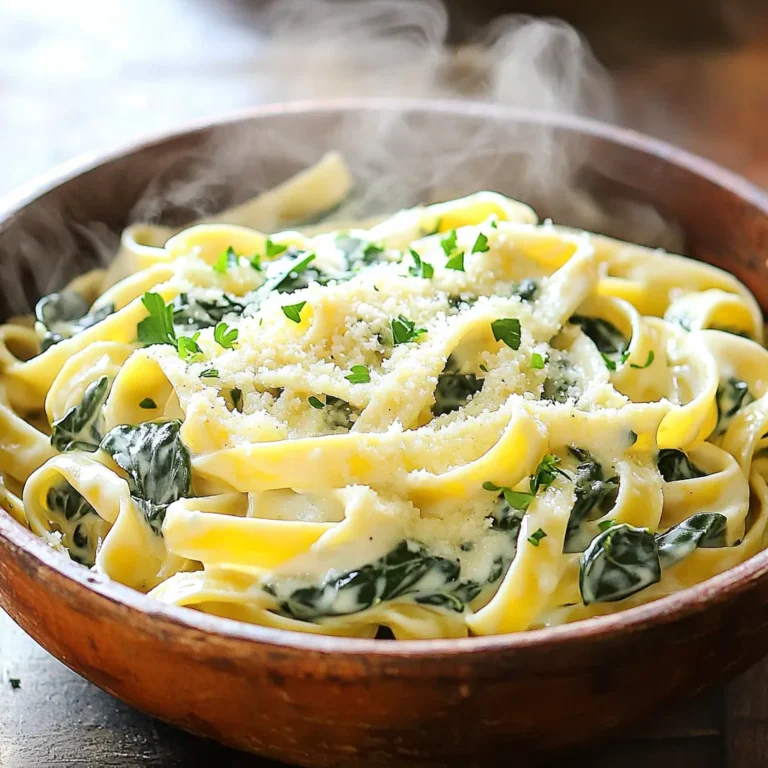
One-Pot Creamy Spinach Alfredo Pasta Delight
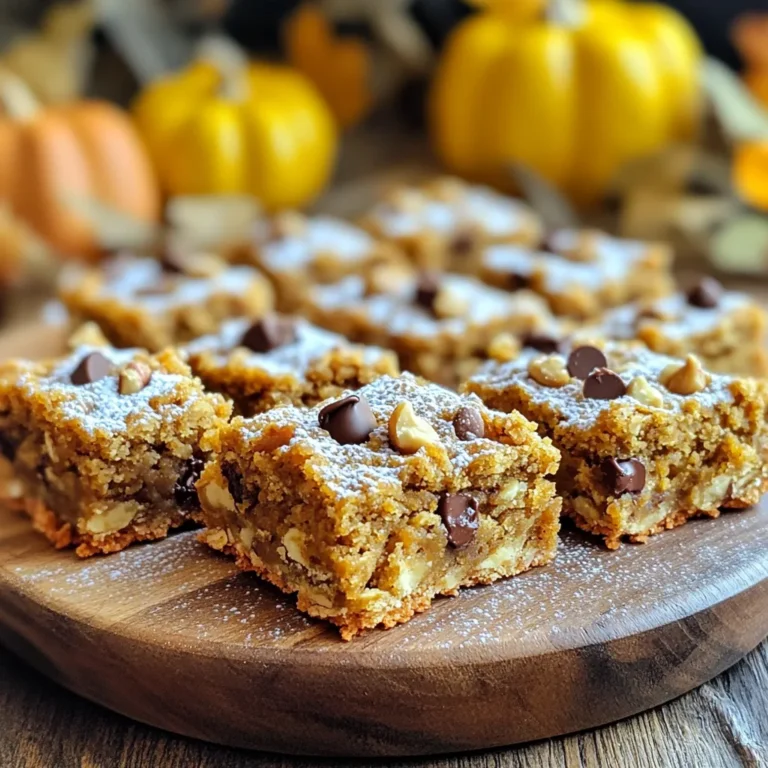
Pumpkin Spice Oatmeal Cookie Bars Delightful Treat
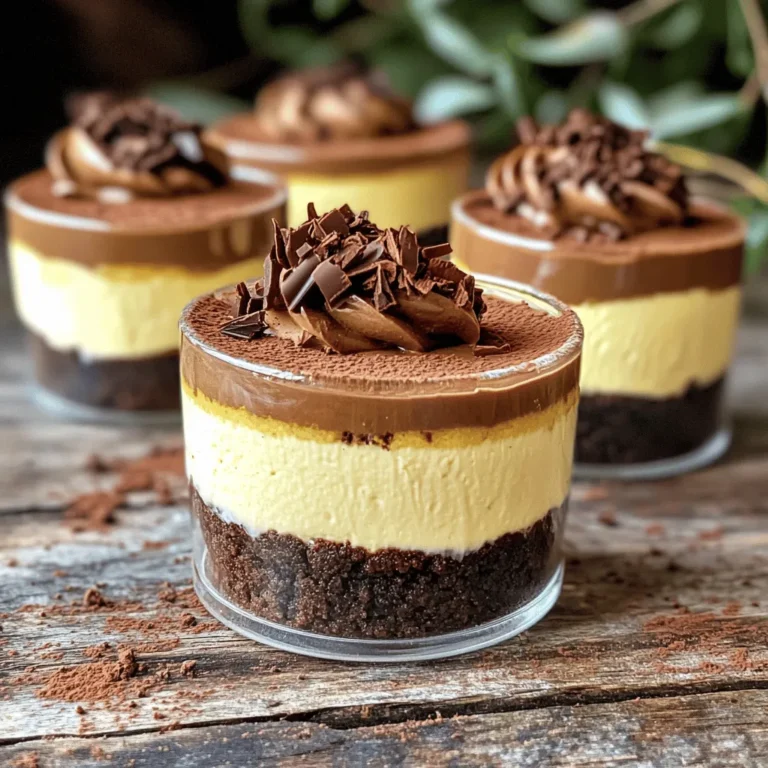
No Bake Mocha Cheesecake Cups Creamy Dessert Delight
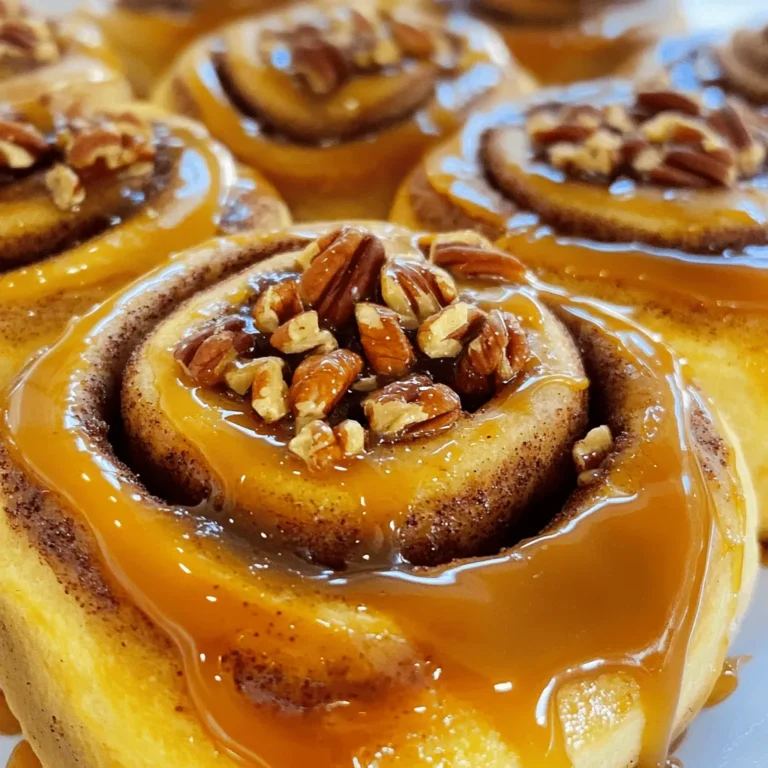
Caramel Pecan Cinnamon Rolls Irresistible Sweet Treat
Snickerdoodle Blondie Bars Sweet and Chewy Delight
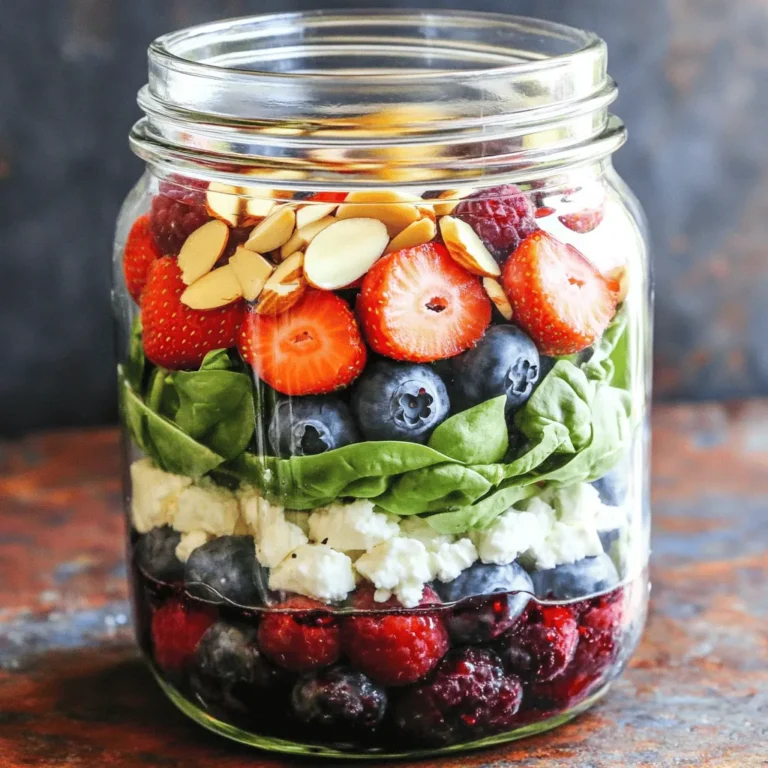
Berry Spinach Mason Jar Salads Quick and Fresh Idea
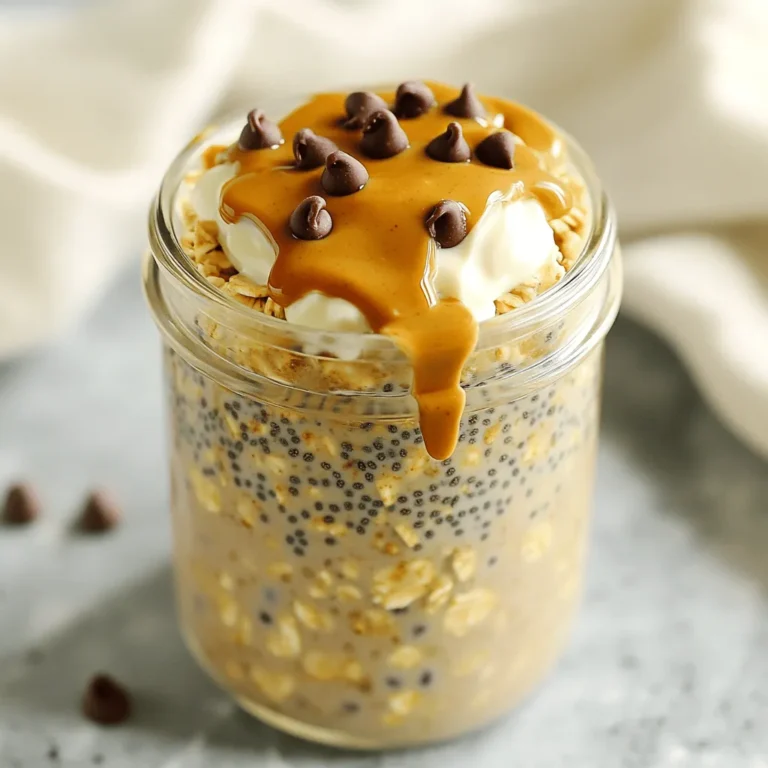
Cookie Dough Overnight Oats Tasty and Simple Recipe
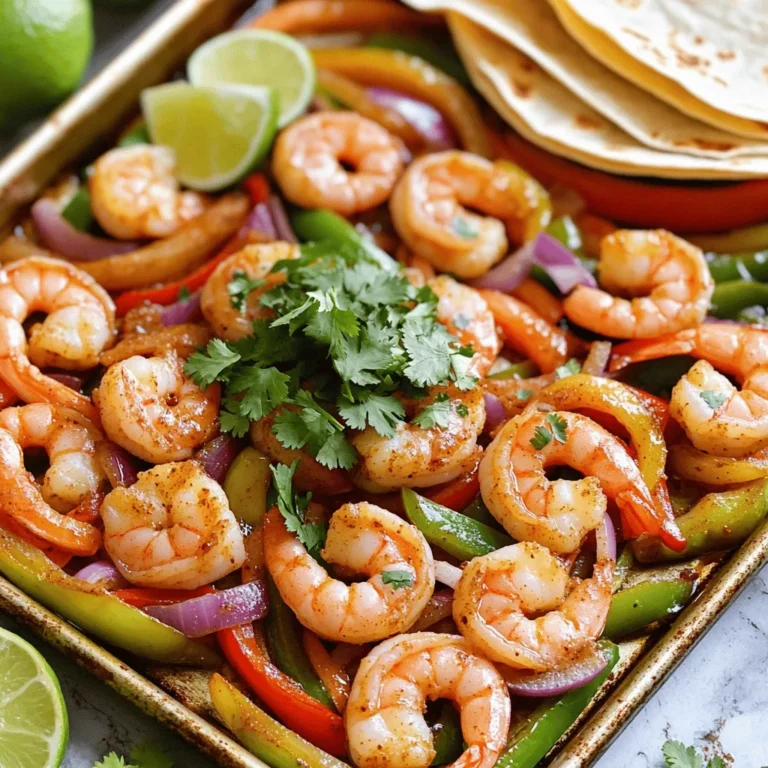
Garlic Butter Shrimp Fajitas Sheet Pan Delight
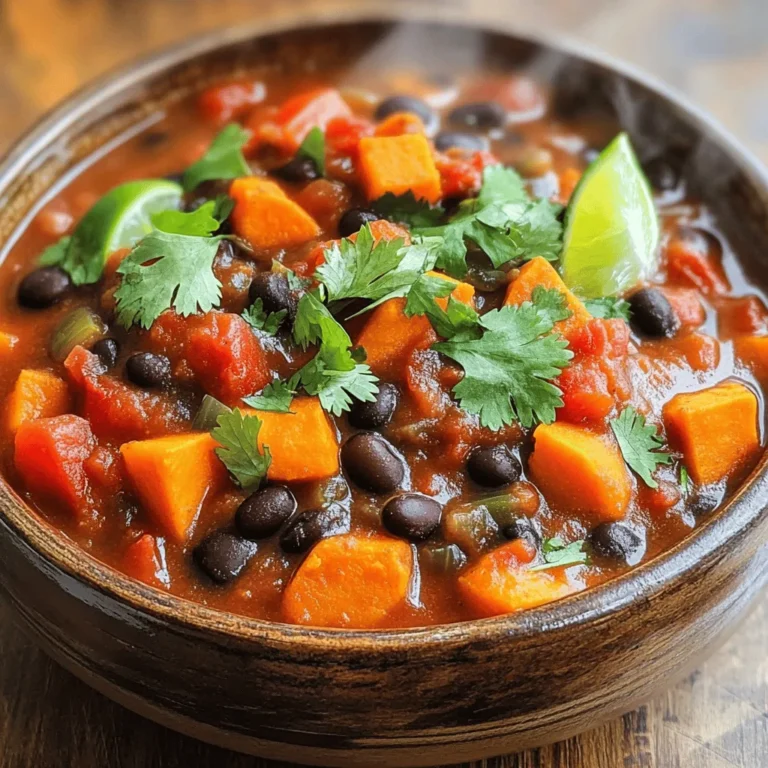
Savory Slow Cooker Sweet Potato Black Bean Chili Recipe
PREV
1
…
4
5
6
…
18
NEXT