FREE DINNER EBOOK!
Get your copy!
Cookie Policy
GDPR Policy
Disclaimer
Terms Of Use
Visit my other site:
Fun Cookie Recipes
Home
Dinner
Desserts
Drinks
Appetizers
Contact
About
Privacy Policy
Home
Dinner
Desserts
Drinks
Appetizers
Contact
About
Privacy Policy
Cookie Policy
GDPR Policy
Disclaimer
Terms Of Use
Visit my other site:
Fun Cookie Recipes
HOME / CATEGORIES /
Latest
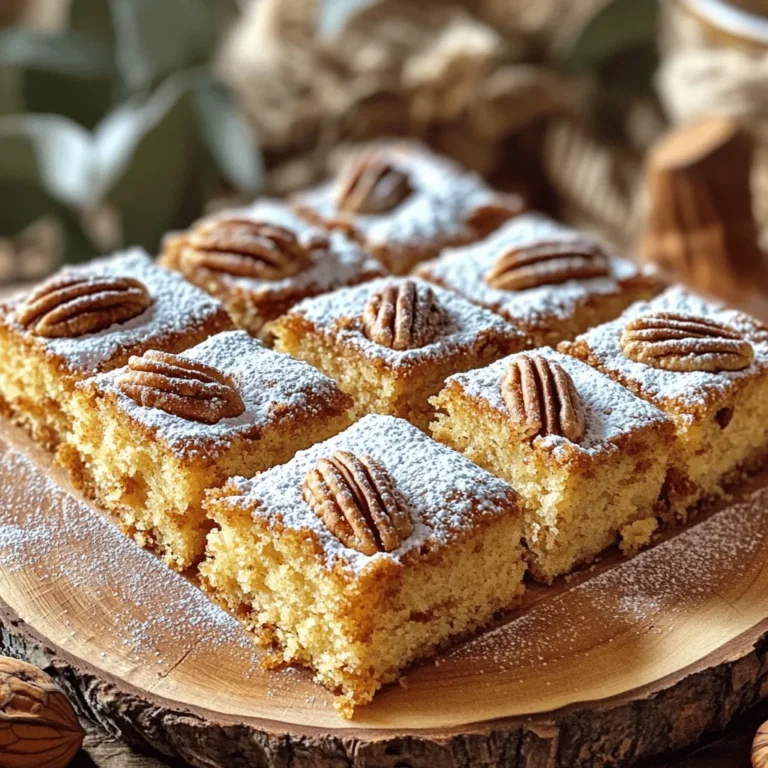
Brown Sugar Pecan Coffee Cake Irresistible Flavor
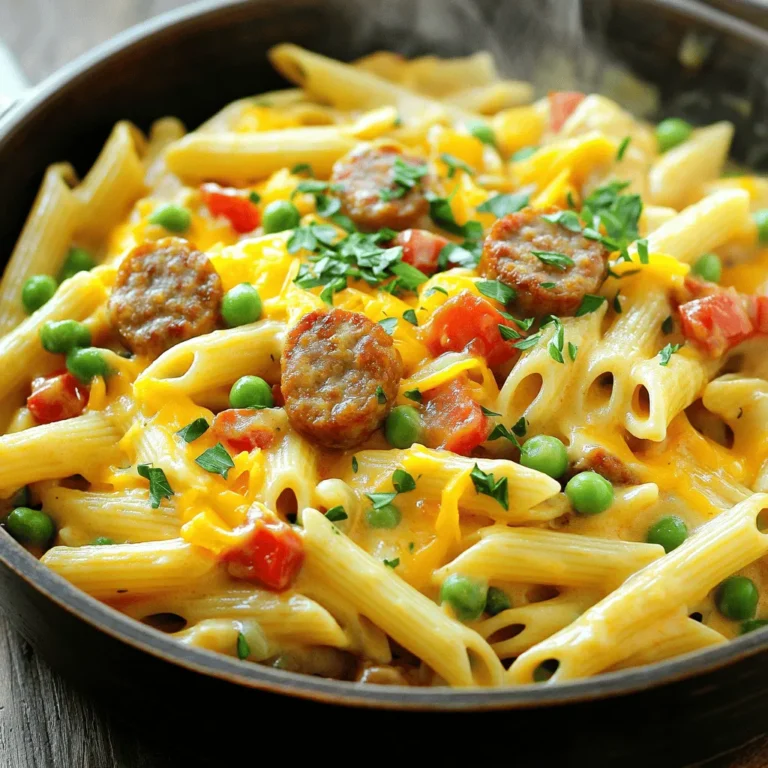
Cajun Sausage Pasta Skillet Flavor-Packed Meal
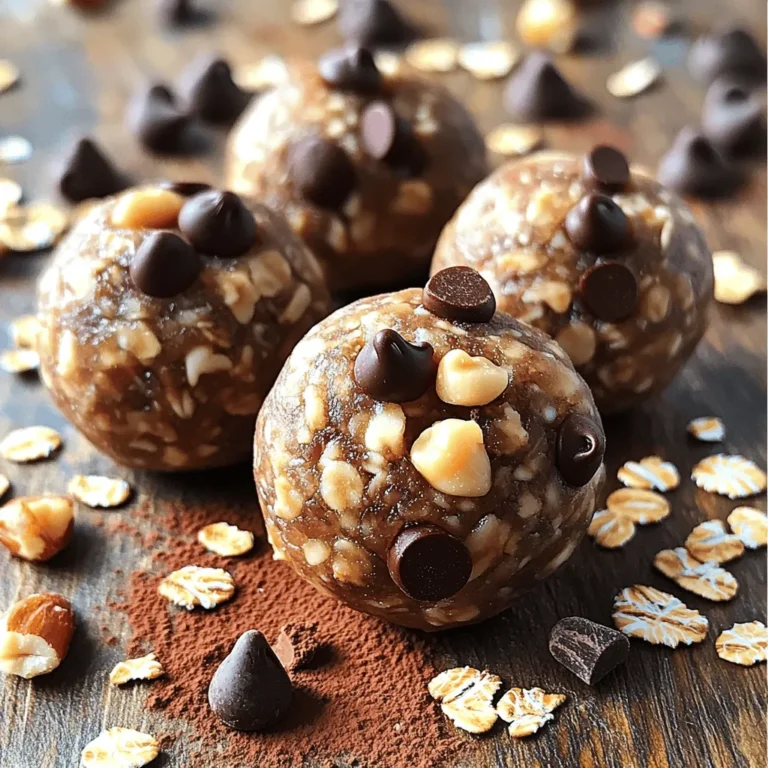
Mocha Oatmeal Energy Balls Easy and Nutritious Snack
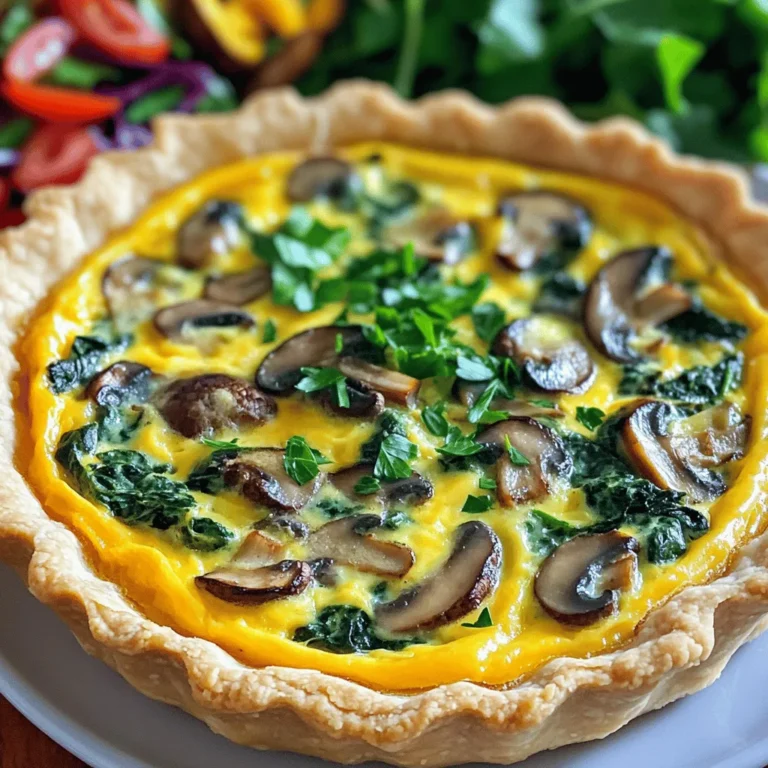
Spinach Mushroom Cheddar Quiche Savory and Nourishing
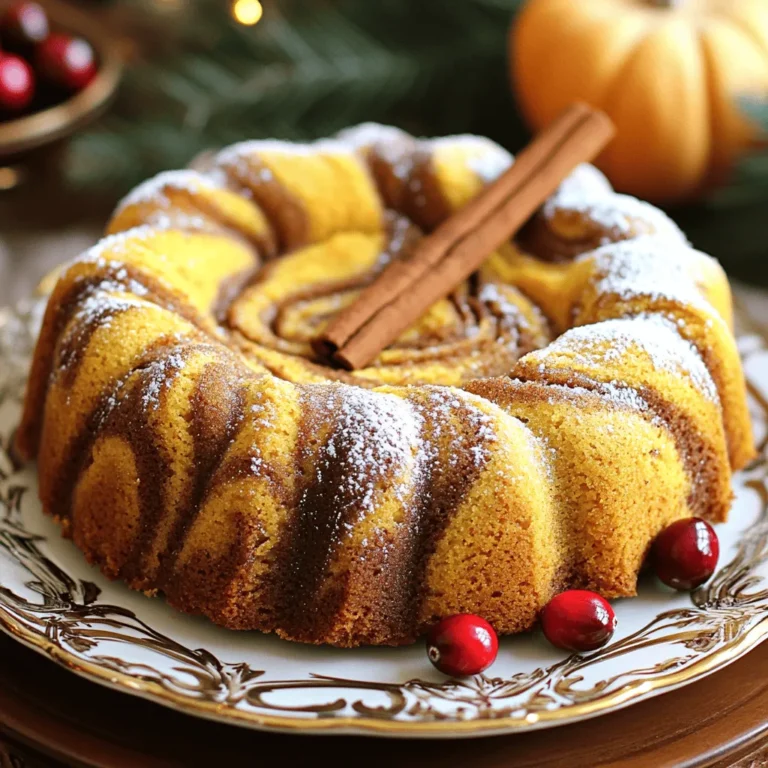
Pumpkin Swirl Pound Cake Irresistible and Moist Recipe
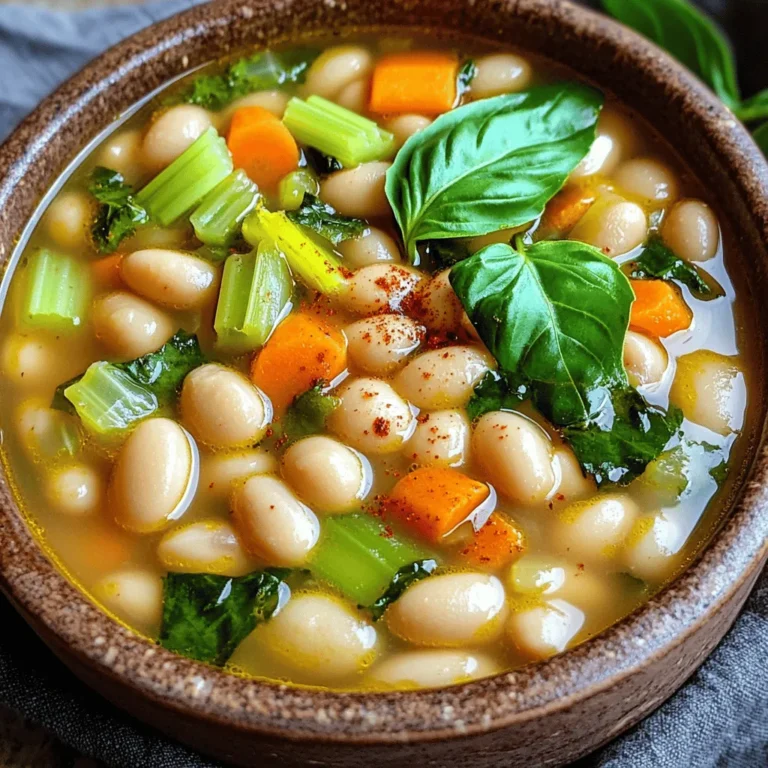
Slow Cooker Tuscan White Bean Soup Comfort Food Delight
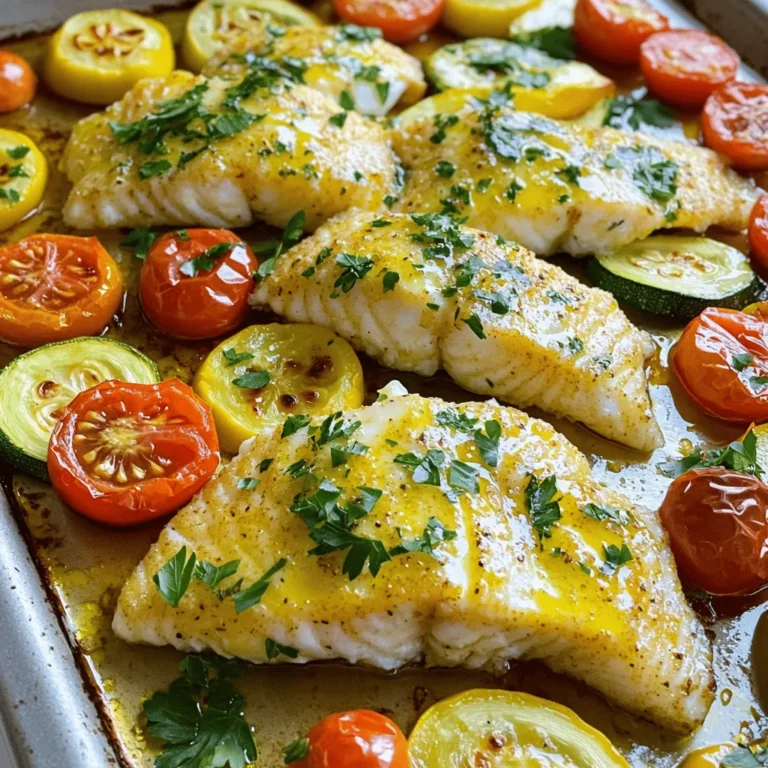
Sheet Pan Lemon Garlic Tilapia Simple and Tasty Meal
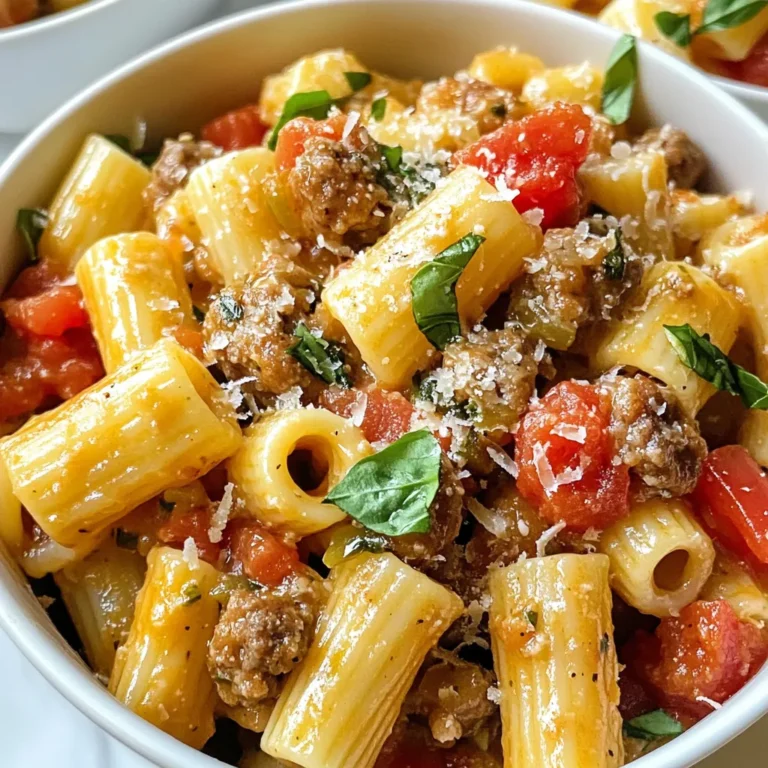
Creamy Marry Me Ditalini Sausage Pasta Delight
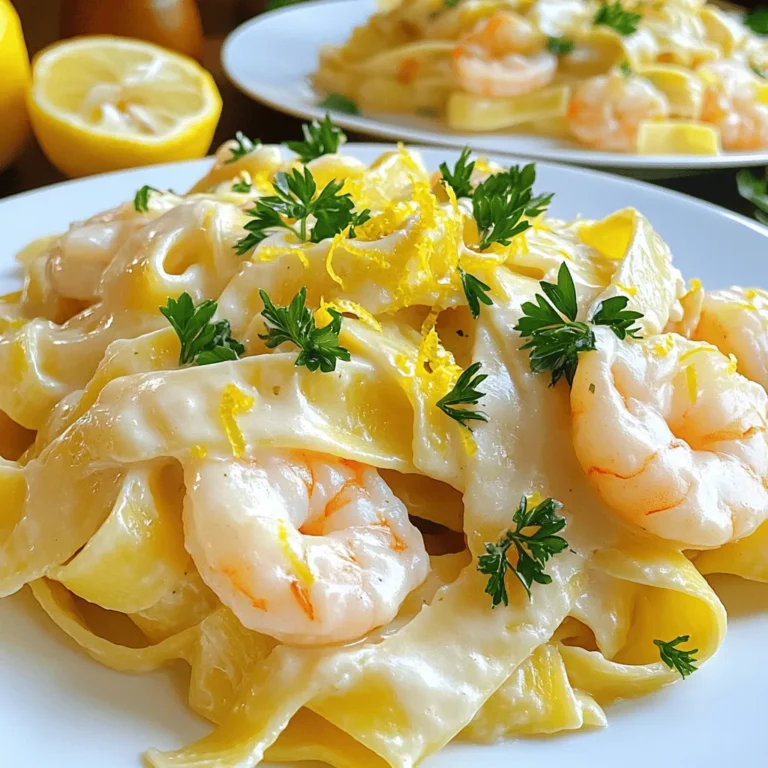
Creamy Lemon Garlic Shrimp Pasta Quick and Tasty Meal
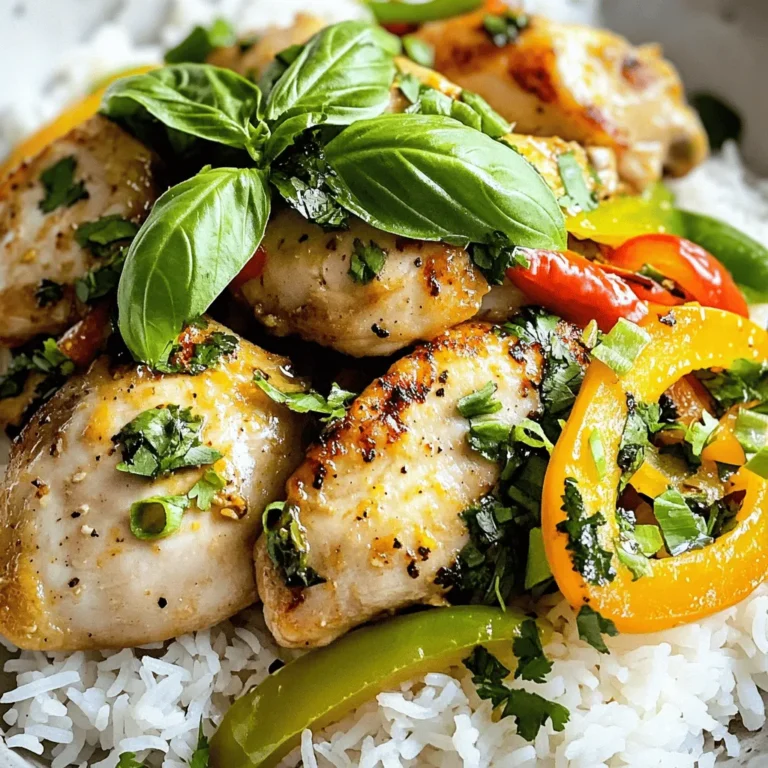
Spicy Thai Basil Chicken Flavorful and Simple Recipe
PREV
1
…
5
6
7
…
18
NEXT