FREE DINNER EBOOK!
Get your copy!
Cookie Policy
GDPR Policy
Disclaimer
Terms Of Use
Visit my other site:
Fun Cookie Recipes
Home
Dinner
Desserts
Drinks
Appetizers
Contact
About
Privacy Policy
Home
Dinner
Desserts
Drinks
Appetizers
Contact
About
Privacy Policy
Cookie Policy
GDPR Policy
Disclaimer
Terms Of Use
Visit my other site:
Fun Cookie Recipes
HOME / CATEGORIES /
Latest
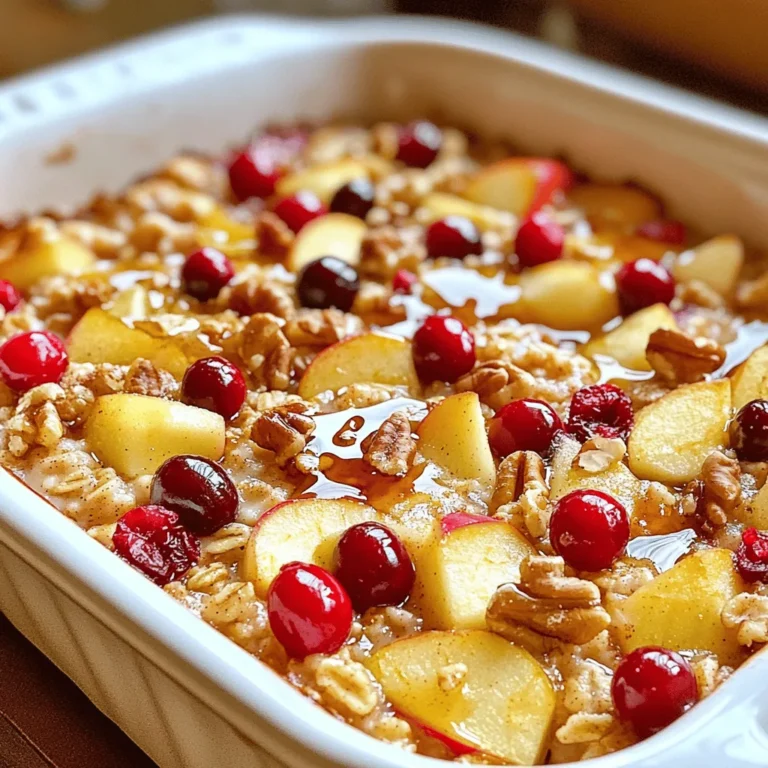
Apple Cranberry Oatmeal Breakfast Bake Delightful Dish
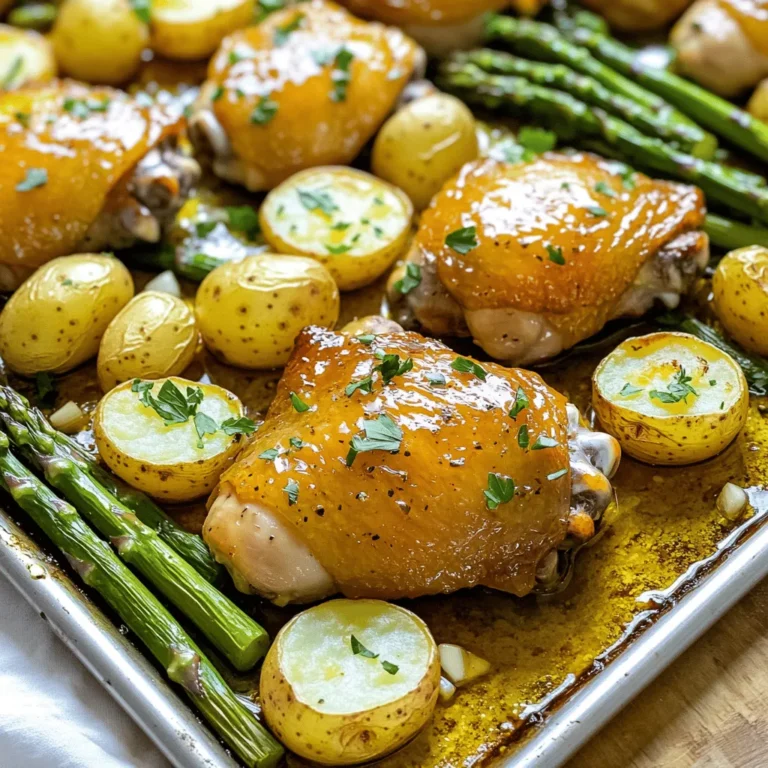
Honey Mustard Chicken Thighs Sheet Pan Delight
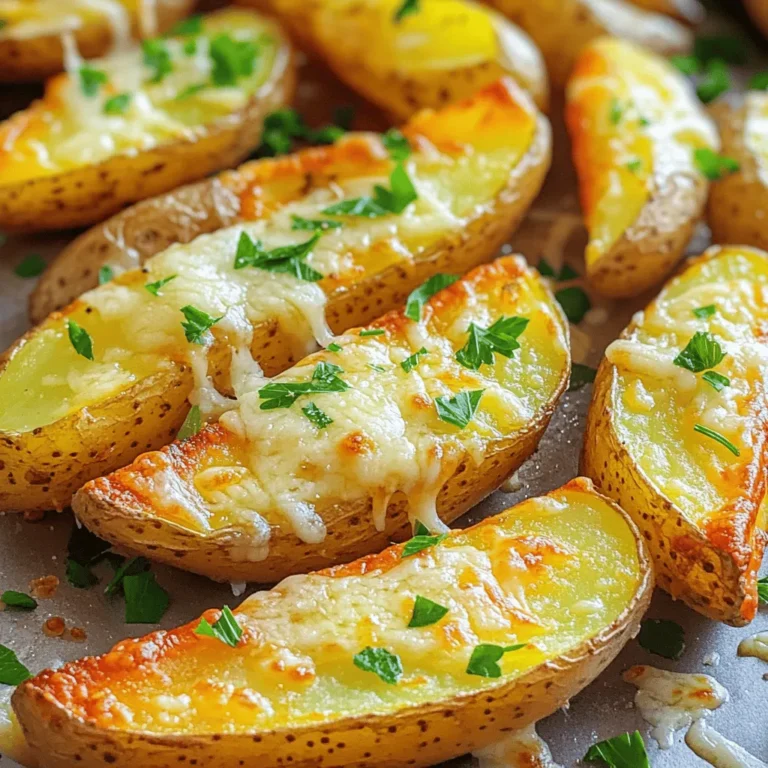
Garlic Parmesan Potato Wedges Air Fryer Delight
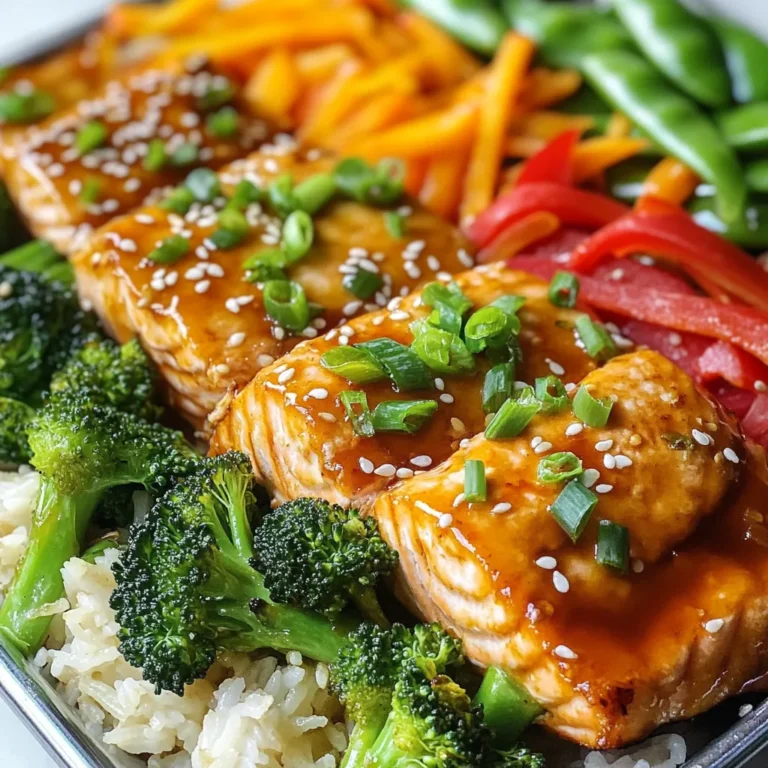
Sheet Pan Teriyaki Salmon and Veggies Tasty Dinner
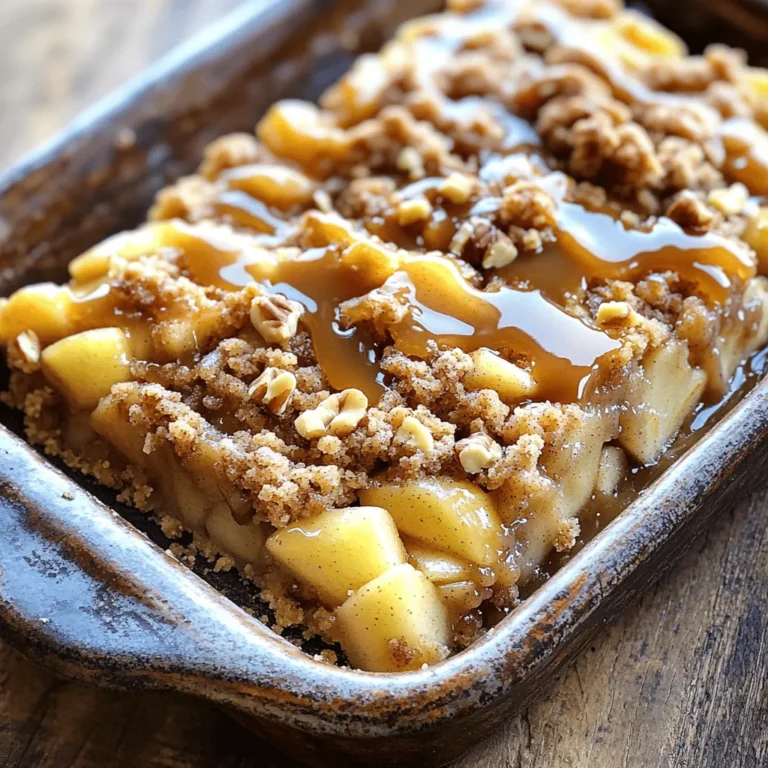
Caramel Apple Streusel Bars Irresistible Baked Treat
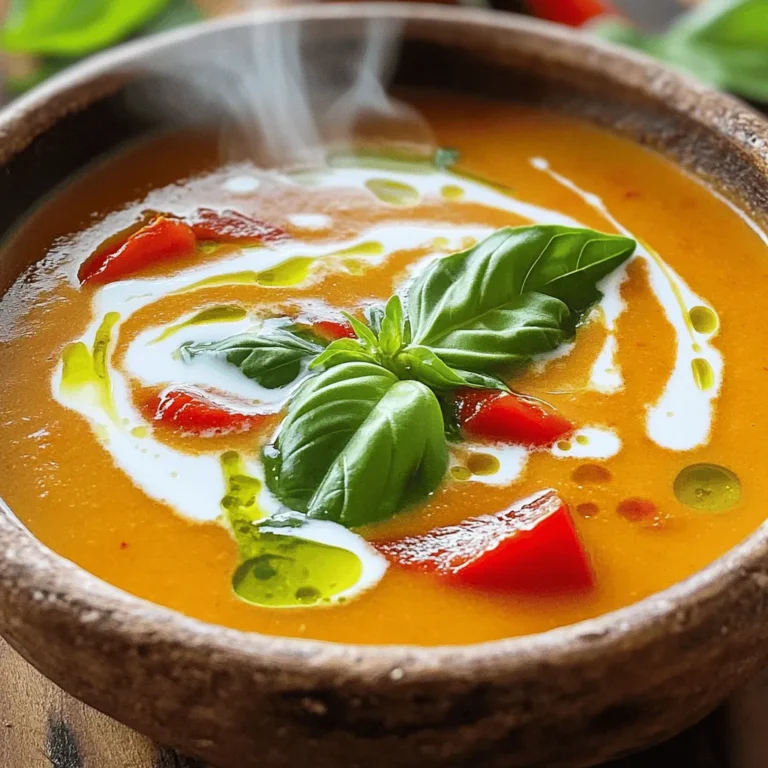
Cozy Roasted Red Pepper Tomato Soup Flavor Infusion
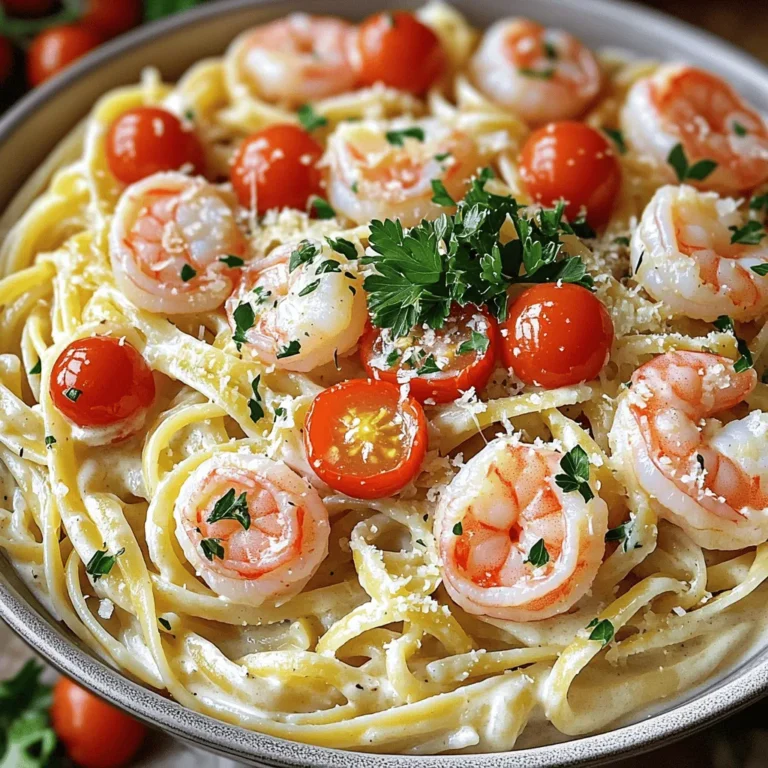
Creamy Garlic Shrimp Linguine Flavorful Pasta Delight
Cottage Cheese Chocolate Mousse Cups Delightful Treat
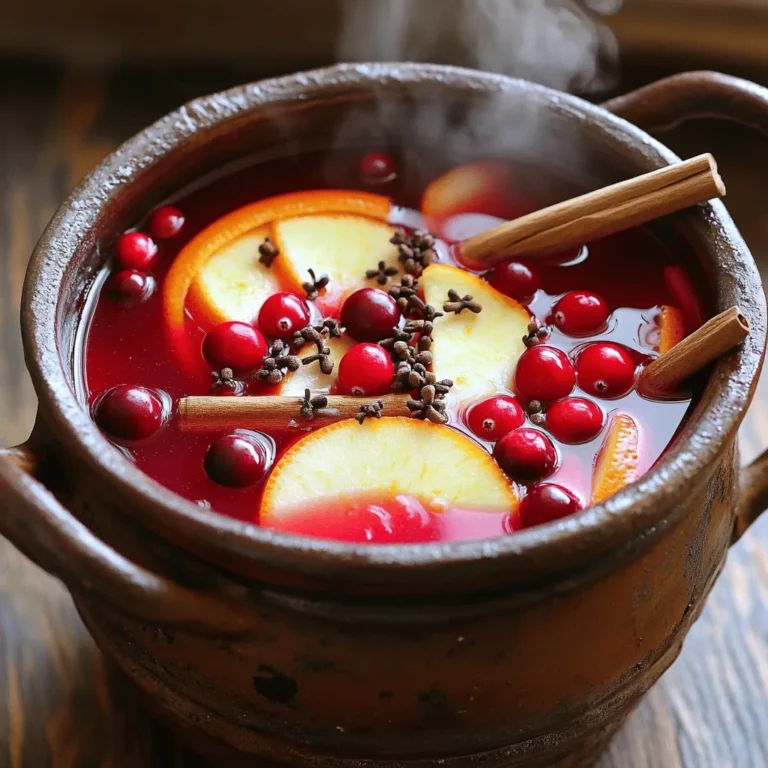
Mulled Cranberry Cider with Orange Flavor Boost
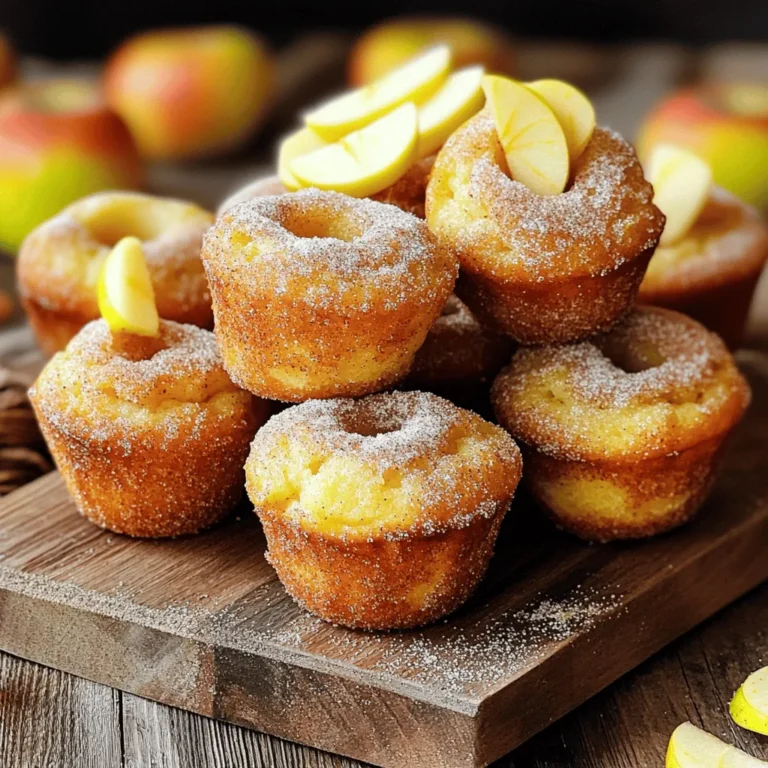
Apple Cider Donut Muffins Tasty and Simple Recipe
PREV
1
…
7
8
9
…
18
NEXT