FREE DINNER EBOOK!
Get your copy!
Cookie Policy
GDPR Policy
Disclaimer
Terms Of Use
Visit my other site:
Fun Cookie Recipes
Home
Dinner
Desserts
Drinks
Appetizers
Contact
About
Privacy Policy
Home
Dinner
Desserts
Drinks
Appetizers
Contact
About
Privacy Policy
Cookie Policy
GDPR Policy
Disclaimer
Terms Of Use
Visit my other site:
Fun Cookie Recipes
HOME / CATEGORIES /
Latest
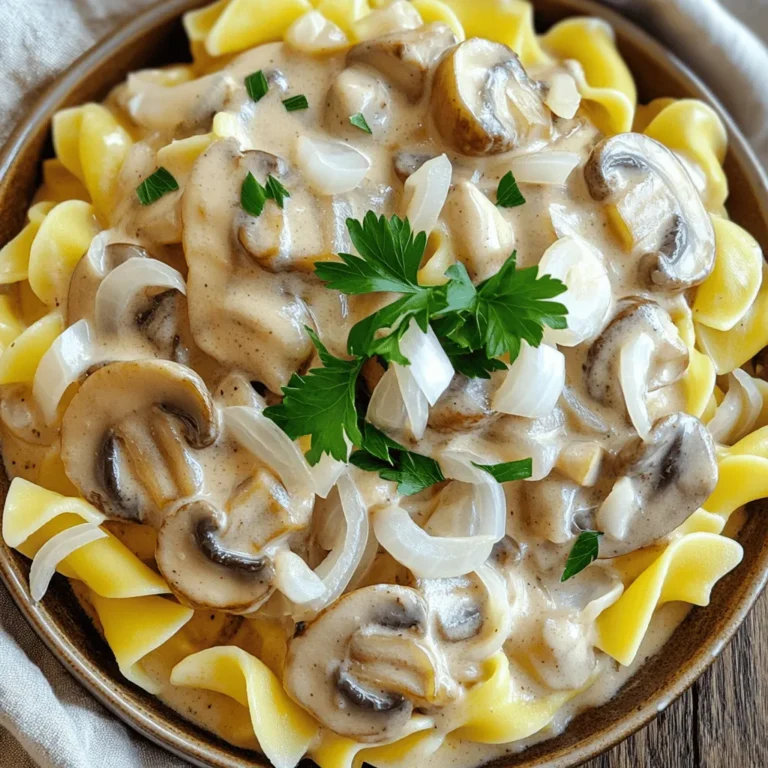
Slow Cooker Creamy Mushroom Stroganoff Delight
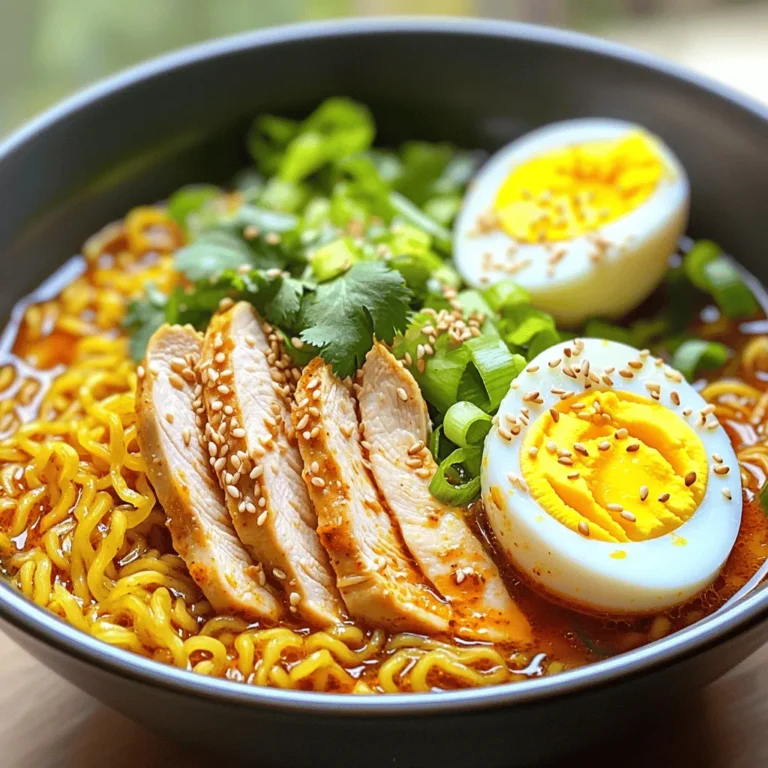
Minute Chili Garlic Chicken Ramen Flavorful Meal Idea
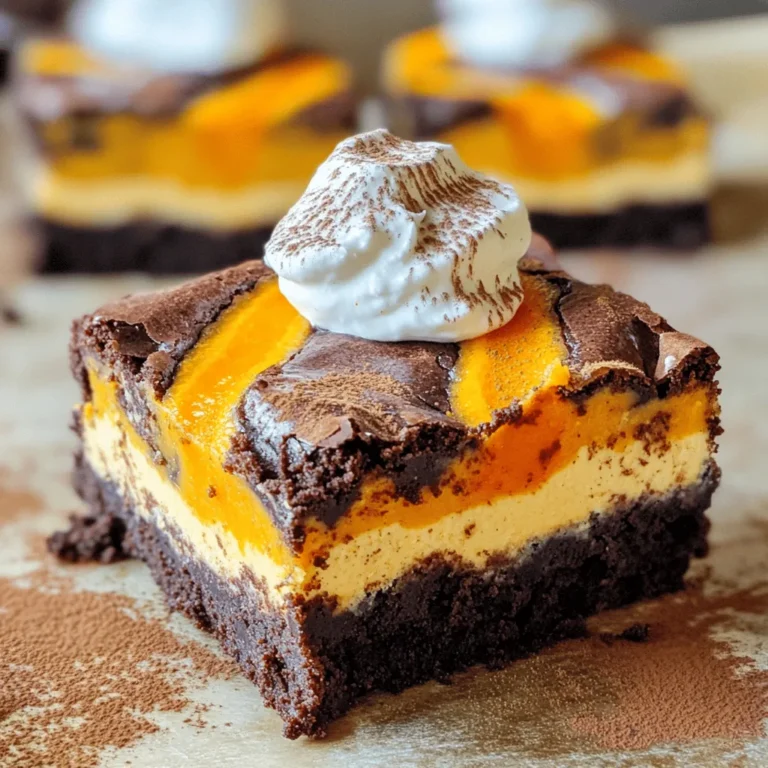
Pumpkin Cheesecake Brownie Swirl Bars Delightful Treat
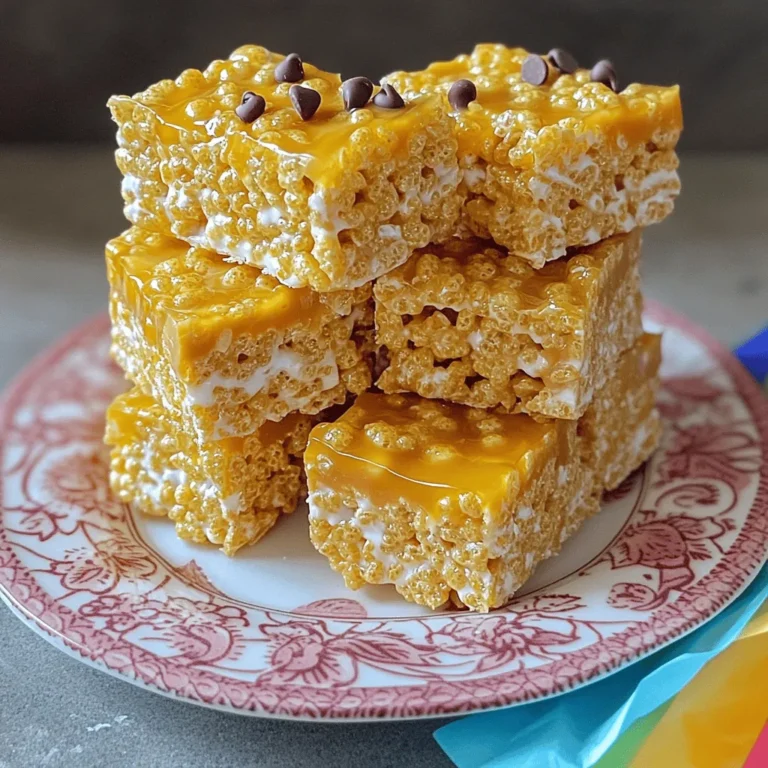
No-Bake Peanut Butter Rice Krispie Treats Delight
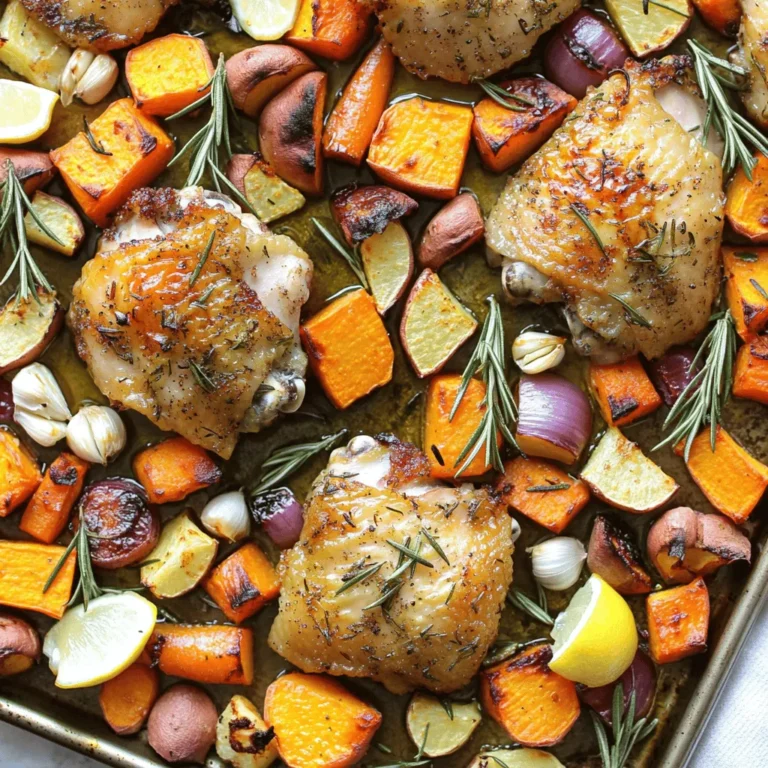
Sheet Pan Rosemary Chicken & Root Veggies Delight
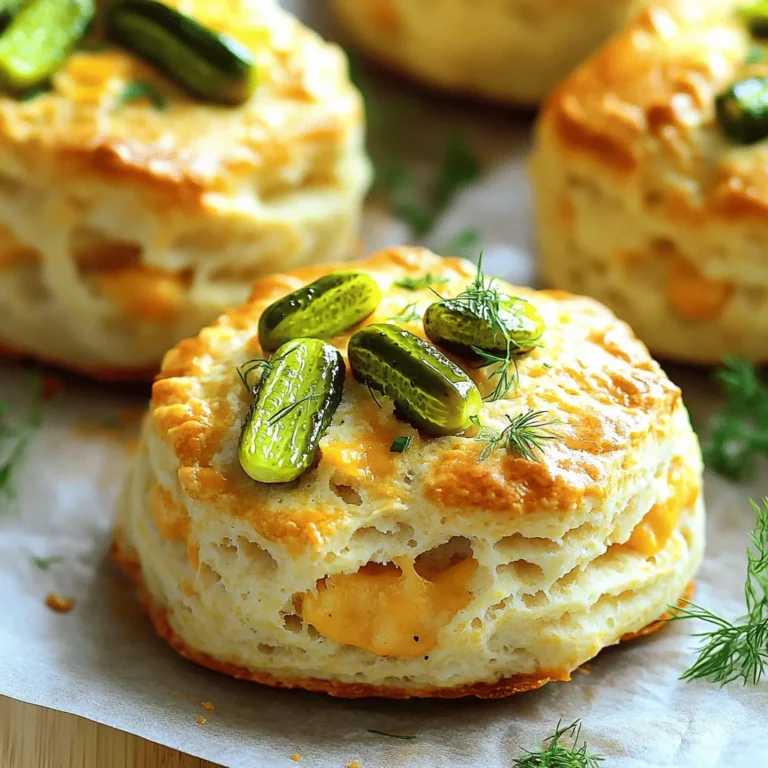
Dill Pickle Cheddar Biscuits Easy and Flavorful Recipe
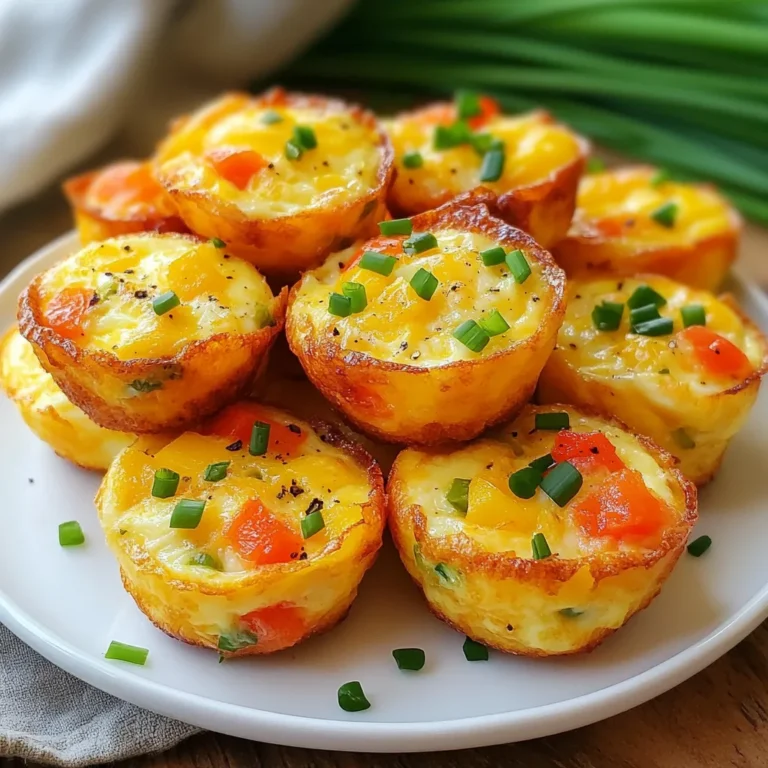
Copycat Starbucks Egg Bites Flavorful and Simple Recipe
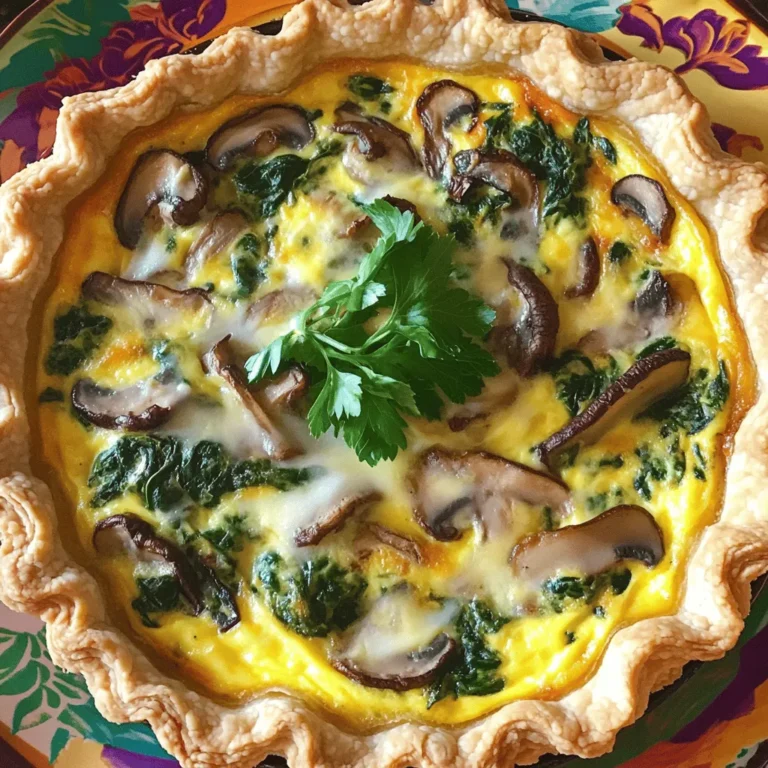
Spinach Mushroom Quiche Simple and Flavorful Meal
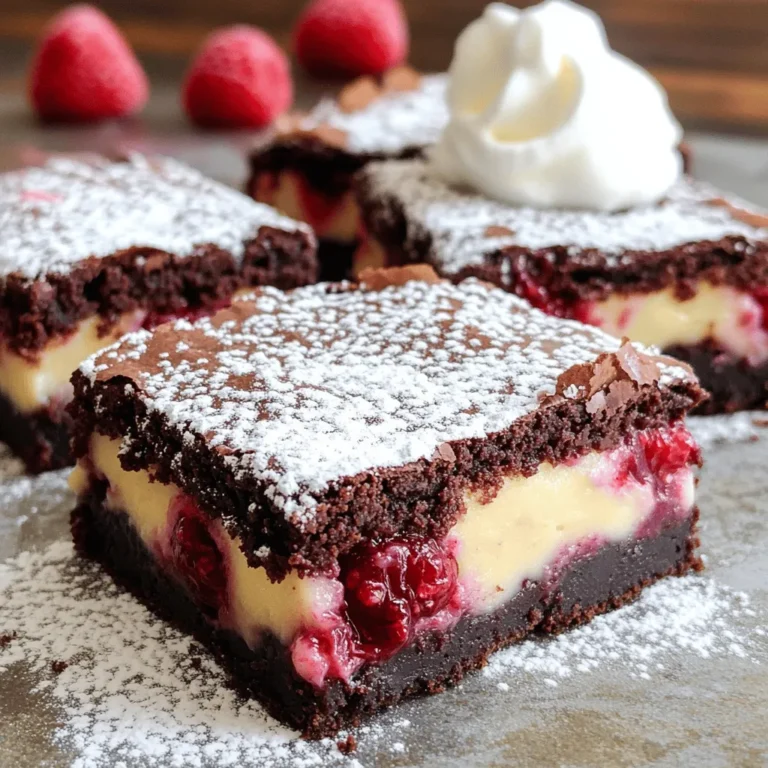
Raspberry Cheesecake Swirl Brownies Irresistible Delight
Carrot Cake Overnight Oats Wholesome and Tasty Mix
PREV
1
…
8
9
10
…
18
NEXT