Craving a tasty twist on taco night? Dive into these Baked Buffalo Cauliflower Tacos! They're loaded with flavor, quick to make, and oh-so-satisfying. You’ll love the crispy cauliflower, enveloped in your favorite tortillas, topped with creamy avocado and crunchy cabbage. Whether you’re a veggie lover or just looking for something new, these tacos will hit the spot. Let's get started and create a dish that everyone will enjoy!
Why I Love This Recipe
- Flavor Explosion: The combination of crispy buffalo cauliflower with fresh toppings creates a delightful mix of textures and flavors.
- Healthier Option: This recipe offers a nutritious twist on traditional tacos, making it a perfect choice for health-conscious eaters.
- Customizable: You can easily adjust the heat level of the buffalo sauce and add your favorite toppings to suit your taste.
- Quick and Easy: With minimal prep time, these tacos are a great option for busy weeknights or casual gatherings.
Ingredients
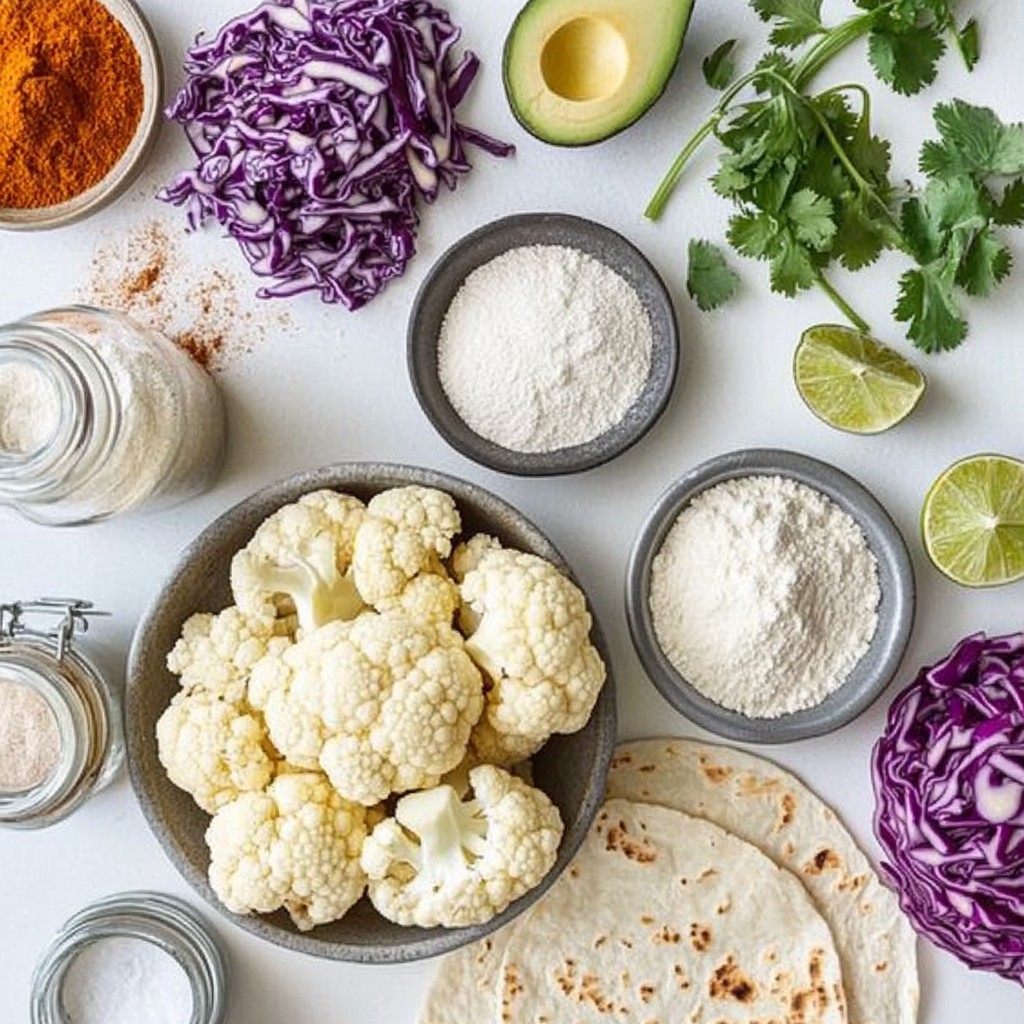
Main Ingredients List
- Cauliflower
- Panko breadcrumbs
- Buffalo sauce
- Tortillas
- Avocado, red cabbage, and cilantro
The base of this dish is the cauliflower. I like to use a medium head of cauliflower, cut into bite-sized florets. This makes them easy to eat and cook evenly. Panko breadcrumbs add a nice crunch. They coat the cauliflower and create a crispy texture. For the sauce, buffalo sauce gives it a spicy kick. Choose your favorite brand or heat level.
Next, we need tortillas. You can use corn or flour. Both options work well. Finally, top your tacos with fresh avocado slices, shredded red cabbage, and chopped cilantro. These toppings give a great balance of flavors and color.
Optional & Substitution Ingredients
- Gluten-free flour options
- Alternative toppings
If you need a gluten-free option, use gluten-free flour instead of all-purpose flour. This keeps the coating crispy without the gluten. You can also swap the toppings. Try adding sliced radishes or a dollop of sour cream for a different twist.
Spices and Seasonings
- Garlic powder, onion powder, paprika
For flavor, I use garlic powder, onion powder, and paprika. Each spice adds depth to the cauliflower. Garlic powder brings a savory note. Onion powder adds sweetness. Paprika gives a subtle smokiness. Adjust the spices to fit your taste.
Step-by-Step Instructions
Preparation Steps
- Preheat the oven: Start by preheating your oven to 450°F (232°C). This step is vital for crispiness.
- Prepare cauliflower florets: Cut a medium head of cauliflower into bite-sized florets. Place them in a large bowl.
Breading & Baking the Cauliflower
- Coating the cauliflower with flour and breadcrumbs: In a separate bowl, mix flour, garlic powder, onion powder, paprika, smoked paprika, salt, and pepper. Toss the cauliflower in this mixture until well coated.
- Baking instructions and timing: Next, move the coated cauliflower to a bowl with panko breadcrumbs. Toss them until each piece is covered. Lay the cauliflower on a baking sheet lined with parchment paper. Bake for 20-25 minutes, flipping halfway, until golden brown and crispy.
Assembling the Tacos
- Filling and topping the tortillas: Warm your tortillas in a pan or microwave. Once the cauliflower is ready, fill each tortilla with the baked cauliflower.
- Serving recommendations: Top the tacos with slices of avocado, shredded red cabbage, and chopped cilantro. Serve them hot with lime wedges for extra flavor.
Tips & Tricks
Perfecting the Cauliflower Texture
To get crispy results, first, coat the cauliflower well. Use a mix of flour and spices. This creates a nice layer. Panko breadcrumbs add extra crunch. Bake instead of frying for a healthier option. Baking gives you that crispy edge without all the oil.
Flavor Enhancements
To boost flavor, consider adding extra spices. Try cayenne for heat or cumin for warmth. You can also mix in some garlic powder or smoked paprika. For a homemade buffalo sauce, combine hot sauce, melted butter, and a dash of vinegar. This way, you control the spice level.
Meal Prep Tips
Make-ahead suggestions can save you time. Prep the cauliflower and coat it earlier in the day. Store it in the fridge until you're ready to bake. For freezing, place baked cauliflower in an airtight container. It stays fresh for up to three months. Just reheat in the oven to regain crispiness.
Pro Tips
- Choose Your Heat Level: Select a buffalo sauce that suits your heat preference—mild, medium, or hot—to customize the spice level of your tacos.
- Make It Vegan: For a vegan option, ensure your buffalo sauce is plant-based and use gluten-free tortillas if needed.
- Extra Crispy Cauliflower: For an even crispier texture, consider double coating the cauliflower by dipping it in the flour mixture, then back in the flour before coating it with panko.
- Add More Veggies: Feel free to add more toppings like diced tomatoes, jalapeños, or a drizzle of ranch or blue cheese dressing for added flavor and freshness.
Variations
Alternative Proteins
You can switch things up by adding beans or lentils to your tacos. Black beans or chickpeas work well. They give you protein and fiber. You can also try plant-based meat options. There are many brands that mimic ground meat. This way, you can enjoy a hearty taco without meat.
Different Flavor Profiles
Want to change the flavor? You can make your tacos sweet and spicy. Add honey or maple syrup to the buffalo sauce. This gives a nice twist. Or, try an Asian-inspired version. Use soy sauce and ginger for a different taste. You can even add sesame seeds for crunch.
Taco Fillings
Feel free to explore other vegetables for your filling. Roasted sweet potatoes or corn add great flavor. You can also mix in roasted bell peppers for color and taste. For toppings, think outside the box. Try pickled onions, crumbled feta, or even a mango salsa. Each choice adds a unique twist to your tacos.
Storage Information
Storing Leftovers
To keep your baked buffalo cauliflower tacos fresh, store them in the fridge. Use an airtight container to lock in moisture. This will help maintain the flavor and texture. Try to eat the leftovers within three days for the best taste.
Reheating Instructions
You can reheat your tacos in two ways: the oven or the microwave. For the best results, use the oven. Preheat it to 350°F (175°C) and place the tacos on a baking sheet. Heat them for about 10 minutes. This keeps the cauliflower crispy. If you use the microwave, heat them for about 1-2 minutes. However, the microwave may make the tacos a bit soggy.
Freezing for Future Meals
If you want to freeze your tacos, wrap each one tightly in plastic wrap. Then, place them in a freezer bag. This helps prevent freezer burn. When you’re ready to eat, thaw them in the fridge overnight. To reheat from frozen, bake them at 350°F (175°C) for 15-20 minutes.
FAQs
What is the best way to store baked buffalo cauliflower tacos?
Store baked buffalo cauliflower tacos in an airtight container. Place them in the fridge if you plan to eat them within three days. For longer storage, freeze the tacos. Wrap each taco in plastic wrap, then place them in a freezer bag. They can last up to three months in the freezer. When ready to eat, thaw them overnight in the fridge.
Can I make these tacos gluten-free?
Yes! Use gluten-free flour instead of all-purpose flour. You can also use gluten-free panko breadcrumbs. Always check labels to ensure no gluten is present. Many corn tortillas are gluten-free, but confirm that they are labeled as such. This way, you can enjoy these tacos safely.
How can I make the buffalo sauce less spicy?
To tone down the spice in buffalo sauce, mix it with some ranch or blue cheese dressing. You can also use a milder hot sauce. Look for sweet chili sauce as a tasty option. Adjust the amount to your taste, ensuring you still enjoy the flavor without the heat.
In this post, we explored how to make delicious baked buffalo cauliflower tacos. We covered the main ingredients, preparation steps, and tips for perfecting the texture. I shared variations like alternative proteins and flavor profiles to keep things fresh.
Remember, these tacos are easy to adjust to your taste. Store leftovers properly and reheat them for great meals later. Enjoy your tasty, healthy treat!