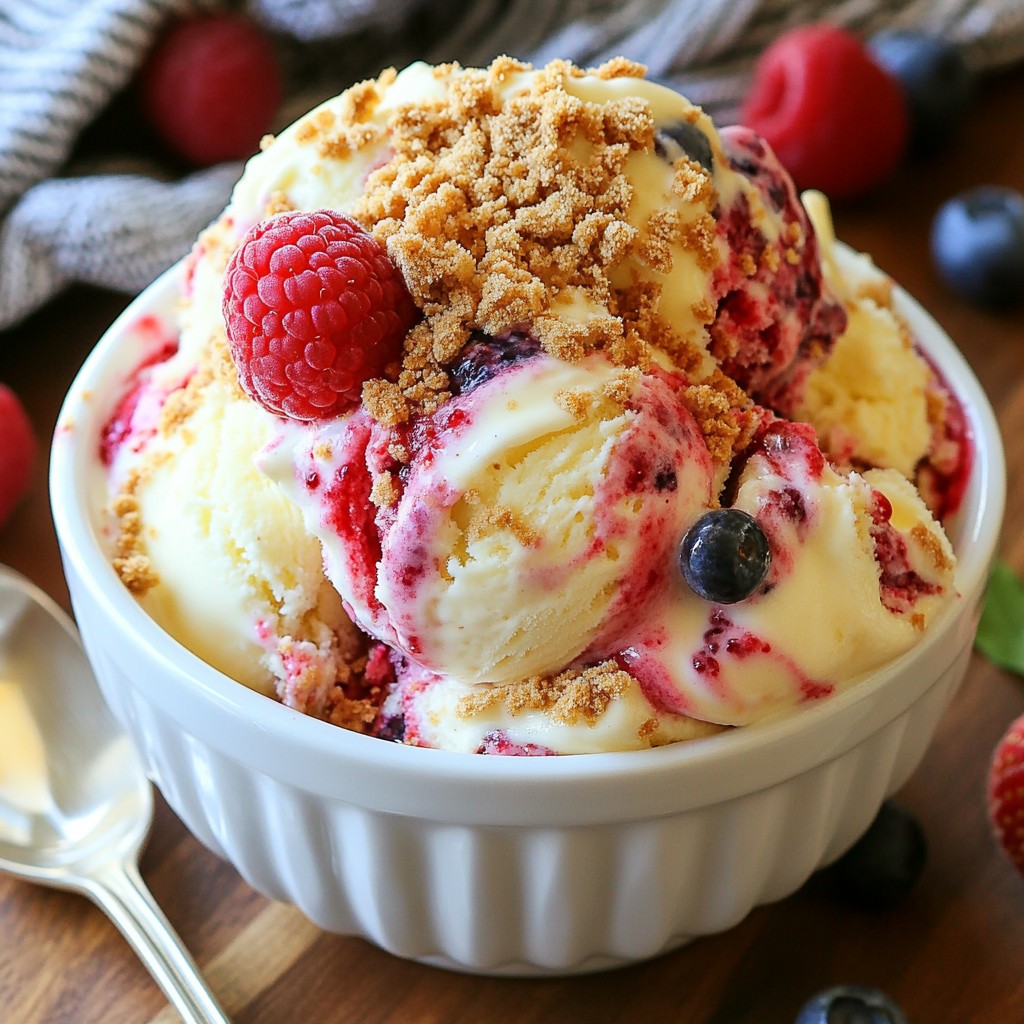
Are you ready to dive into a creamy, dreamy dessert? This Berry Cheesecake Ice Cream combines fresh berries with a rich, smooth cream cheese base. It’s the perfect treat for any warm day or a cozy night in. With simple ingredients and easy steps, you’ll impress your friends and family. Plus, I’ll share tips to make it just how you like. Let’s start turning those berries into a delicious delight!
Why I Love This Recipe
- Deliciously Creamy: This ice cream combines the rich texture of cream cheese with the lightness of whipped cream, creating a perfectly creamy treat.
- Fresh Berries: The use of mixed fresh berries not only adds vibrant color but also offers a burst of flavor in every scoop.
- Easy to Make: With simple ingredients and straightforward steps, this recipe is perfect for anyone, even those new to making ice cream.
- Customizable: You can easily adjust the types of berries or add other mix-ins, making this recipe versatile for any fruit lover!
Ingredients
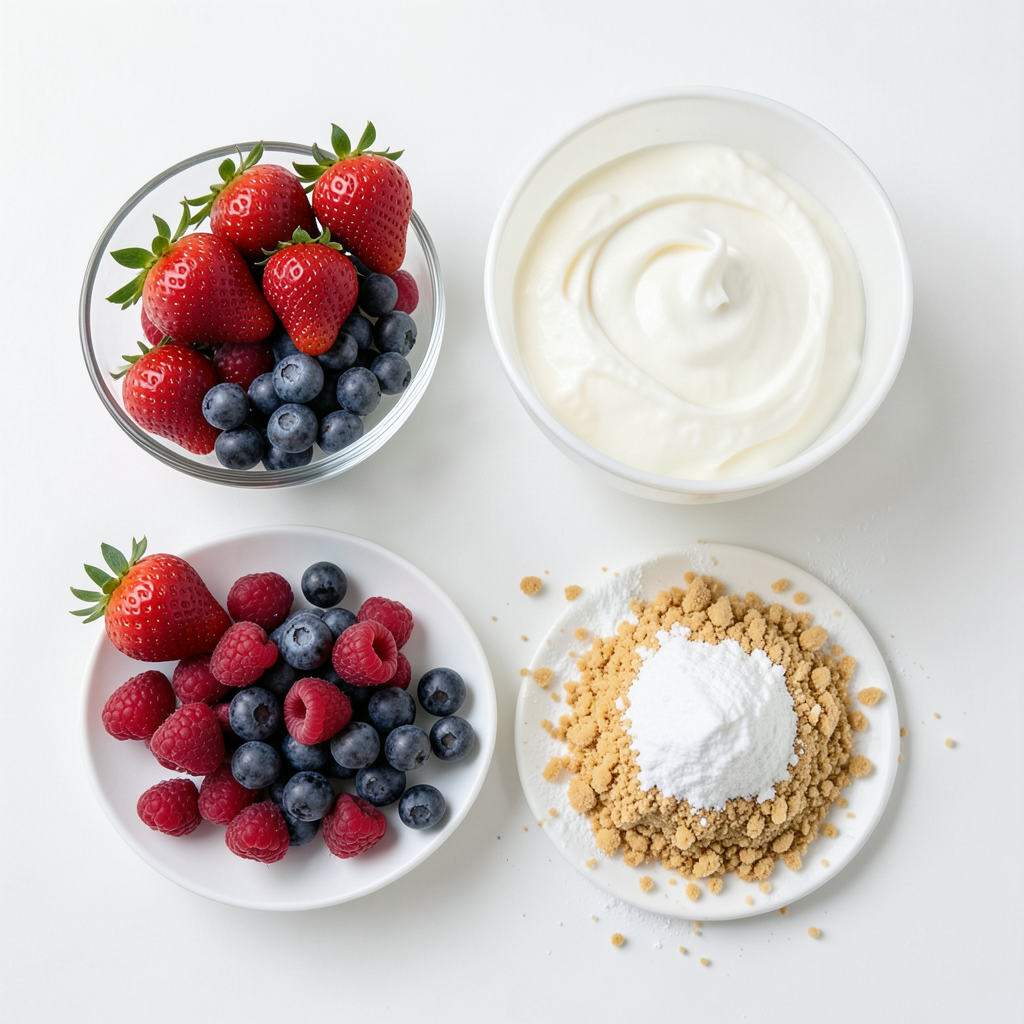
Fresh mixed berries
For this ice cream, I use 2 cups of fresh mixed berries. You can use strawberries, blueberries, and raspberries. Wash them well to remove any dirt. Gently mash them in a bowl. Keep some berries whole for texture.
Dairy ingredients
The creaminess comes from 1 cup of softened cream cheese and 1 cup of heavy whipping cream. The cream cheese gives a rich taste. The heavy cream adds a light, fluffy texture. Make sure the cream cheese is at room temperature for easy mixing.
Sweeteners and flavorings
You will need 1 cup of sweetened condensed milk and 1/4 cup of powdered sugar. The sweetened condensed milk adds a rich sweetness. Use 1 teaspoon of pure vanilla extract to enhance the flavor. A pinch of sea salt balances the sweetness.
Graham cracker crumbs
For that cheesecake vibe, use 1/2 cup of graham cracker crumbs. You can mix it with a tablespoon of melted butter for extra flavor and to help bind the crumbs. This will create a nice crunch in your ice cream.
Step-by-Step Instructions
Preparing the berries
First, wash your mixed berries well. I use strawberries, blueberries, and raspberries. They add great flavor and color. In a medium bowl, mix the berries gently. Use a fork to mash them lightly. Keep some berries whole for texture. This will make your ice cream fun to eat. Set the bowl aside for later.
Cream cheese base
Next, grab a large mixing bowl. Add the softened cream cheese to it. Using an electric mixer, beat the cream cheese until it's smooth. You want it creamy with no lumps. This smooth base is key for your ice cream.
Mixing and folding ingredients
Now, slowly pour in the heavy whipping cream. Mix on medium speed. In about 3-4 minutes, the mix will thicken. You’ll see soft peaks forming. After that, fold in the sweetened condensed milk, vanilla, powdered sugar, and a pinch of sea salt. Mix until everything is smooth and creamy.
Layering and freezing
Gently add the mashed berries into your mix. Use a spatula to fold them in. Try to keep some berry streaks visible. This gives a pretty swirl effect. In a small bowl, mix the graham cracker crumbs with a bit of melted butter if you want. This adds flavor and binds the crumbs.
In an airtight container, layer half of the ice cream mix. Sprinkle half of the graham cracker crumbs on top. Then, add the rest of the ice cream mix. Smooth the top, and add the last of the crumbs. Cover it tightly and freeze for at least 4-6 hours. Once set, scoop the ice cream into bowls or cones, and enjoy!
Tips & Tricks
Achieving the perfect texture
To get a creamy texture, beat the cream cheese until smooth. This removes lumps. Mix in the heavy cream until it thickens. You want soft peaks to form. Folding in the berries is key. Be gentle to keep some whole berries intact. This adds fun texture.
How to customize flavors
You can easily add your twist. Swap in different berries like blackberries or cherries. You can also mix in a splash of lemon or lime juice for zing. For extra creaminess, add a bit of yogurt. If you love chocolate, try adding cocoa powder or chocolate chips.
Serving suggestions
Serve your ice cream in waffle cones or cute dessert bowls. Top with fresh berries for color. Add a swirl of whipped cream for extra flair. You can even drizzle some chocolate sauce on top. This makes each scoop look fantastic and taste even better!
Pro Tips
- Use Fresh Berries: For the best flavor and texture, use fresh, ripe berries. Frozen berries can work in a pinch, but they may release more water, affecting the creaminess of the ice cream.
- Chill Your Mixing Bowl: For an extra creamy texture, chill your mixing bowl and beaters in the freezer for about 10-15 minutes before making the ice cream mixture. This helps maintain cold temperatures while whipping.
- Layering Technique: When layering the ice cream and graham cracker crumbs, remember to alternate layers for a balanced flavor in every scoop. This will ensure a delightful combination of cheesecake and berry with each bite.
- Storage Tips: Store the ice cream in an airtight container and press a piece of parchment paper directly onto the surface before sealing. This helps prevent ice crystals from forming and keeps the ice cream smooth.
Variations
Substituting different berries
You can swap berries for a new twist. If you prefer strawberries, use all strawberries. Blueberries and raspberries also work great alone or in any mix. Blackberries add a unique flavor. Just remember to keep the total amount around two cups. This gives you a fresh taste every time.
Incorporating chocolate or other mix-ins
Want to add some extra fun? Chocolate chips or chunks make a delicious mix-in. You can also try crushed cookies or nuts for a crunch. Just fold them in gently before freezing. This makes your ice cream even more exciting.
Vegan version options
If you want a vegan treat, replace cream cheese with tofu or a vegan cream cheese. Use coconut milk instead of heavy cream for a rich flavor. Sweetened condensed milk can be swapped with coconut cream or a nut-based option. These changes make a creamy, dairy-free delight. Enjoy this guilt-free treat!
Storage Info
How to store homemade ice cream
To store your berry cheesecake ice cream, use an airtight container. This will keep air out and help maintain the ice cream's texture. Layer the ice cream in the container gently. Avoid packing it too tightly. You want to keep that delightful creaminess. If you have leftover graham cracker crumbs, you can sprinkle some on top before sealing.
Shelf life in the freezer
Your homemade ice cream stays good for about two weeks in the freezer. After that, it may start to lose its flavor and texture. To enjoy it at its best, try to eat it within this time frame. If you notice ice crystals forming, it may be time to toss it.
Re-freezing tips
If you need to refreeze the ice cream, do it carefully. Scoop out only what you need. Avoid letting it sit out too long before putting it back in the freezer. Each time it thaws and refreezes, it can lose creaminess. If you see any signs of freezer burn, it’s best to discard the ice cream. You want to keep that berry swirl looking and tasting fresh!
FAQs
Can I use frozen berries?
Yes, you can use frozen berries. They work well. Just thaw them first. Drain any extra liquid before mixing them in. This will keep your ice cream from becoming too watery.
How long does it take for the ice cream to freeze?
It takes about 4 to 6 hours for the ice cream to freeze completely. For the best results, let it freeze overnight. This ensures a firm and creamy texture.
What can I use instead of cream cheese?
You can use mascarpone cheese or Greek yogurt as alternatives. Both will give a nice creaminess. Keep in mind that the flavor may change slightly with these swaps.
Can I make this without an ice cream maker?
Yes, you can make this ice cream without an ice cream maker. Just pour the mixture into a container. Stir it every 30 minutes for the first 2 hours. This will help it become creamy and not icy.
This blog post covered all the key steps to making delicious ice cream at home. We explored ingredients like fresh berries and sweeteners. I shared simple instructions for preparing and freezing your treat. You learned tips for great texture and fun ways to customize flavors. We also discussed variations, storage tips, and answered common questions.
Making ice cream can be fun and easy. With your creativity, the possibilities are endless! Enjoy your homemade delight.