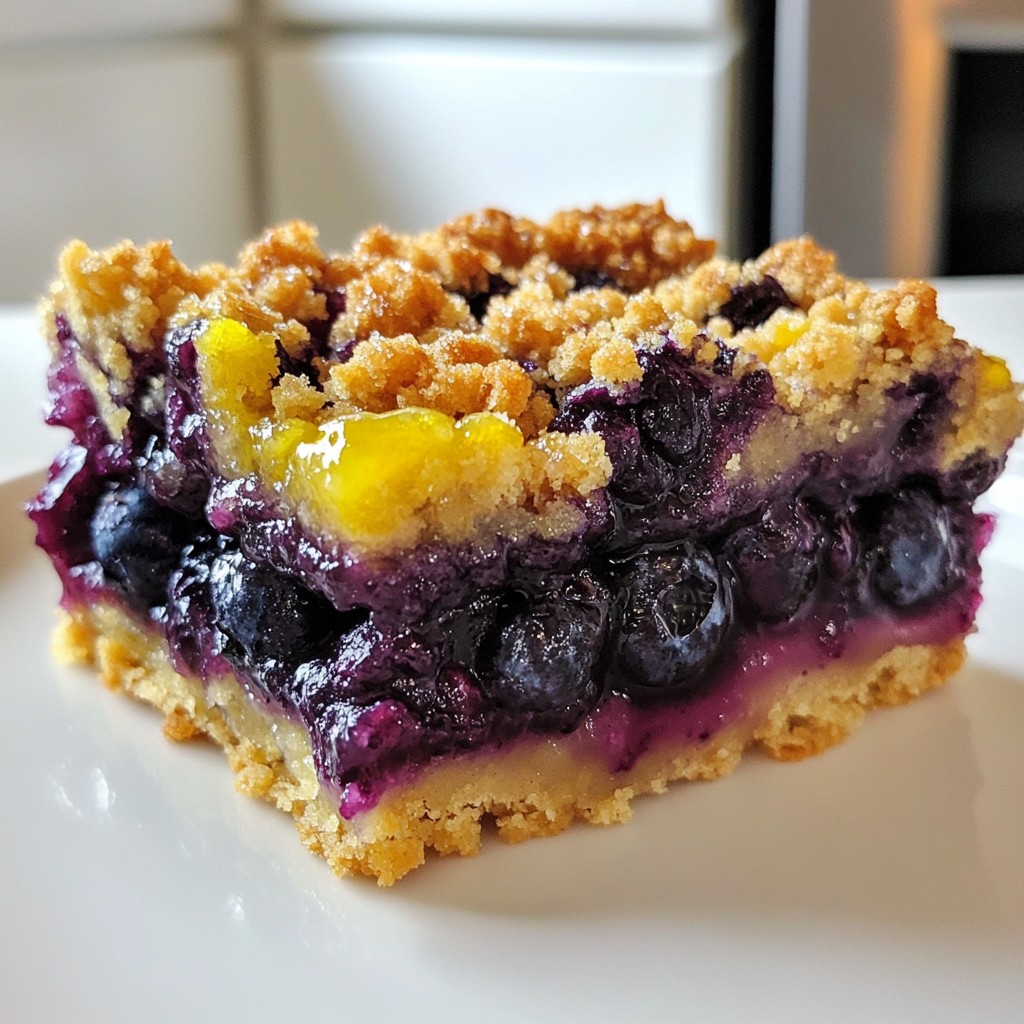
If you're looking for a simple and tasty treat, you've come to the right place! Blueberry crumble bars are perfect for any occasion. The sweet, juicy blueberries mix beautifully with a crunchy topping. I will guide you through easy steps to make these delicious bars. Whether you're a beginner or an expert, you'll find joy in baking. Let's get started on this sweet delight!
Why I Love This Recipe
- Fresh Flavor: The combination of sweet blueberries with a hint of lemon gives these bars a refreshing taste that’s hard to resist.
- Easy to Make: This recipe requires minimal prep and can be made in just under an hour, making it perfect for a quick dessert.
- Versatile Treat: These bars are great on their own, but they also pair beautifully with ice cream or whipped cream for an indulgent dessert.
- Perfect for Sharing: With 9 generous servings, they’re perfect for potlucks, picnics, or simply sharing with family and friends.
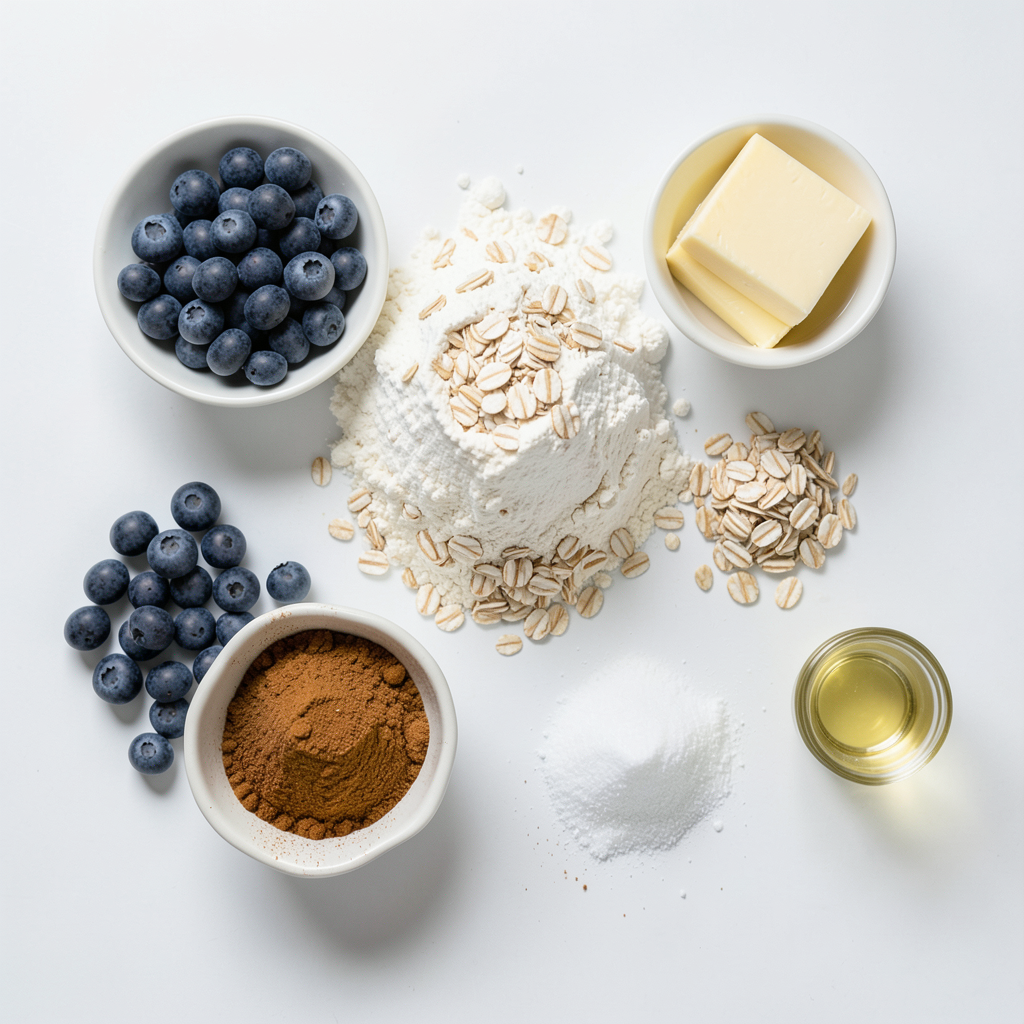
Ingredients
Fresh Blueberries
- 2 cups fresh blueberries
Fresh blueberries are the star of this recipe. They add a sweet and tangy flavor. I recommend using ripe, juicy blueberries for the best taste. You can pick them fresh from a local farm or buy them at the store. Make sure to wash them gently before using.
Pantry Staples
- 1 cup all-purpose flour
- 1 cup rolled oats
- 1/2 cup brown sugar, packed
- 1/2 cup unsalted butter, melted
- 1/2 teaspoon ground cinnamon
- 1/4 teaspoon salt
- 2 tablespoons fresh lemon juice
- 1/4 cup granulated sugar (for blueberries)
- 1/2 teaspoon pure vanilla extract
These pantry staples create the base for the crumble bars. The flour and oats give a great texture. Brown sugar adds a rich sweetness, while cinnamon brings warmth to each bite. Unsalted butter helps bind everything together. The lemon juice brightens the blueberry flavor, and vanilla adds a lovely aroma.
Optional Add-ins
You can personalize your crumble bars with some optional ingredients. Consider adding:
- Chopped nuts for crunch
- A sprinkle of coconut for extra flavor
- A dash of nutmeg for warmth
These add-ins can enhance the taste and texture. Feel free to mix and match to find your favorite combination!
Step-by-Step Instructions
Preparing the Baking Dish
Preheat your oven to 350°F (175°C). Grab an 8x8-inch baking dish. Lightly grease it with butter or line it with parchment paper. This helps with easy removal later.
Making the Crust
In a medium bowl, mix these dry ingredients:
- 1 cup rolled oats
- 1 cup all-purpose flour
- 1/2 cup brown sugar, packed
- 1/2 teaspoon ground cinnamon
- 1/4 teaspoon salt
Stir these together until they blend well. Next, pour in 1/2 cup melted unsalted butter and 1/2 teaspoon pure vanilla extract. Mix until it becomes crumbly, like wet sand. Set aside 1 cup of this mix for later.
Preparing the Blueberry Filling
While the crust bakes, it’s time for the blueberry filling. In a small bowl, gently toss together:
- 2 cups fresh blueberries
- 1/4 cup granulated sugar
- 2 tablespoons fresh lemon juice
Stir carefully so you don't crush the blueberries. Make sure they get coated well.
Assembling the Blueberry Crumble Bars
After baking the crust for 10 minutes, take it out. Spread the blueberry mixture evenly over the baked crust. Then, crumble the reserved topping over the blueberries. Cover them as evenly as you can.
Baking Instructions
Return the baking dish to the oven. Bake for another 25-30 minutes. You’ll know it’s done when the topping is golden brown and the blueberries bubble up. Let it cool in the pan for at least 10 minutes. Then move it to a wire rack to cool completely before cutting. Enjoy your delicious treat!
Tips & Tricks
Baking Tips for Perfect Bars
To make the best blueberry crumble bars, follow these tips:
- Use fresh blueberries for the best flavor.
- Measure flour carefully to avoid dry bars.
- Let the mixture crumble but not too dry; it should feel like wet sand.
- Bake until the topping is golden brown. This means they are done!
- Cool the bars in the pan before slicing. This helps them hold their shape.
Common Mistakes to Avoid
Avoid these common mistakes for perfect bars:
- Don't overmix the crust. Overmixing can make it tough.
- Don't skip the resting time. Letting them cool helps firm up the bars.
- Avoid using too much sugar with the blueberries. It can make them too sweet.
- Don't rush the baking time. Underbaked bars can fall apart.
Serving Suggestions
Serve these delicious bars in fun ways:
- Dust with powdered sugar for a pretty touch.
- Add a scoop of vanilla ice cream on top.
- Pair with whipped cream for a rich dessert.
- Serve warm for extra gooey goodness.
- Enjoy with a cup of tea or coffee for a nice treat.
Pro Tips
- Use Frozen Blueberries: If fresh blueberries are out of season, frozen blueberries work perfectly. They can add a nice burst of flavor and are often more convenient.
Variations
Different Fruit Options
You can switch up the flavor of your Blueberry Crumble Bars with other fruits. Try using raspberries, strawberries, or blackberries. Each fruit brings its own unique taste. For peaches or apples, add a bit of cinnamon for warmth. Just remember to adjust the sugar based on fruit sweetness.
Gluten-Free Adaptations
If you need a gluten-free version, swap the all-purpose flour for a gluten-free blend. Many blends work well and keep the bars tasty. You can also use gluten-free oats to ensure the entire recipe is safe for your diet. Be sure to check the labels for any hidden gluten in the ingredients.
Vegan Substitutes
To make these bars vegan, replace the butter with coconut oil or a vegan butter. For the egg, you can use applesauce or a flaxseed mixture. Mix one tablespoon of flaxseed meal with three tablespoons of water, then let it sit until it thickens. This will help bind your bars just like an egg.
Storage Info
How to Store Leftovers
After you make these tasty blueberry crumble bars, let them cool first. Once cool, cut them into squares. Place the bars in an airtight container. Keep them at room temperature for 2-3 days. If you want them to last longer, put them in the fridge. They can stay fresh for up to a week.
Freezing Instructions
You can freeze leftover blueberry crumble bars too. Wrap each piece tightly in plastic wrap. Then place the wrapped bars in a freezer-safe bag. They will stay good in the freezer for up to 3 months. When you are ready to eat, just take out a bar and let it thaw at room temperature.
Reheating Tips
To enjoy warm bars, reheat them in the oven. Preheat the oven to 350°F (175°C). Place the bars on a baking sheet. Heat for about 10 minutes. You can also use the microwave. Heat each bar for 15-20 seconds. This warms them without making them soggy. Enjoy your delicious treat!
FAQs
How do I know when the blueberry crumble bars are done?
You can tell when the bars are done by looking at the topping. It should be golden brown. You will also see the blueberries bubbling. This shows they are cooked well. If you see these signs, your bars are ready to come out of the oven.
Can I use frozen blueberries?
Yes, you can use frozen blueberries. They work great in this recipe. Just make sure to let them thaw first. If they are still icy, they may add too much water. This can make your bars soggy.
What can I substitute for butter?
If you need a butter substitute, you have options. You can use coconut oil. This will give a nice flavor. You can also use applesauce for a healthier option. Keep the same amount as the butter in the recipe.
How do I make the bars less sweet?
To make the bars less sweet, reduce the sugar. You can lower the brown sugar in the crust. You can also cut back on the sugar for the blueberries. Try to reduce it by a tablespoon or two.
How long do homemade blueberry crumble bars last?
Your homemade blueberry crumble bars will last about 3-5 days. Store them in an airtight container. Keep them in the fridge for best freshness. If you want to keep them longer, consider freezing them.
In this blog post, we explored how to make delicious blueberry crumble bars. We covered the key ingredients, from fresh blueberries to pantry staples. I provided clear steps for preparing, baking, and storing your bars. I shared tips for perfect results and offered variations for different diets.
Remember, making these bars is fun and easy. Customize your recipe and enjoy every bite! I hope you create your own tasty treats with these simple steps.