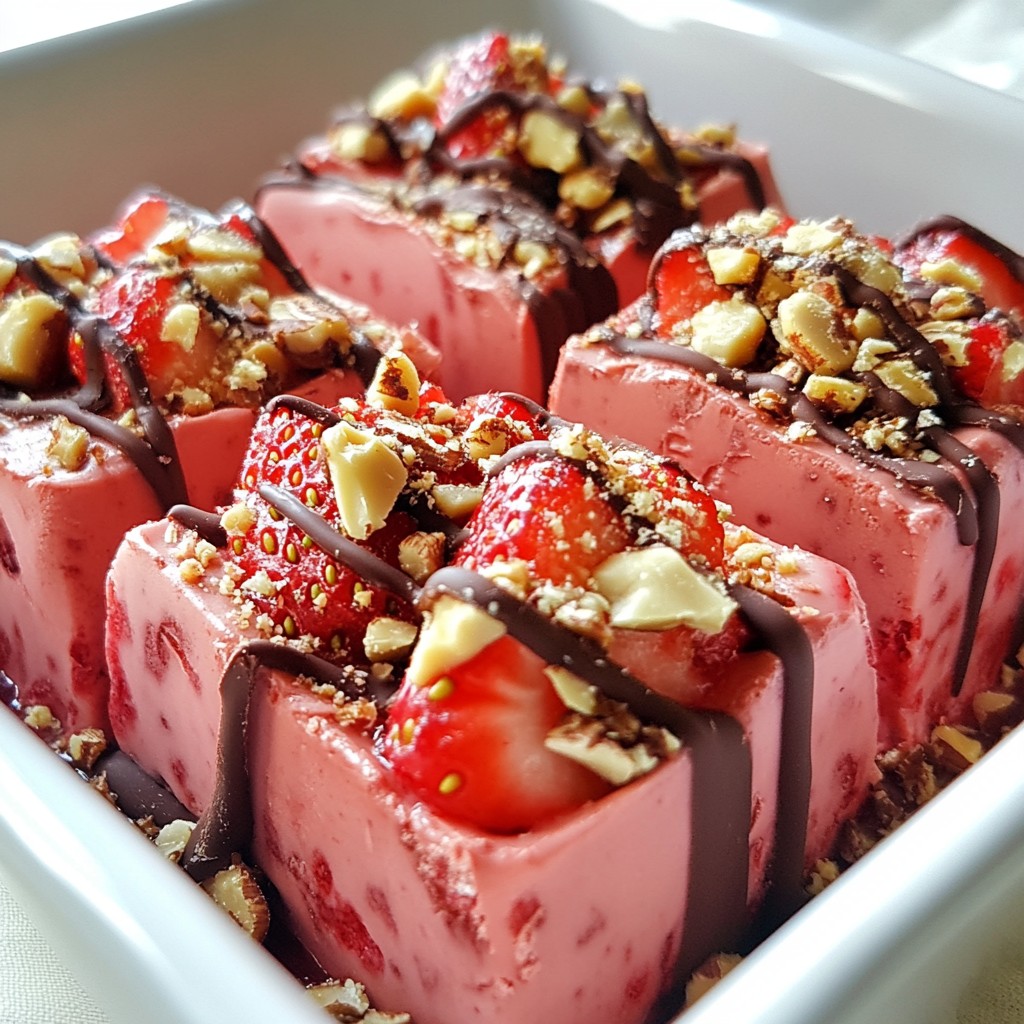
Are you ready to indulge in a sweet treat that combines two favorites: chocolate and strawberries? This Chocolate Covered Strawberry Fudge will delight your taste buds with its rich, creamy texture and fruity flavor. With just a few fresh ingredients and simple steps, you can create a dessert that’s perfect for sharing or savoring alone. Let’s dive into the making of this delicious fudge that everyone will love!
Why I Love This Recipe
- Fresh Flavor Burst: The combination of rich chocolate and juicy strawberries creates a delightful flavor explosion in every bite.
- Easy to Make: This fudge recipe requires minimal ingredients and straightforward steps, making it perfect for both novice and experienced bakers.
- Customizable Treat: You can easily modify this recipe by adding your favorite nuts or using different types of chocolate for a personalized touch.
- Perfect for Sharing: These fudge squares are great for gatherings, parties, or as a sweet gift, ensuring smiles all around!
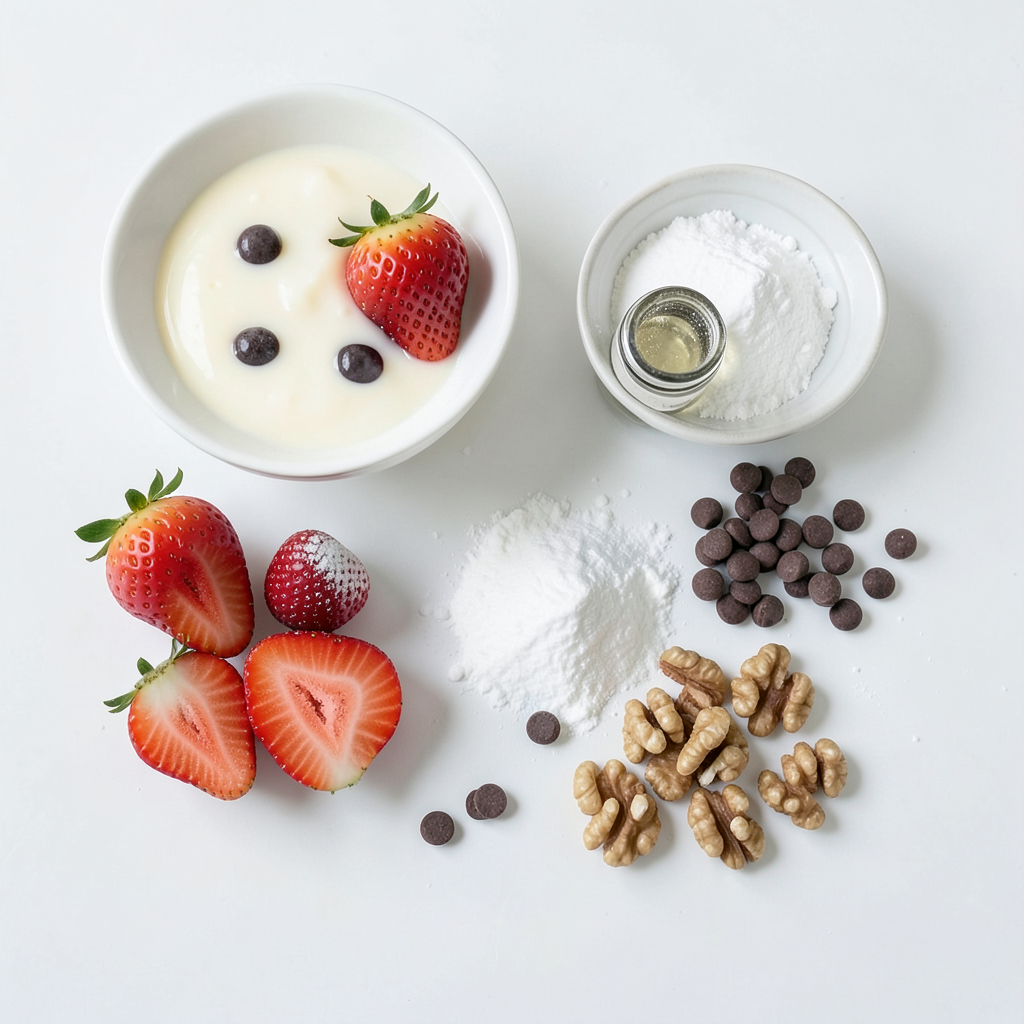
Ingredients
Fresh Ingredients
- 1 cup fresh strawberries, hulled and halved
- A pinch of salt
Other Essential Ingredients
- 1 ½ cups sweetened condensed milk
- 2 cups semi-sweet chocolate chips
- 1 cup milk chocolate chips
- 1 teaspoon vanilla extract
- ¼ cup powdered sugar
- ½ cup crushed walnuts or almonds (optional for garnish)
The fresh strawberries are key to this fudge. They add a bright, fruity taste. Make sure to wash them well. Hulling them means you remove the green tops and cut them in half. This helps them mix well in the fudge. The pinch of salt enhances the sweet flavor.
Next, we have the other essential ingredients. Sweetened condensed milk gives a creamy base. It makes the fudge rich and smooth. Semi-sweet chocolate chips are perfect for a balanced taste. Milk chocolate chips add extra sweetness. The vanilla extract rounds out the flavors nicely. Powdered sugar thickens the fudge and adds sweetness.
If you want some crunch, crushed walnuts or almonds work great as a garnish. They bring a nice texture contrast to the creamy fudge. Enjoy gathering these simple yet delightful ingredients!
Step-by-Step Instructions
Preparation of Strawberries
First, wash the strawberries under cool water. Remove the green tops and cut the strawberries in half. Next, place them between layers of paper towels. This helps to soak up any extra moisture. Keeping them dry is key to a good fudge.
Making the Chocolate Base
In a medium saucepan, combine 2 cups of semi-sweet chocolate chips and 1 ½ cups of sweetened condensed milk. Set the heat to low. Stir the mix constantly until it melts and becomes smooth. This step is crucial for a silky fudge base.
Finalizing the Fudge Mixture
Once melted, add 1 teaspoon of vanilla extract and a pinch of salt. Mix well to combine. Then, gradually stir in ¼ cup of powdered sugar. This makes the fudge sweet and creamy. Keep stirring until the texture is thick and uniform.
Assembling the Fudge
Now, gently fold the hulled and halved strawberries into the chocolate mixture. Use a spatula to avoid breaking the strawberries. Then, line an 8x8 inch baking dish with parchment paper. Pour the fudge mixture into the dish and spread it evenly.
Topping the Fudge
In a microwave-safe bowl, add 1 cup of milk chocolate chips. Microwave in 30-second intervals, stirring in between, until melted. Drizzle this melted chocolate over the fudge and spread it out evenly. If you like, sprinkle ½ cup of crushed nuts on top for a crunchy finish.
Setting the Fudge
Finally, place the baking dish in the refrigerator. Chill for at least 4 hours until the fudge is firm. Once set, lift it out using the parchment paper. Cut the fudge into squares and enjoy your sweet treat!
Tips & Tricks
Achieving the Best Texture
To get the best fudge, start with dry strawberries. After washing and hulling them, place them between paper towels. This step removes extra moisture. If you skip this, the fudge may become watery.
Next, add powdered sugar slowly. This will help the fudge become thick and creamy. Stir it in a little at a time. Mixing well will give you a rich texture.
Chocolate Melting Tips
For melting chocolate, use the microwave carefully. Heat chocolate chips in 30-second bursts. Stir in between to avoid hot spots. This method keeps the chocolate smooth and shiny.
If you prefer, use a double boiler. Fill a pot with water and bring it to a gentle boil. Place a heat-safe bowl on top. This method heats the chocolate evenly, preventing burns.
Presentation Tips
For a stunning display, arrange the fudge on a decorative platter. Use bright colors and fun shapes to catch the eye.
Drizzle extra melted milk chocolate on top. This adds a nice touch and makes it look fancy. You can also sprinkle crushed nuts or place whole strawberries around the fudge for a vibrant look.
Pro Tips
- Use Fresh Strawberries: The quality of your strawberries will greatly influence the flavor of your fudge. Choose ripe, fresh strawberries for the best taste.
- Be Patient with Melting Chocolate: When melting the chocolate, go slow and stir often to prevent it from seizing up. Use low heat or a microwave with short intervals for best results.
- Chill for Optimal Texture: Allow the fudge to chill for the full recommended time. This helps it set properly and ensures a firmer, sliceable texture.
- Customize Your Toppings: Feel free to get creative with toppings! Besides nuts, consider using crushed freeze-dried strawberries or a sprinkle of sea salt for an added flavor contrast.
Variations
Vegan Options
You can easily make vegan chocolate covered strawberry fudge. First, choose dairy-free options. Use coconut milk or almond milk instead of sweetened condensed milk. This keeps the fudge creamy and rich. For the chocolate, select vegan chocolate chips. They taste great and melt well, just like regular chocolate.
Gluten-Free Alternatives
If you need gluten-free fudge, pick gluten-free substitutes. Ensure your chocolate chips are gluten-free. Check the labels for safety. Use powdered sugar too, as it is usually gluten-free. To avoid cross-contamination, always clean your tools and workspace. This way, you can enjoy your fudge safely.
Flavor Variations
Get creative with your fudge flavors! You can add different nuts like pecans or cashews for crunch. Try using flavor extracts like almond or mint for a twist. Adding spices can enhance the taste. A sprinkle of cinnamon or sea salt on top adds depth. Experimenting with flavors makes each batch special!
Storage Info
Proper Storage Techniques
To keep your chocolate covered strawberry fudge fresh, use an airtight container. A glass or plastic container with a tight lid works best. You can also wrap the fudge tightly in plastic wrap before placing it in the container. This helps prevent air from getting in.
When deciding between refrigerating or freezing, consider how soon you plan to eat it. Refrigerating keeps the fudge fresh for a few days. Freezing allows you to store it for a longer time. Just be sure to wrap it well to avoid freezer burn.
Shelf Life
In the refrigerator, your fudge can last up to two weeks. It should remain safe and tasty if stored properly. If you choose to freeze it, the fudge can last up to three months. To enjoy it later, thaw it in the fridge overnight before serving. This helps keep the texture nice.
Reheating Guidelines
If your fudge feels too firm after chilling, you can gently reheat it. The best way is to place it in a microwave-safe bowl. Heat it in short bursts, about 10-15 seconds at a time. Stir between intervals to warm it evenly.
You can also repurpose leftover fudge in other desserts. Crumble it over ice cream for a tasty topping or mix it into milkshakes. This way, you can enjoy it in new and fun ways!
FAQs
Can I use frozen strawberries?
Yes, you can use frozen strawberries. However, fresh strawberries add the best flavor and texture. Frozen strawberries have more water. This may make the fudge watery. If using frozen, thaw and drain them first. Pat them dry with a paper towel. This helps keep your fudge thick and tasty.
How long does it take for the fudge to set?
The fudge needs at least 4 hours to set in the fridge. For best results, leave it overnight. This gives the fudge time to firm up. You want it to be solid but still creamy. The longer it chills, the better the texture.
What is the best way to cut fudge?
To cut fudge cleanly, use a sharp knife. Warm the knife under hot water first. Wipe it dry before cutting. This helps prevent crumbling. Cut in straight lines for neat squares. You can also use parchment paper to lift the fudge out for easier cutting.
Can I customize the fudge flavors?
Absolutely! You can add your favorite flavors. Try mixing in mint extract or orange zest. You could also use different nuts like pecans or hazelnuts. For a fun twist, add some sea salt on top. This enhances the sweet and salty contrast.
Is chocolate covered strawberry fudge suitable for gifting?
Yes, this fudge makes a great gift! Cut it into squares and place them in a decorative box. Wrap it in clear cellophane for a nice touch. You can also add a ribbon for a festive look. This thoughtful gift is sure to impress anyone!
You now have a clear guide to making chocolate-covered strawberry fudge. Remember to use fresh strawberries and melt your chocolate carefully. Keep the texture smooth by adding powdered sugar slowly. Feel free to explore variations, like vegan or gluten-free options. Proper storage keeps your fudge fresh and delicious. This treat is perfect for sharing or gifting. Enjoy your baking journey and bring smiles with each bite!