Looking for a tasty treat that’s easy to whip up? I’ve got just the thing: Cottage Cheese Chocolate Mousse Cups! This delightful dessert combines creamy cottage cheese with rich cocoa, giving you a guilt-free indulgence that won’t ruin your diet. Plus, it’s simple to make and perfect for impressing your friends. Ready to dive into these yummy cups? Let’s get started on this delicious adventure!
Ingredients
Detailed List of Ingredients
– 1 cup low-fat cottage cheese
– 1/4 cup unsweetened cocoa powder
– 1/4 cup maple syrup (adjust to taste)
– 1 teaspoon vanilla extract
– 1/2 teaspoon instant coffee granules (optional, enhances chocolate richness)
– A pinch of salt
– Topping options: Whipped coconut cream or regular whipped cream
– Garnishes: Dark chocolate shavings or fresh berries
To start, you need low-fat cottage cheese. This is the base of our mousse. It gives the mousse a creamy texture. Next, unsweetened cocoa powder adds rich chocolate flavor. Maple syrup provides sweetness. You can adjust it to your taste.
Vanilla extract adds a nice aroma to the mousse. If you want deeper flavor, add instant coffee granules. A pinch of salt will enhance the flavors.
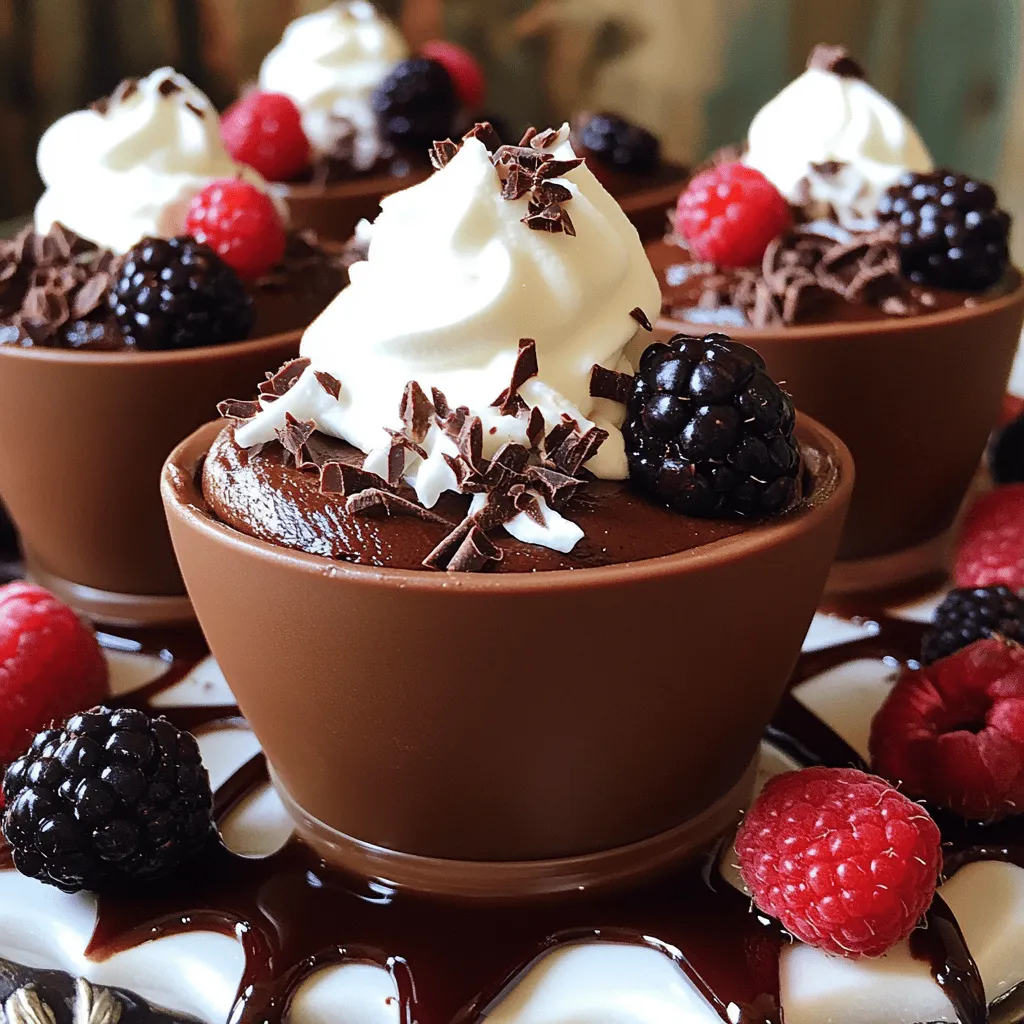
For toppings, you can use whipped coconut cream or regular whipped cream. These make the mousse look fancy. Garnishes like dark chocolate shavings or fresh berries add color and taste.
These ingredients together create a light, rich dessert. They are simple to find and easy to use. Enjoy making your Cottage Cheese Chocolate Mousse Cups with these tasty ingredients!
Step-by-Step Instructions
Preparation Steps
– Step 1: Blending the Base Ingredients
Start by adding 1 cup of low-fat cottage cheese to your blender. Next, add 1/4 cup of unsweetened cocoa powder. Then, pour in 1/4 cup of maple syrup. Add 1 teaspoon of vanilla extract and a pinch of salt for flavor. If you want a richer chocolate taste, include 1/2 teaspoon of instant coffee granules. Blend this mixture on medium speed until it is smooth and creamy. Scrape the sides of the blender as needed to mix everything well.
– Step 2: Adjusting Sweetness to Taste
After blending, taste the mousse. If you want it sweeter, add a bit more maple syrup. Blend again briefly to mix the extra syrup throughout the mousse. This step lets you customize the sweetness to your liking.
– Step 3: Transferring to Cups and Refrigeration
Carefully spoon the mousse into small cups or dessert glasses. Fill each cup about three-quarters full. Cover each cup with plastic wrap or a lid. Place them in the fridge for at least 30 minutes. This chilling time helps the mousse set and thicken.
Serving Tips
– Step 4: Adding Whipped Cream Topping
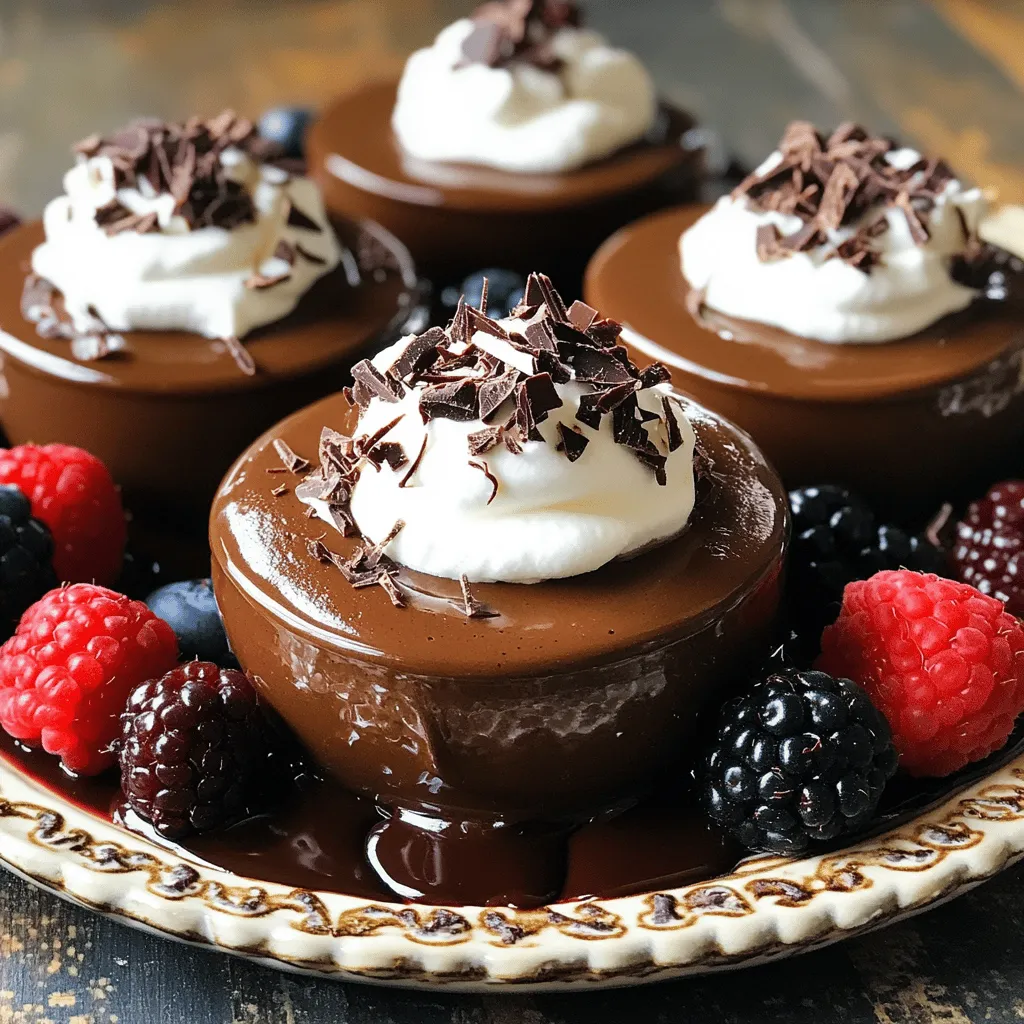
When you’re ready to serve, add a big dollop of whipped coconut cream or regular whipped cream on top of each mousse cup. This topping adds a nice touch and balances the rich chocolate flavor.
– Step 5: Garnishing for Presentation
For a beautiful finish, garnish each cup with dark chocolate shavings or a few fresh berries. This not only looks great but also adds extra flavor. Arrange the cups on a decorative platter for a nice presentation. You could drizzle a little chocolate sauce around the cups to impress your guests!
Tips & Tricks
Texture and Consistency
To achieve a smooth mousse, start with well-blended cottage cheese. Use a blender or a food processor. Blend until the mixture is creamy and lump-free. Scrape down the sides of the blender often. This step helps mix all the ingredients well. If you skip this, you might find bits of cottage cheese in your mousse. That’s not what we want! The smoother the texture, the better the dessert.
Flavor Enhancements
Adjusting sweetness is easy. Taste the mousse after blending. If you want it sweeter, add more maple syrup. Blend again to mix it well. You can also add extra flavors. Try a splash of almond extract or even a bit of orange zest. These flavors can give your mousse a unique twist. If you like coffee, the optional instant coffee granules deepen the chocolate flavor. Every small change can make this dessert even better!
Variations
Alternative Sweeteners
You can change the sweetener in this recipe. Maple syrup works well, but honey or agave syrup are great too. These options give a unique taste. They also add different natural notes to your mousse. If you use honey, keep in mind it is sweeter. You might want to use less than the maple syrup amount. For agave, start with the same amount as maple syrup. Taste it and add more if needed. This way, you can find the right balance for your sweet tooth.
Flavor Profile Changes
The flavor of your mousse can change by using different cocoa powders. Dark cocoa gives a rich taste, while light cocoa is milder. You can also try flavored extracts like almond or orange. These add a fun twist to the classic chocolate.
If you want a dairy-free treat, use nut-based yogurt instead of cottage cheese. Almond or cashew yogurt makes a creamy base. This option is perfect for vegan diets. You still get the smooth texture and rich flavor. Just remember to adjust the sweetness to fit your new base. Enjoy exploring these tasty variations!
Storage Info
Making Ahead
You can store your cottage cheese chocolate mousse cups in the fridge. Just cover each cup with plastic wrap or a lid. This keeps the mousse fresh and tasty. It’s best to let them chill for at least 30 minutes before serving. If you want to make the mousse days ahead, you can freeze it too. To do this, place the mousse in freezer-safe containers. Leave some space at the top, as it will expand when frozen. When you want to eat it, thaw it in the fridge overnight.
Shelf Life
These mousse cups can last up to five days in the fridge. After that, they may lose their creamy texture and flavor. If you freeze them, they can stay fresh for about a month. Just make sure to check for any signs of freezer burn before enjoying them. Always remember, the fresher they are, the better they will taste!
FAQs
Can I use full-fat cottage cheese?
Yes, you can use full-fat cottage cheese. It will make the mousse richer. The texture may be creamier, and the flavor will be more indulgent. Just blend it the same way as low-fat.
How can I make this mousse vegan?
To make this mousse vegan, use dairy-free alternatives. Replace cottage cheese with a nut-based yogurt or silken tofu. Use maple syrup to sweeten and coconut cream for topping. Blend until smooth for the best texture.
What are the health benefits of using cottage cheese in desserts?
Cottage cheese is high in protein and low in fat. It adds creaminess without too many calories. It also provides calcium for strong bones. Using it in desserts makes them more filling and nutritious.
This blog post shared how to make a delicious, healthy chocolate mousse. We covered the main ingredients, step-by-step instructions, and helpful tips for best results. You learned how to adjust sweetness, explore variations, and store leftovers.
Enjoy your creamy dessert that fits various diets. Remember, cooking can be fun and easy! Try out these tips and let your taste buds take the lead.