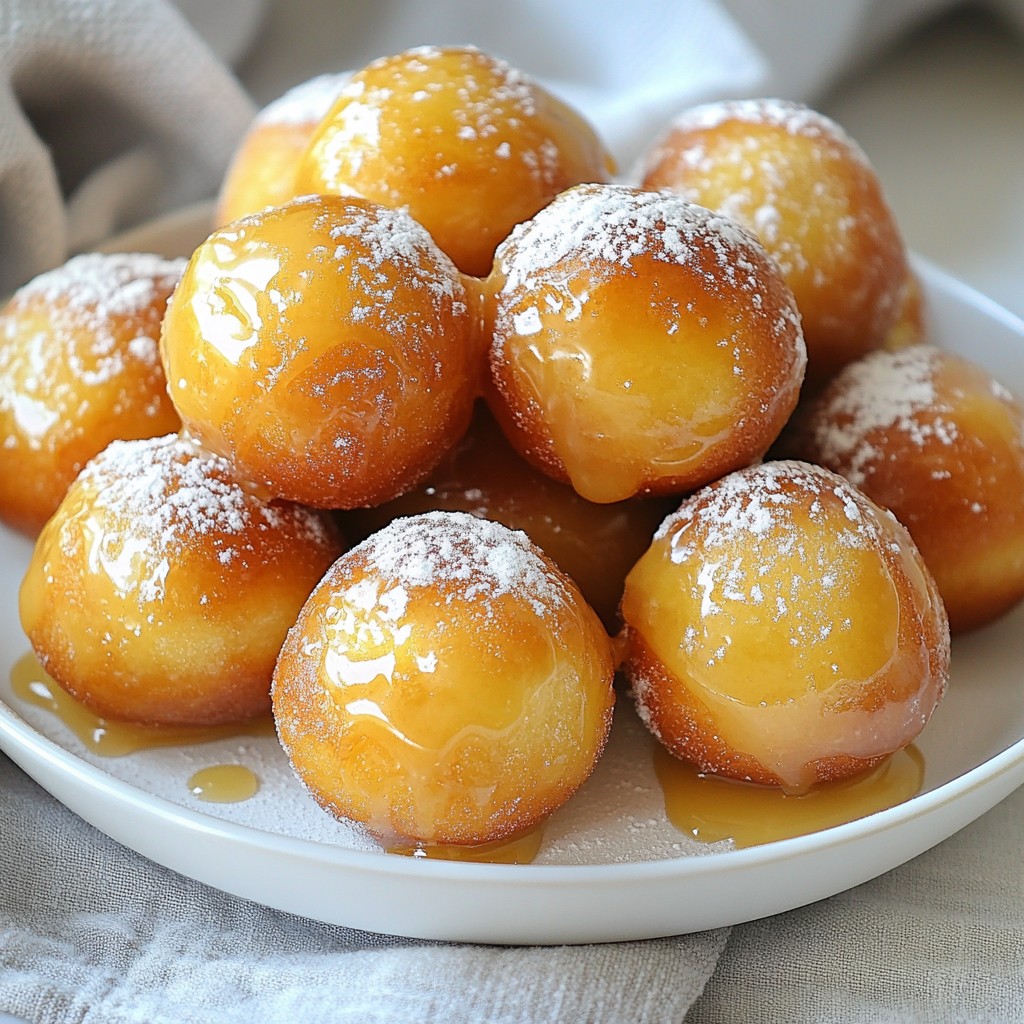
If you love sweet treats, these Maple Glazed Donut Holes are a must-try! They’re soft, fluffy, and perfect for any dessert lover. In this article, I’ll guide you through simple steps to whip up these delightful bites at home. From the ingredients you’ll need to the best tips for glazing, you’ll find everything here. Let’s dive into this delicious recipe together and bring joy to your kitchen!
Why I Love This Recipe
- Deliciously Sweet: The rich maple glaze adds the perfect sweetness that complements the tender donut holes beautifully.
- Easy to Make: This recipe comes together quickly, making it a perfect treat for any occasion without a lot of fuss.
- Perfect for Sharing: With 24 donut holes, they are great for gatherings or simply to enjoy with family and friends.
- Versatile Flavor: You can easily customize the glaze or add toppings, allowing for endless flavor combinations!
Ingredients
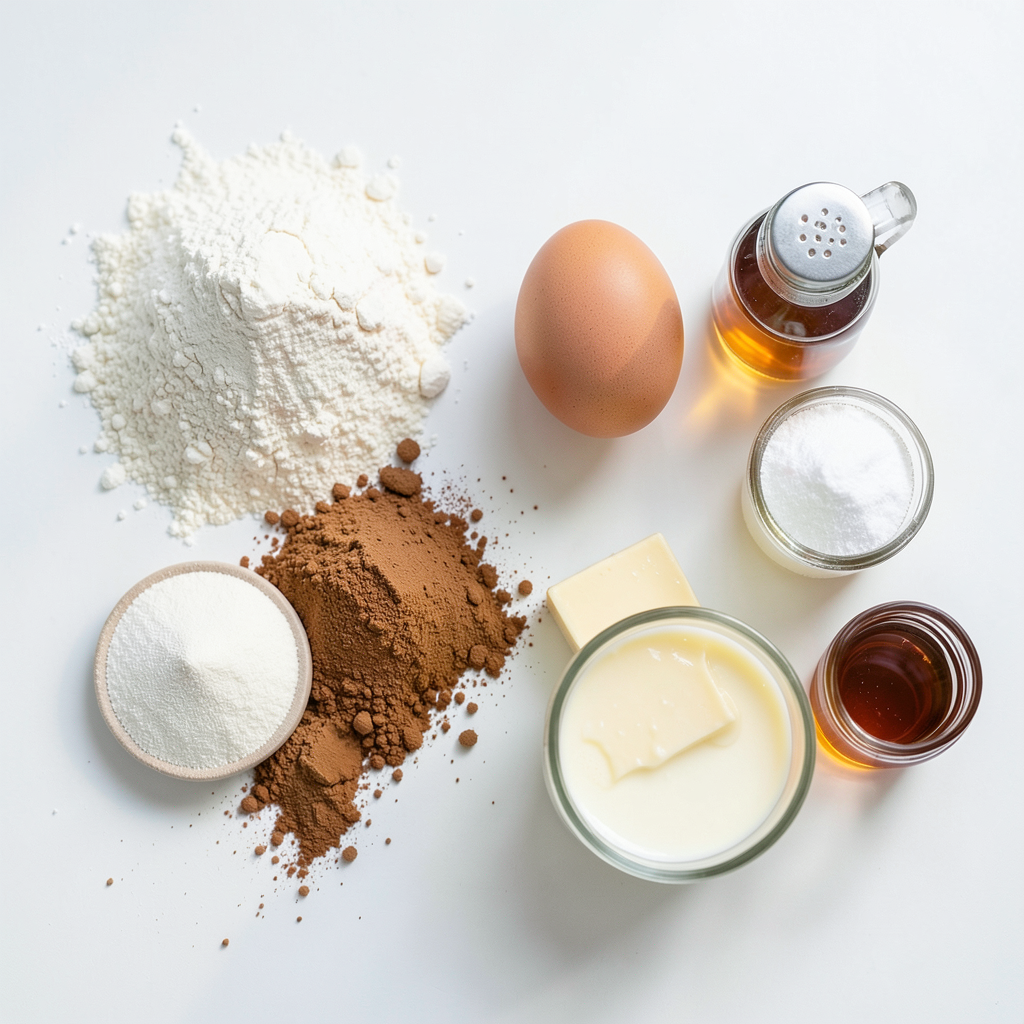
To make your maple glazed donut holes, gather these simple ingredients:
- 2 cups all-purpose flour
- 1/2 cup granulated sugar
- 2 teaspoons baking powder
- 1/2 teaspoon baking soda
- 1/2 teaspoon salt
- 1/2 teaspoon ground cinnamon
- 1 large egg
- 1/2 cup buttermilk
- 1/4 cup unsalted butter, melted
- 1 teaspoon vanilla extract
- 1/2 cup maple syrup
- 1 cup powdered sugar
Each ingredient plays a key role. The all-purpose flour gives structure to the donut holes. Granulated sugar adds sweetness, while baking powder and baking soda help them rise. Salt and ground cinnamon enhance flavor. The egg binds the ingredients together. Buttermilk makes them tender and moist. Unsalted butter adds richness, and vanilla extract brings warmth and depth. Maple syrup is the star for the glaze, making everything taste amazing. Finally, powdered sugar is used to thicken the glaze, giving it that perfect shine.
Gather these ingredients, and you're ready to create something special. Enjoy the process; it’s all about making delicious treats for you and your loved ones.
Step-by-Step Instructions
Preheat the Oven
Start by preheating your oven to 375°F (190°C). Prepare a mini muffin pan by lightly greasing it or lining it with paper liners. This makes it easy to remove the donut holes later.
Mix Dry Ingredients
In a large bowl, whisk together the following:
- 2 cups all-purpose flour
- 1/2 cup granulated sugar
- 2 teaspoons baking powder
- 1/2 teaspoon baking soda
- 1/2 teaspoon salt
- 1/2 teaspoon ground cinnamon
Make sure everything is combined well. This helps the donut holes rise nicely.
Combine Wet Ingredients
In another bowl, crack one large egg. Beat it gently. Then add:
- 1/2 cup buttermilk
- 1/4 cup melted unsalted butter
- 1 teaspoon vanilla extract
Whisk these ingredients together until the mixture is smooth and cohesive.
Combine Both Mixtures
Carefully pour the wet mixture into the dry bowl. Gently stir with a spatula until the two are just combined. A few lumps are okay. This keeps the donut holes soft and tender.
Fill the Muffin Pan
Using a spoon or an ice cream scoop, fill each muffin cup about two-thirds full with the batter. Ensure even distribution so they bake uniformly.
Bake the Donut Holes
Place the muffin pan in your preheated oven. Bake for 10 to 12 minutes. The donut holes are done when the tops are golden brown. Use a toothpick to check; it should come out clean.
Prepare the Maple Glaze
While the donut holes bake, make the maple glaze. In a small saucepan over medium heat, combine:
- 1/2 cup maple syrup
- 1 cup powdered sugar
Stir constantly until the mixture is smooth. Let it simmer for about 2 to 3 minutes to thicken slightly.
Cool the Donut Holes
Once baked, remove the pan from the oven. Let the donut holes cool in the pan for about 5 minutes. Then transfer them to a wire rack to cool completely.
Glaze the Donut Holes
While the donut holes are still warm, dip each one in the maple glaze. Ensure a generous coating. Let the excess glaze drip off before placing them back on the wire rack.
Set and Serve
Let the glazed donut holes sit for a few minutes to allow the glaze to set. For a nice presentation, arrange them on a decorative plate. Drizzle any leftover glaze over the top. Enjoy these sweet delights!
Tips & Tricks
Perfecting the Texture
Avoiding Overmixing Mix your batter gently. Overmixing can make your donut holes tough. Stir just until the flour disappears. A few lumps are okay! This helps keep them soft and tender.
Importance of Buttermilk Buttermilk adds moisture and flavor. It reacts with baking soda, helping the donuts rise. This makes them light and fluffy. If you don’t have buttermilk, make your own! Mix milk with a bit of vinegar or lemon juice. Let it sit for five minutes before using.
Flavor Enhancements
Adding Spices or Extracts You can boost flavor with spices. Try adding nutmeg or ginger for warmth. Vanilla is also a great choice. A little extra can make a big difference. Feel free to experiment!
Using Different Sugars Consider using brown sugar instead of white. It adds a deeper, richer flavor. You can also sprinkle some sugar on top after glazing. This gives a nice crunch and sweetness.
Glazing Techniques
How to Get a Thick Coating For a thick glaze, let it cool slightly. If it’s too hot, it will run off. Dip each donut hole while they are warm. This allows the glaze to stick better.
Letting the Glaze Set After glazing, let the donut holes sit for a few minutes. This helps the glaze firm up. If you’re impatient, pop one in your mouth anyway! Enjoy the warm, sweet goodness right away.
Pro Tips
- Perfectly Measure Flour: When measuring flour, spoon it into your measuring cup and level it off with a knife for accuracy. This prevents your donut holes from being dense.
- Keep Ingredients at Room Temperature: For the best results, ensure your egg and buttermilk are at room temperature before mixing. This helps create a smoother batter and better rise.
- Don’t Overmix: Mix the batter just until combined. Overmixing can lead to tough donut holes; a few lumps are okay!
- Customize Your Glaze: Feel free to add a pinch of salt or a splash of vanilla extract to the glaze for an extra flavor boost!
Variations
Chocolate Glazed Donut Holes
To make chocolate glazed donut holes, add cocoa powder to the batter. This gives a rich, deep flavor. Use 1/4 cup of unsweetened cocoa powder. Mix it with the dry ingredients. The chocolate will blend well with the maple glaze. You can enjoy a sweet twist on a classic treat.
Maple Bacon Donut Holes
For a savory touch, try maple bacon donut holes. Crumble crispy bacon and mix it into the maple glaze. The salty bacon and sweet maple create a delicious contrast. This pairing adds a fun crunch. It’s a great way to impress your guests or family.
Fruit-Flavored Donut Holes
You can also create fruit-flavored donut holes. Use fresh or dried fruits like blueberries or cranberries. Simply fold them into the batter before baking. This adds natural sweetness and color. You can even make a fruit glaze for extra flavor. It’s a fun way to enjoy seasonal fruits in your treats.
Storage Info
Storing Leftover Donut Holes
To keep your maple glazed donut holes fresh, store them in an airtight container. This helps maintain moisture and flavor. Place a piece of parchment paper between layers to avoid sticking. Store them at room temperature for up to three days. If you want to keep them longer, consider freezing.
Freezing Tips
Freezing your donut holes is simple. First, let them cool completely after baking. Then, place them in a single layer on a baking sheet. Freeze for about an hour until firm. After that, transfer them to a freezer-safe bag or container. This method keeps them fresh for up to three months.
Reheating Suggestions
When you’re ready to enjoy your frozen donut holes, reheating them is easy. Preheat the oven to 350°F (175°C). Place the donut holes on a baking sheet. Heat for about 10 minutes until warm. You can also microwave them for about 15 seconds each. Just be careful not to overheat, as they may become tough.
FAQs
How can I make these donut holes healthier?
You can use a few ingredient substitutions to make these donut holes lighter:
- Flour: Replace all-purpose flour with whole wheat flour for added fiber.
- Sugar: Use coconut sugar or a sugar substitute to cut down on calories.
- Butter: Swap unsalted butter for applesauce or yogurt to reduce fat.
- Buttermilk: Use low-fat buttermilk or almond milk for a lighter option.
These swaps can help you enjoy the sweet taste while being a bit healthier.
Can I make this recipe vegan?
Yes, you can easily make this recipe vegan:
- Egg: Replace the egg with a flax egg. Mix one tablespoon of ground flaxseed with three tablespoons of water. Let it sit for a few minutes.
- Buttermilk: Use plant-based milk mixed with a bit of lemon juice or vinegar as a substitute.
- Butter: Use coconut oil or a vegan butter alternative instead of unsalted butter.
These changes let you enjoy the same great taste without animal products.
What do I serve with maple glazed donut holes?
Pairing drinks with your donut holes can enhance the experience:
- Coffee: A hot cup of coffee balances the sweetness.
- Tea: A warm herbal tea adds a cozy touch.
- Milk: A glass of cold milk complements the rich flavors.
These drinks work well with the warm, sweet taste of your donut holes.
How do I know when the donut holes are done baking?
Check for these visual and texture cues to know when they are done:
- Color: They should be golden brown on top.
- Toothpick Test: Insert a toothpick into the center. It should come out clean.
- Spring Back: Gently press the tops; they should spring back without leaving a dent.
These signs ensure your donut holes are perfectly baked every time.
You now have all the steps to make delicious donut holes. From mixing the right ingredients to achieving the perfect glaze, every detail matters. Remember, avoid overmixing for the best texture. Feel free to experiment with flavors or toppings to make them your own. Store any leftovers properly to keep them fresh. Enjoy creating these treats for yourself or to share. Happy baking, and I hope you love every bite!