Craving a sweet treat that’s easy and delicious? You’ve come to the right place! These No-Bake Cookies and Cream Bars are simple to make, require no baking, and are packed with rich flavor. Perfect for any occasion, this dessert will satisfy your sweet tooth in no time. Let’s whip up these delightful bars with just a few ingredients you likely have at home! Ready to dive in?
Ingredients
Required Ingredients
– 2 cups crushed chocolate sandwich cookies (such as Oreos)
– 1 cup cream cheese, softened to room temperature
– 1/2 cup powdered sugar
– 1 cup whipped cream (store-bought or homemade)
– 1 teaspoon vanilla extract
– 1 cup chocolate chips, melted
– Additional crushed cookies for garnish
To make these bars, start with the key ingredients. The crushed chocolate cookies give the bars their signature flavor and texture. Use any brand you like, but Oreos are a classic choice.
Cream cheese adds a rich and creamy base. Make sure it is soft, so it mixes well. The powdered sugar sweetens the mix and helps it hold together. Whipped cream adds lightness and fluffiness. You can use store-bought or make your own.
Vanilla extract gives a nice depth of flavor. Melted chocolate chips serve as a delicious topping. Lastly, add some extra crushed cookies on top for crunch.
Optional Ingredients
– Alternative flavors (e.g., mint chocolate cookies)
– Decorative toppings (e.g., sprinkles, nuts)
Feel free to get creative! You can use mint chocolate cookies instead of regular ones for a fun twist. Adding sprinkles or nuts can also make your bars look extra special.
Substitutions
– Gluten-free cookie options
– Dairy-free cream cheese alternatives
If you need a gluten-free option, look for gluten-free chocolate cookies. You can also swap the cream cheese for a dairy-free version if needed. This way, everyone can enjoy these tasty treats!
Step-by-Step Instructions
Preparation Steps
– Combine 2 cups of crushed chocolate sandwich cookies, 1 cup of softened cream cheese, and 1/2 cup of powdered sugar in a large mixing bowl.
– Use a hand mixer or spatula to blend the mixture until smooth and creamy. Ensure you don’t have any lumps.
– Gently fold in 1 cup of whipped cream and 1 teaspoon of vanilla extract. Use a spatula for this step. Stir until the mixture is light and fluffy.
Assembling the Bars
– Prepare an 8×8 inch baking dish by lining it with parchment paper. Make sure the edges hang over the sides for easy removal later.
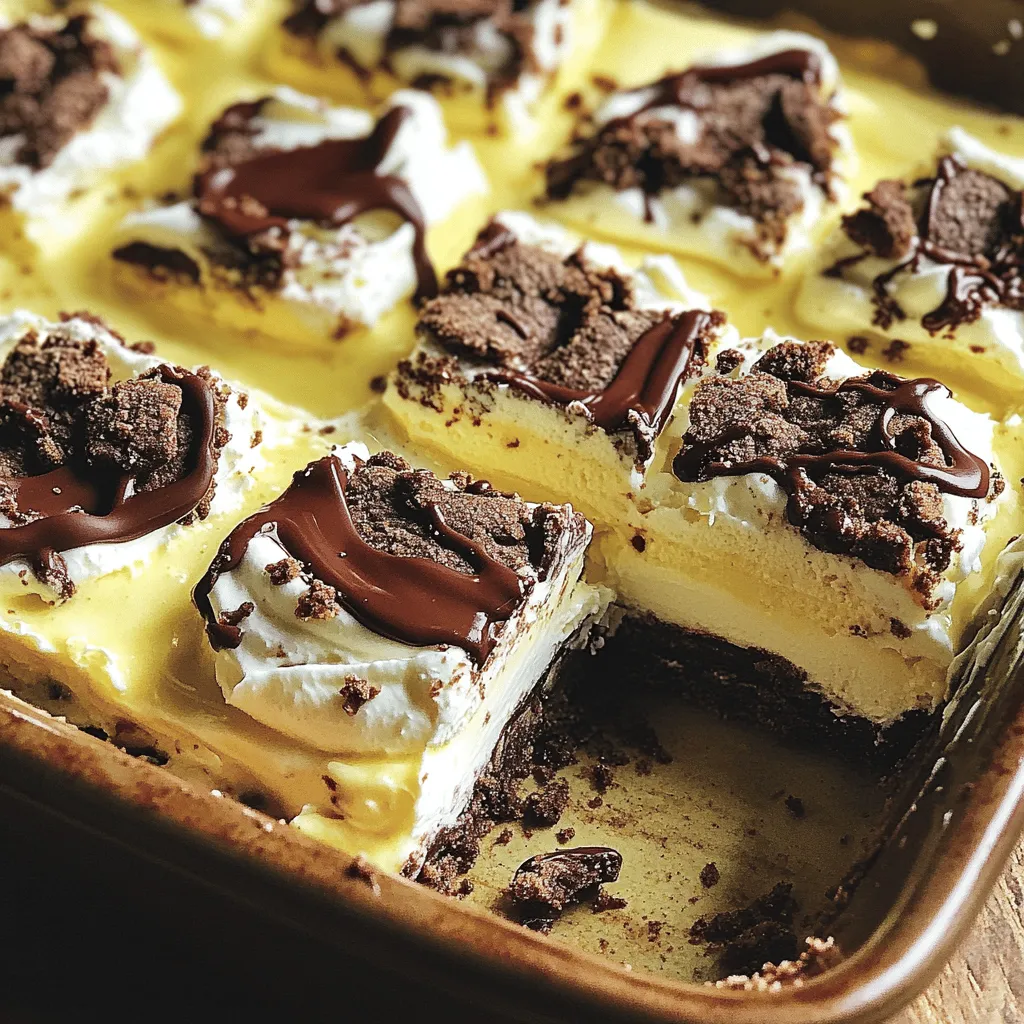
– Spoon the cookies and cream mixture into the lined baking dish. Spread it evenly, smoothing the top with a spatula.
– Drizzle 1 cup of melted chocolate chips across the top of the mixture. Use a knife or spatula to create decorative swirls in the chocolate. This adds a fun look.
Chilling Process
– Cover the baking dish tightly with plastic wrap. Place it in the refrigerator for at least 4 hours, or until the mixture is firm.
– To check the consistency, gently press your finger on the bars. If they feel firm and hold their shape, they are ready to serve.
Tips & Tricks
Perfecting the Texture
To avoid lumps in your mixture, blend the cream cheese well. Use a hand mixer or a spatula to mix until it is smooth. You want a creamy base for your bars.
When you fold in the whipped cream, do it gently. Use a spatula and scoop from the bottom. This keeps the whipped cream light and airy, which makes the bars fluffy.
Enhancing Flavor
You can add more taste with simple ingredients. A splash of mint extract adds a cool twist. You can also use different cookie types. Try using mint chocolate or peanut butter cookies for fun flavors.
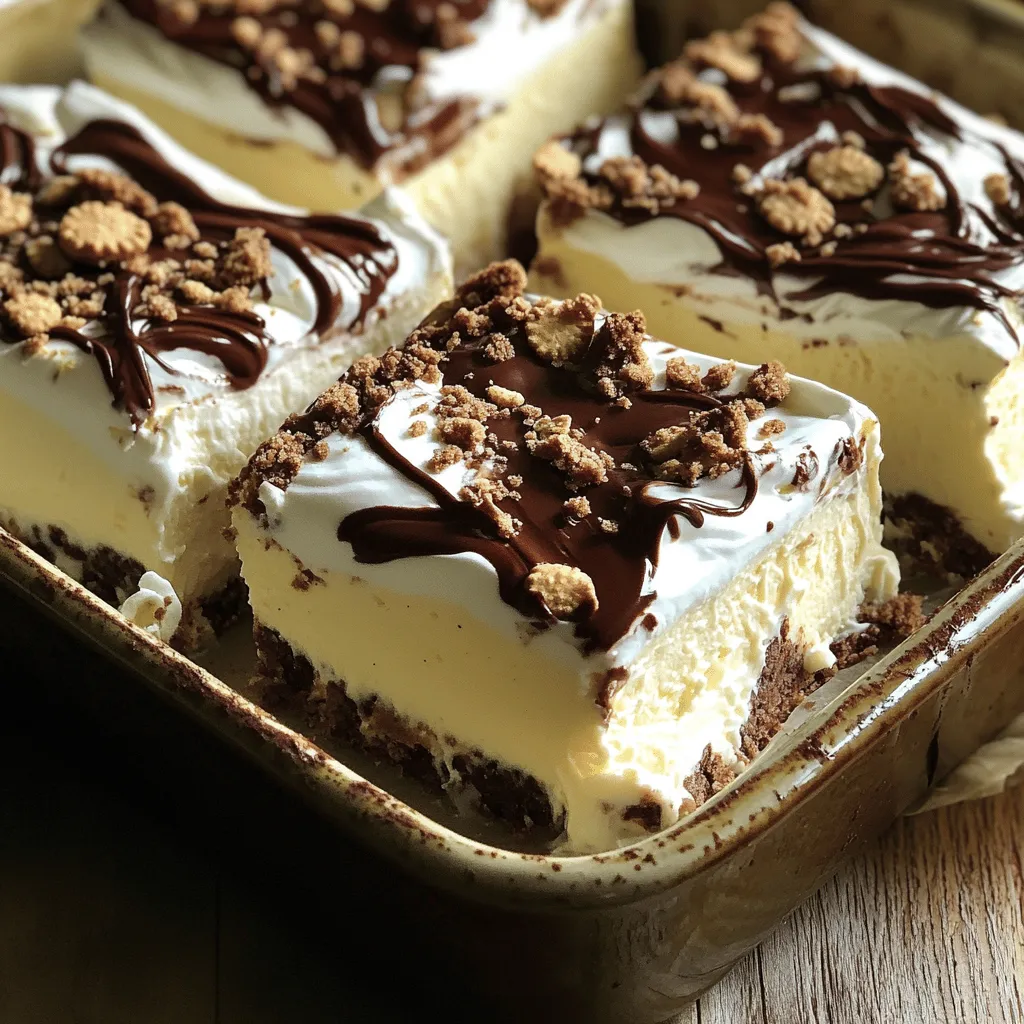
Serving Suggestions
For a lovely presentation, arrange the squares on a pretty platter. You can drizzle extra melted chocolate on top. A dollop of whipped cream on each square looks nice, too.
Pair these bars with ice cream or fresh berries. They make a complete dessert that everyone will love!
Variations
Flavor Variations
You can change up the flavor of your cookies and cream bars. One fun twist is to use white chocolate instead of dark chocolate. This gives a sweet and creamy taste. Just melt white chocolate, then drizzle it on top. You can also try different cookie bases. Instead of chocolate sandwich cookies, use peanut butter cookies for a nutty flavor. Each option adds a unique touch to your bars.
Dietary Variations
If you need a vegan option, swap cream cheese for a plant-based cream cheese. Use coconut whipped cream instead of regular whipped cream. For a keto-friendly treat, try sugar alternatives like erythritol or stevia. This way, you can enjoy the bars without the carbs. These variations let everyone enjoy the same tasty dessert.
Seasonal Variations
You can make your no-bake bars fit any season. For holidays, decorate them with festive colors. Use red and green sprinkles for Christmas or pastel colors for Easter. You can also add seasonal flavors, like pumpkin spice in the fall. This way, your bars not only taste great but also look festive and fun.
Storage Info
Refrigeration
To keep your cookies and cream bars fresh, store them in an airtight container. Place parchment paper between layers to avoid sticking. They stay fresh for up to one week in the fridge. Always check for any signs of spoilage before serving.
Freezing
You can freeze cookies and cream bars for longer storage. Cut them into squares before freezing. Wrap each piece in plastic wrap, then place them in a freezer bag. They can last for up to three months in the freezer. To enjoy, remove them from the freezer and let them thaw in the fridge for a few hours.
Serving After Storage
When serving chilled bars, allow them to sit at room temperature for about 10 minutes. This helps restore their creamy texture. If they feel too firm, you can gently microwave them for 5 to 10 seconds. Enjoy them cold for a refreshing treat!
FAQs
How long do no-bake cookies and cream bars last?
No-bake cookies and cream bars can last in the fridge for about five days. Store them in an airtight container to keep them fresh. If you want to enjoy them longer, you can freeze them. They can last up to three months in the freezer. Just remember to wrap them well.
Can I use low-fat cream cheese for this recipe?
Yes, you can use low-fat cream cheese. It will still give you a nice texture. However, the bars may be a bit less rich. If you prefer a lighter option, low-fat cream cheese works well in this recipe.
What can I use instead of whipped cream?
If you want to skip whipped cream, you can use whipped coconut cream. It adds a nice flavor and stays light. You can also try using Greek yogurt for a healthier twist, but the bars will be less fluffy.
How do I cut the bars cleanly?
To cut the bars cleanly, use a sharp knife. Warm the knife under hot water before cutting. Wipe the knife between cuts to keep the edges neat. This helps you get those perfect squares without a mess.
Can I add other mix-ins like candy or fruits?
Absolutely! You can mix in crushed candy bars or mini chocolate chips for fun. Chopped nuts add a nice crunch too. If you want fruit, try adding mini marshmallows or diced strawberries. Get creative with your mix-ins!From the key ingredients to optional flavors and variations, you have options for any taste. Remember to chill the bars well for the best texture. Use the tips to enhance flavor and presentation.
Whether you stick to the classic recipe or try a twist, these bars are a hit for any occasion. Make them your own and enjoy every bite!