


LATEST RECIPES


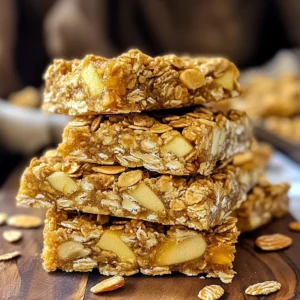
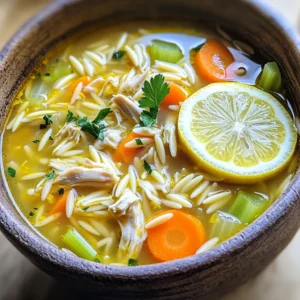

LET'S GET COOKING!
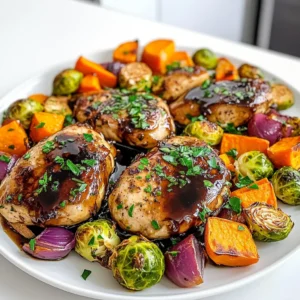
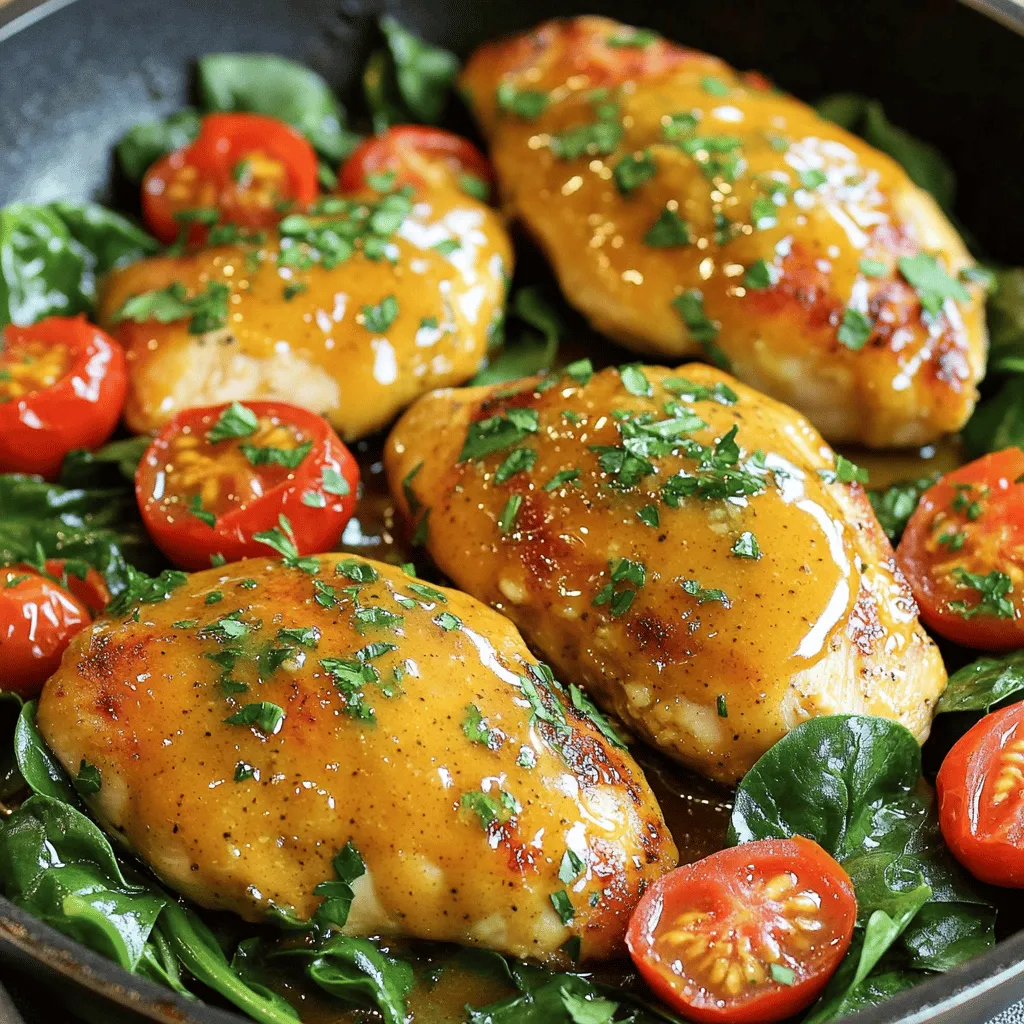
Honey Mustard Chicken Skillet Savory and Simple Meal
Are you looking for a quick and tasty dinner option? This Honey Mustard Chicken Skillet is your answer! With just a handful of simple ingredients,...
Read Full Recipe →