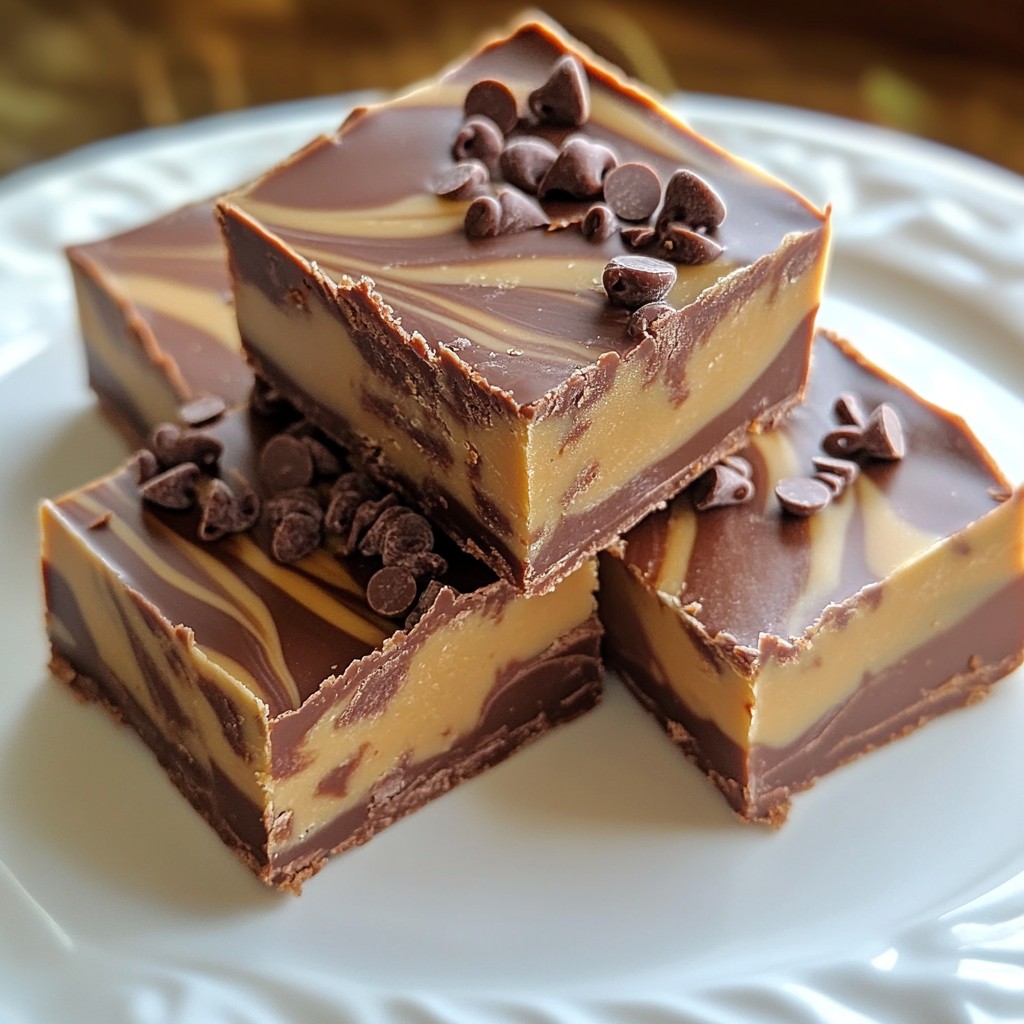
Get ready to treat yourself with my Peanut Butter Chocolate Swirl Fudge! This easy-to-make treat combines rich chocolate and creamy peanut butter in a dreamy dessert. Perfect for snack time or as a sweet gift, it’s a crowd-pleaser. I’ll guide you through each step to ensure your fudge turns out flawless. Grab your ingredients, and let’s create this irresistible delight together!
Why I Love This Recipe
- Decadent Flavor Combination: The rich chocolate and creamy peanut butter create a deliciously indulgent treat that satisfies any sweet tooth.
- Easy to Make: This fudge requires just a few simple ingredients and minimal cooking time, making it a perfect recipe for beginners.
- Perfect for Sharing: With 16 squares in a batch, this fudge is great for parties, gatherings, or as a thoughtful homemade gift.
- Customizable: Feel free to add nuts, different types of chocolate, or even a sprinkle of sea salt for a personalized touch!
Ingredients
List of Ingredients
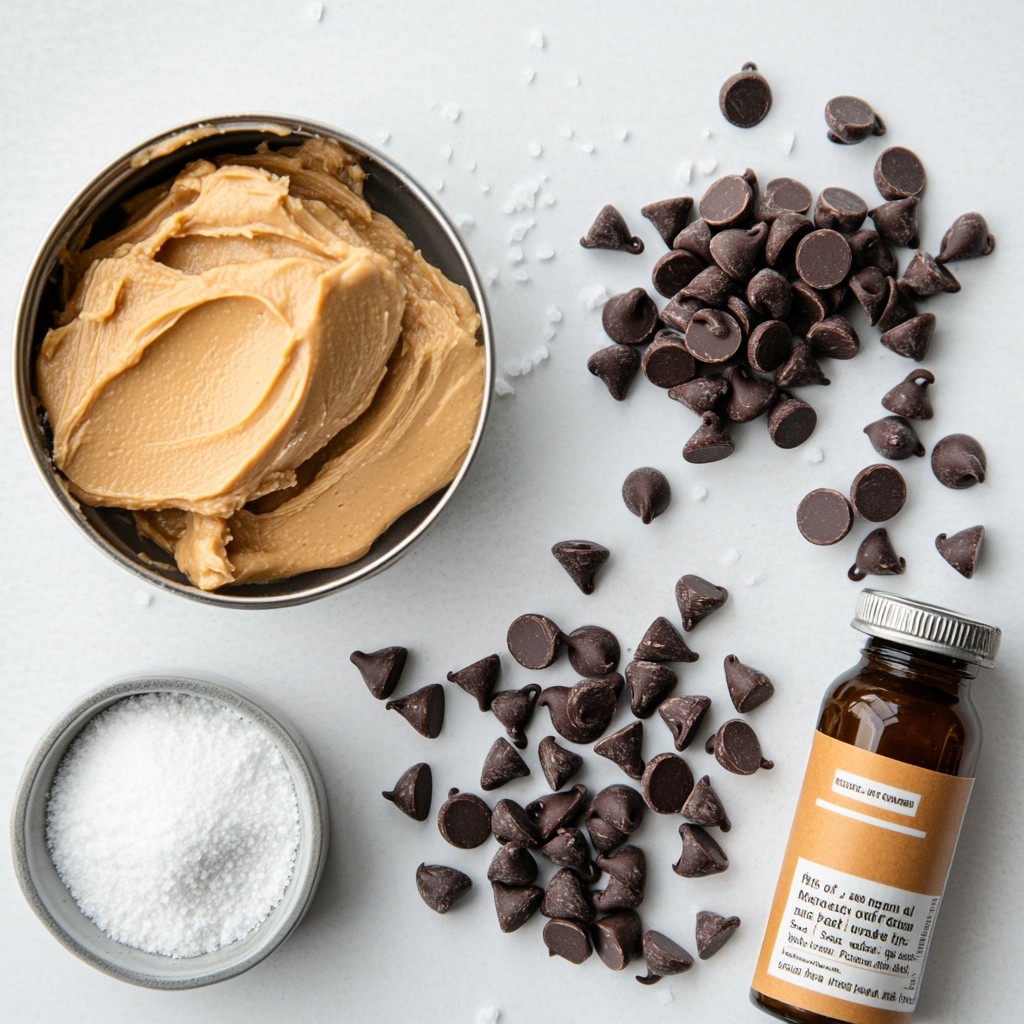
- 1/2 cup creamy peanut butter
- 1 cup semi-sweet chocolate chips
- 1 can (14 oz) sweetened condensed milk
- 1 teaspoon pure vanilla extract
- 1/4 teaspoon fine salt
- 1/4 cup powdered sugar
- Extra semi-sweet chocolate chips for swirling (optional)
Quantity and Substitutions
Each ingredient plays a key role in the taste and texture of the fudge. You can replace semi-sweet chocolate chips with dark chocolate for a richer flavor. If you want a nut-free version, try sunflower butter instead of peanut butter. You can also use unsweetened cocoa powder if you prefer less sugar.
Importance of Quality Ingredients
Using high-quality ingredients makes a big difference. Creamy peanut butter gives a smooth texture. Good chocolate chips melt well and provide a rich taste. Sweetened condensed milk creates creaminess that binds everything together. Proper salt balances the sweetness and enhances flavor. When you choose better ingredients, you elevate the whole dish. Trust me, your fudge will shine with quality.
Step-by-Step Instructions
Preparing the Baking Dish
Start by lining an 8-inch square baking dish with parchment paper. Leave some paper hanging over the edges. This will help you lift the fudge out easily when it's done.
Melting the Chocolate Mixture
In a medium saucepan, mix sweetened condensed milk, semi-sweet chocolate chips, pure vanilla extract, and fine salt. Place it over low to medium heat. Stir as it warms. Make sure the chocolate melts completely. Once it's smooth and glossy, remove it from heat.
Creating the Peanut Butter Layer
In a separate bowl, blend 1/2 cup of creamy peanut butter with 1/4 cup of powdered sugar. Mix until smooth. This will be the delicious peanut butter layer that adds richness to your fudge.
Layering and Swirling for Texture
Pour half of the melted chocolate into the prepared dish. Spread it evenly across the bottom with a spatula. Next, drop spoonfuls of the peanut butter mixture over the chocolate layer. Space them out well. Then, pour the remaining chocolate over the peanut butter. Spread it gently.
Chilling and Cutting the Fudge
Now, take a butter knife or toothpick and swirl it through the fudge mixture. This creates a fun marbled effect. Optionally, sprinkle some extra chocolate chips on top for texture. Place the dish in the fridge and chill for at least 4 hours. Once set, lift the fudge out using the parchment paper. Cut it into squares and enjoy!
Tips & Tricks
Perfecting the Swirl Effect
To get the best swirl, work fast! After pouring the peanut butter dollops, use a butter knife or toothpick. Gently drag it through the layers. Don’t overdo it! You want a nice marble look, not a mix. A light hand gives a beautiful effect.
Common Mistakes to Avoid
One common mistake is not mixing the chocolate enough. You need a smooth and glossy texture. If it's grainy, your fudge won’t set right. Another mistake is over-swirl. Swirling too much blends the layers. Lastly, don’t skip chilling the fudge. It must be firm before cutting.
How to Achieve the Right Consistency
Your fudge should be thick but spreadable. When melting, keep the heat low. Stir constantly until everything is smooth. If your peanut butter mix is too thick, add a touch more sweetened condensed milk. This will help it swirl better and set perfectly.
Pro Tips
- Use Room Temperature Ingredients: Allow your peanut butter and any other ingredients to come to room temperature for easier mixing and a smoother texture.
- Don’t Overheat the Chocolate: Melt the chocolate mixture over low to medium heat to prevent it from seizing and becoming grainy.
- Perfect the Swirl: When creating the swirl, use a gentle hand to avoid completely mixing the layers, keeping the marbled effect intact.
- Store Properly: Keep the fudge in an airtight container in the refrigerator to maintain its freshness and prevent it from drying out.
Variations
Nut-Free Adaptation (Using Sunflower Butter)
If you need a nut-free option, try sunflower butter. It tastes great and fits many diets. You can use it in place of peanut butter. Just follow the same steps in the recipe. Sunflower butter has a smooth texture and a mild taste. This makes it perfect for fudge. Plus, it keeps the rich flavor you love.
Adding Flavor Enhancements (Sea Salt, Espresso)
Want to take your fudge up a notch? Try adding sea salt or espresso. A sprinkle of sea salt gives a nice contrast to the sweet fudge. It balances the flavors well. Just add a pinch on top before it sets. If you love coffee, mix in a little espresso powder. It adds a deep, rich flavor that complements the chocolate.
Alternative Chocolate Options (Dark Chocolate, White Chocolate)
You can also swap the chocolate chips for different types. Dark chocolate gives a bold taste. It makes the fudge richer and less sweet. If you prefer sweetness, use white chocolate chips. They add a creamy, sweet flavor. Just remember, the type of chocolate you choose changes the fudge's overall taste. Experiment with what you love best!
Storage Info
Best Practices for Storing Fudge
Store your peanut butter chocolate swirl fudge in an airtight container. This keeps it fresh and tasty. To prevent sticking, place parchment paper between layers. Always keep fudge in a cool, dry place. Avoid direct sunlight. If you live in a warm area, the fridge is a great spot.
How Long It Lasts in the Refrigerator
In the fridge, your fudge lasts about two weeks. Make sure it's in a sealed container. If you notice any changes in smell or texture, it’s best to throw it away. After all, you want to enjoy the rich, creamy taste fresh!
Freezing for Longer Storage
To freeze fudge, cut it into squares first. Wrap each piece in plastic wrap, then place them in a freezer bag. This way, you can grab a piece whenever you want. Fudge can stay good in the freezer for about three months. When you're ready to eat it, just pull it out and let it thaw at room temperature. Enjoy as a sweet treat anytime!
FAQs
Can I use natural peanut butter for this recipe?
Yes, you can use natural peanut butter. It will work well, but the fudge may be a bit less creamy. Natural peanut butter has no added sugar or oils, making it a healthier choice. Just make sure to stir it well before using, as it can separate.
What can I do if my fudge is too soft?
If your fudge is too soft, try chilling it longer. Sometimes, it needs extra time to set. If that doesn’t help, add a bit more powdered sugar. This helps thicken the mixture and gives it a firmer texture.
Is it possible to make this recipe vegan?
Yes, you can make this fudge vegan. Use dairy-free chocolate chips and a plant-based sweetened condensed milk. There are good brands available that taste great. This way, you can enjoy a rich treat without any animal products.
How to tell when the fudge is set?
You can tell the fudge is set by gently pressing it with your finger. If it feels firm and holds its shape, it’s ready. Also, check if the edges pull away from the pan slightly. This is a good sign that it has set well.
In this blog post, we explored how to make delicious fudge, focusing on ingredients, steps, and tips. Quality ingredients matter most for great taste. The step-by-step guide helps you create perfect layers. I shared tricks to avoid common pitfalls and provided fun variations for everyone. Proper storage ensures your fudge stays fresh.
Now, with these insights, you can confidently make a treat that delights. Enjoy your fudge-making adventure!